
THE IDEA
Tooth Fairy who doesn't know her? In childchood, many of us wondered if it really exists. Maybe it's a character created by parents or maybe it's just fun for a fairy. I don't remember if I really believed in her ...
The idea a new skull came up while working on the last sculpture - Dracula. One day I got a conclusion: I had never sculpted human skulls, it was time to face this subject.
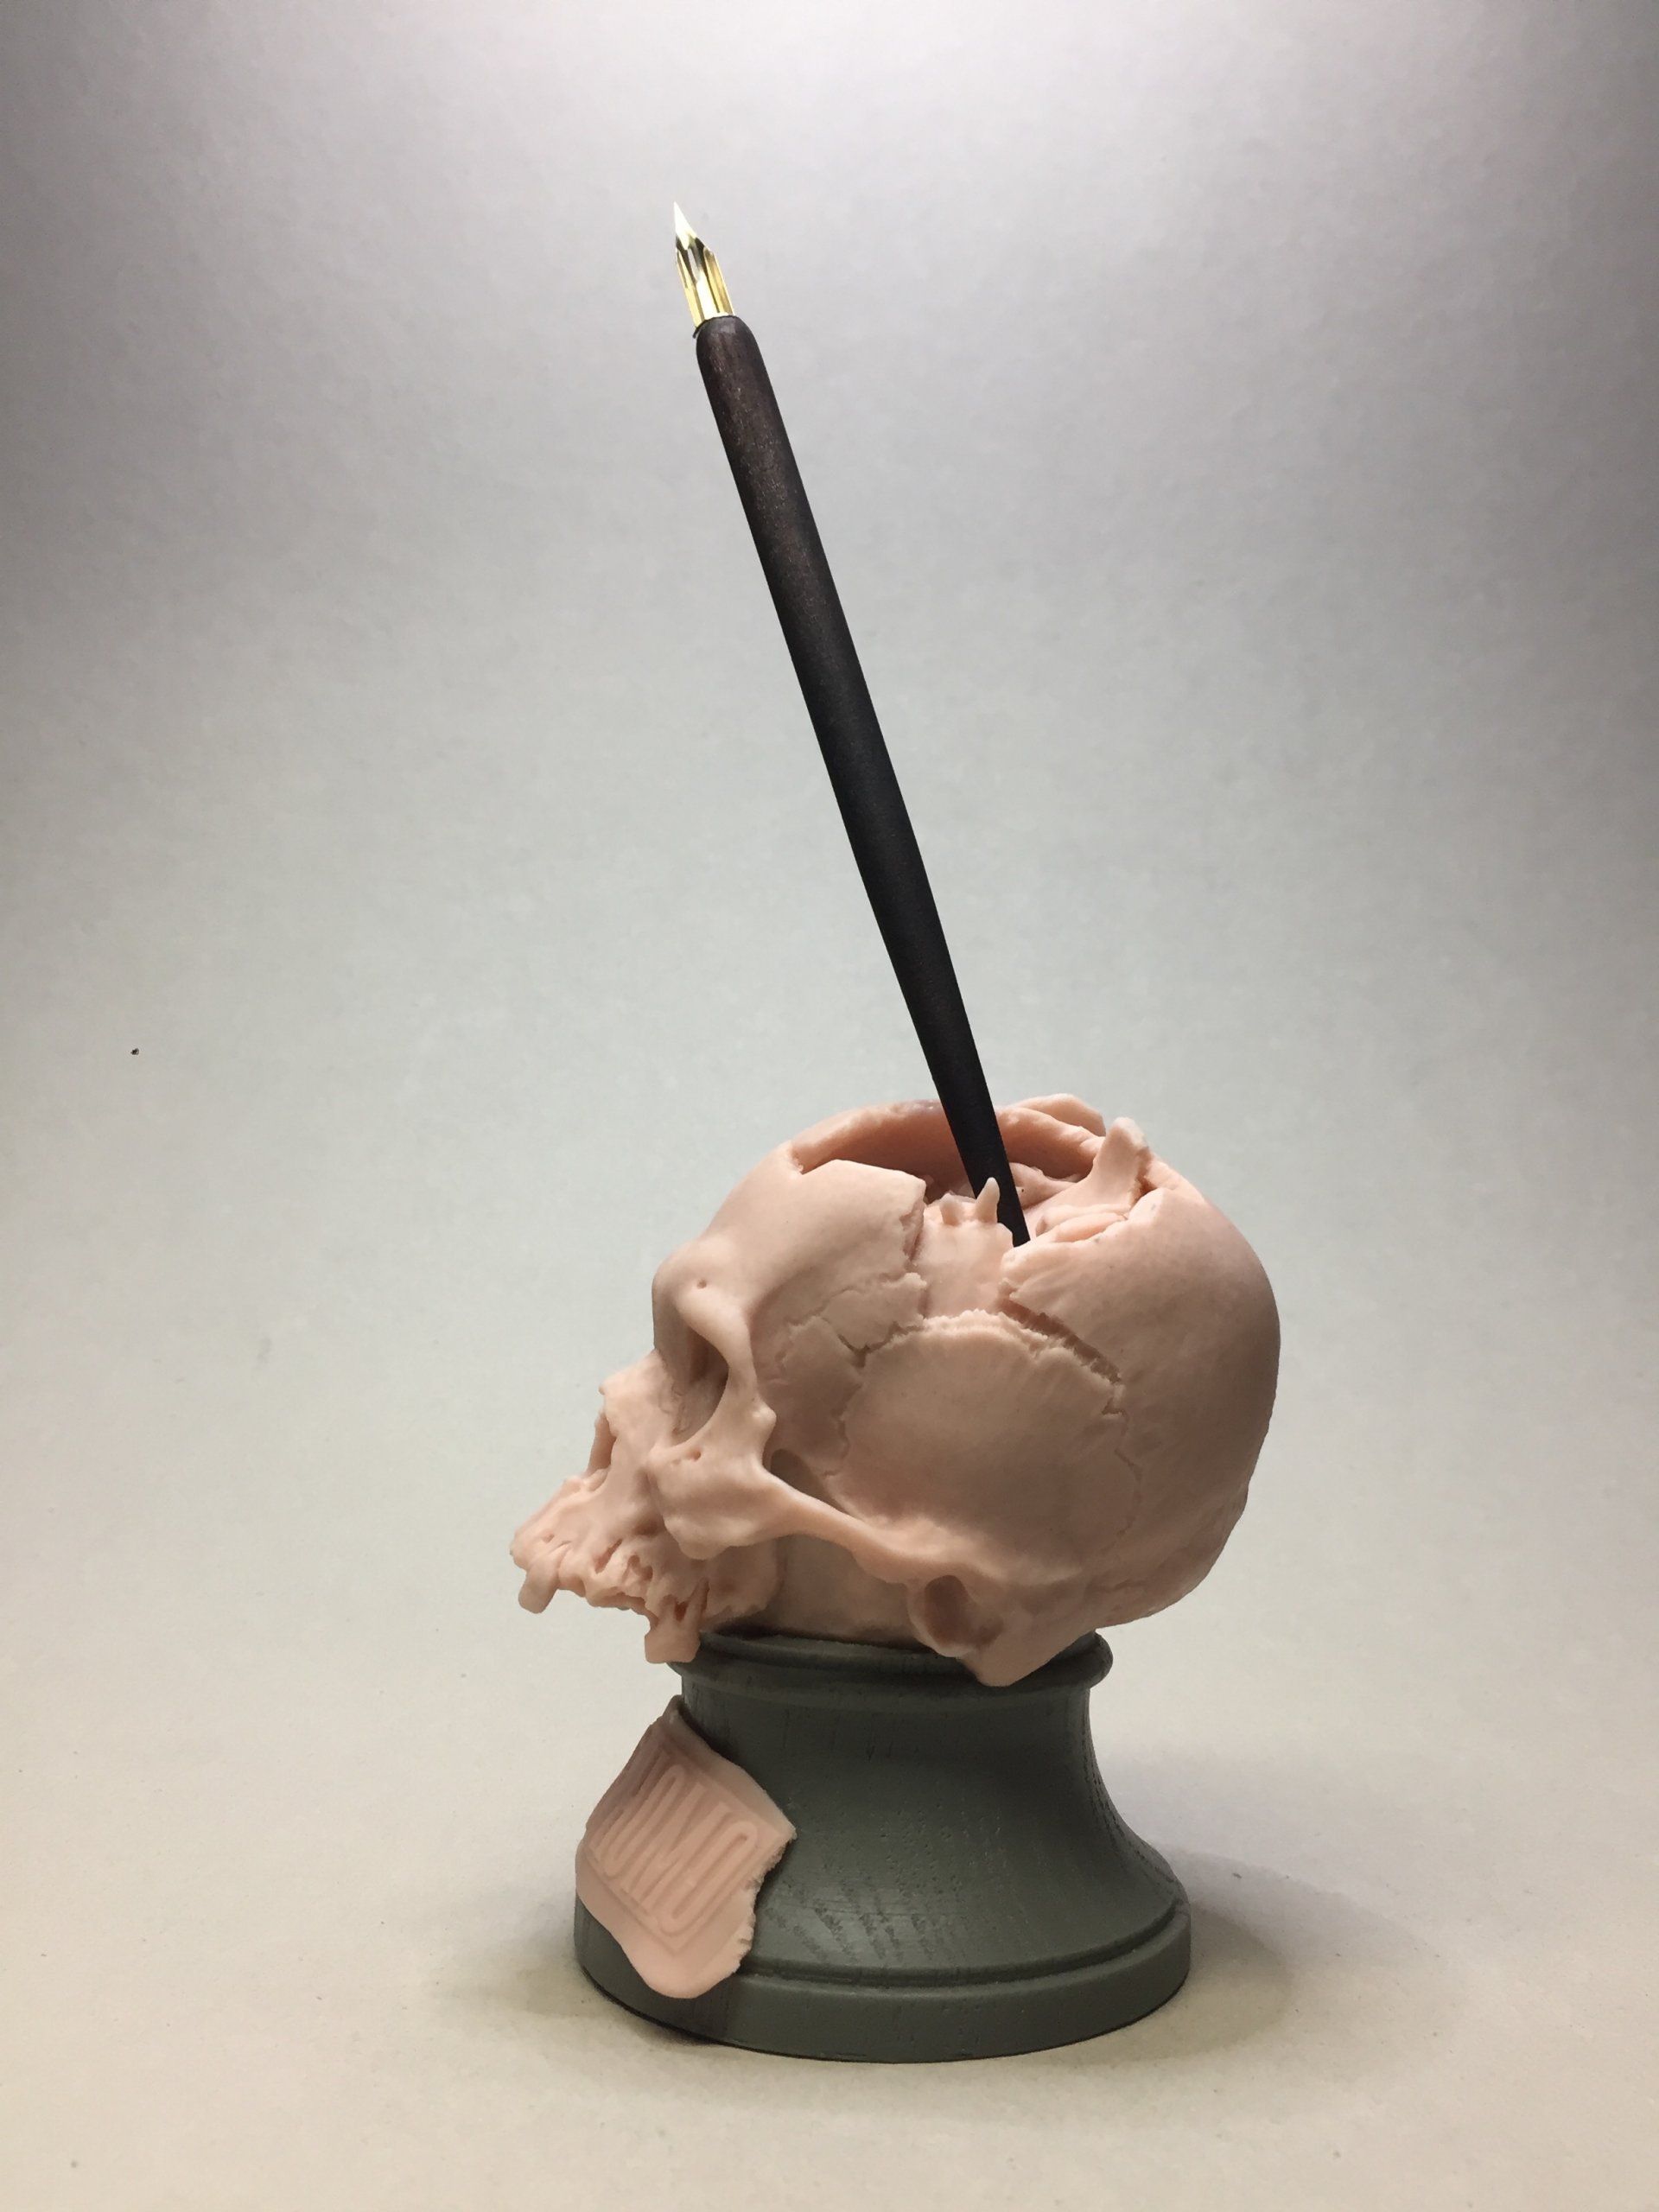
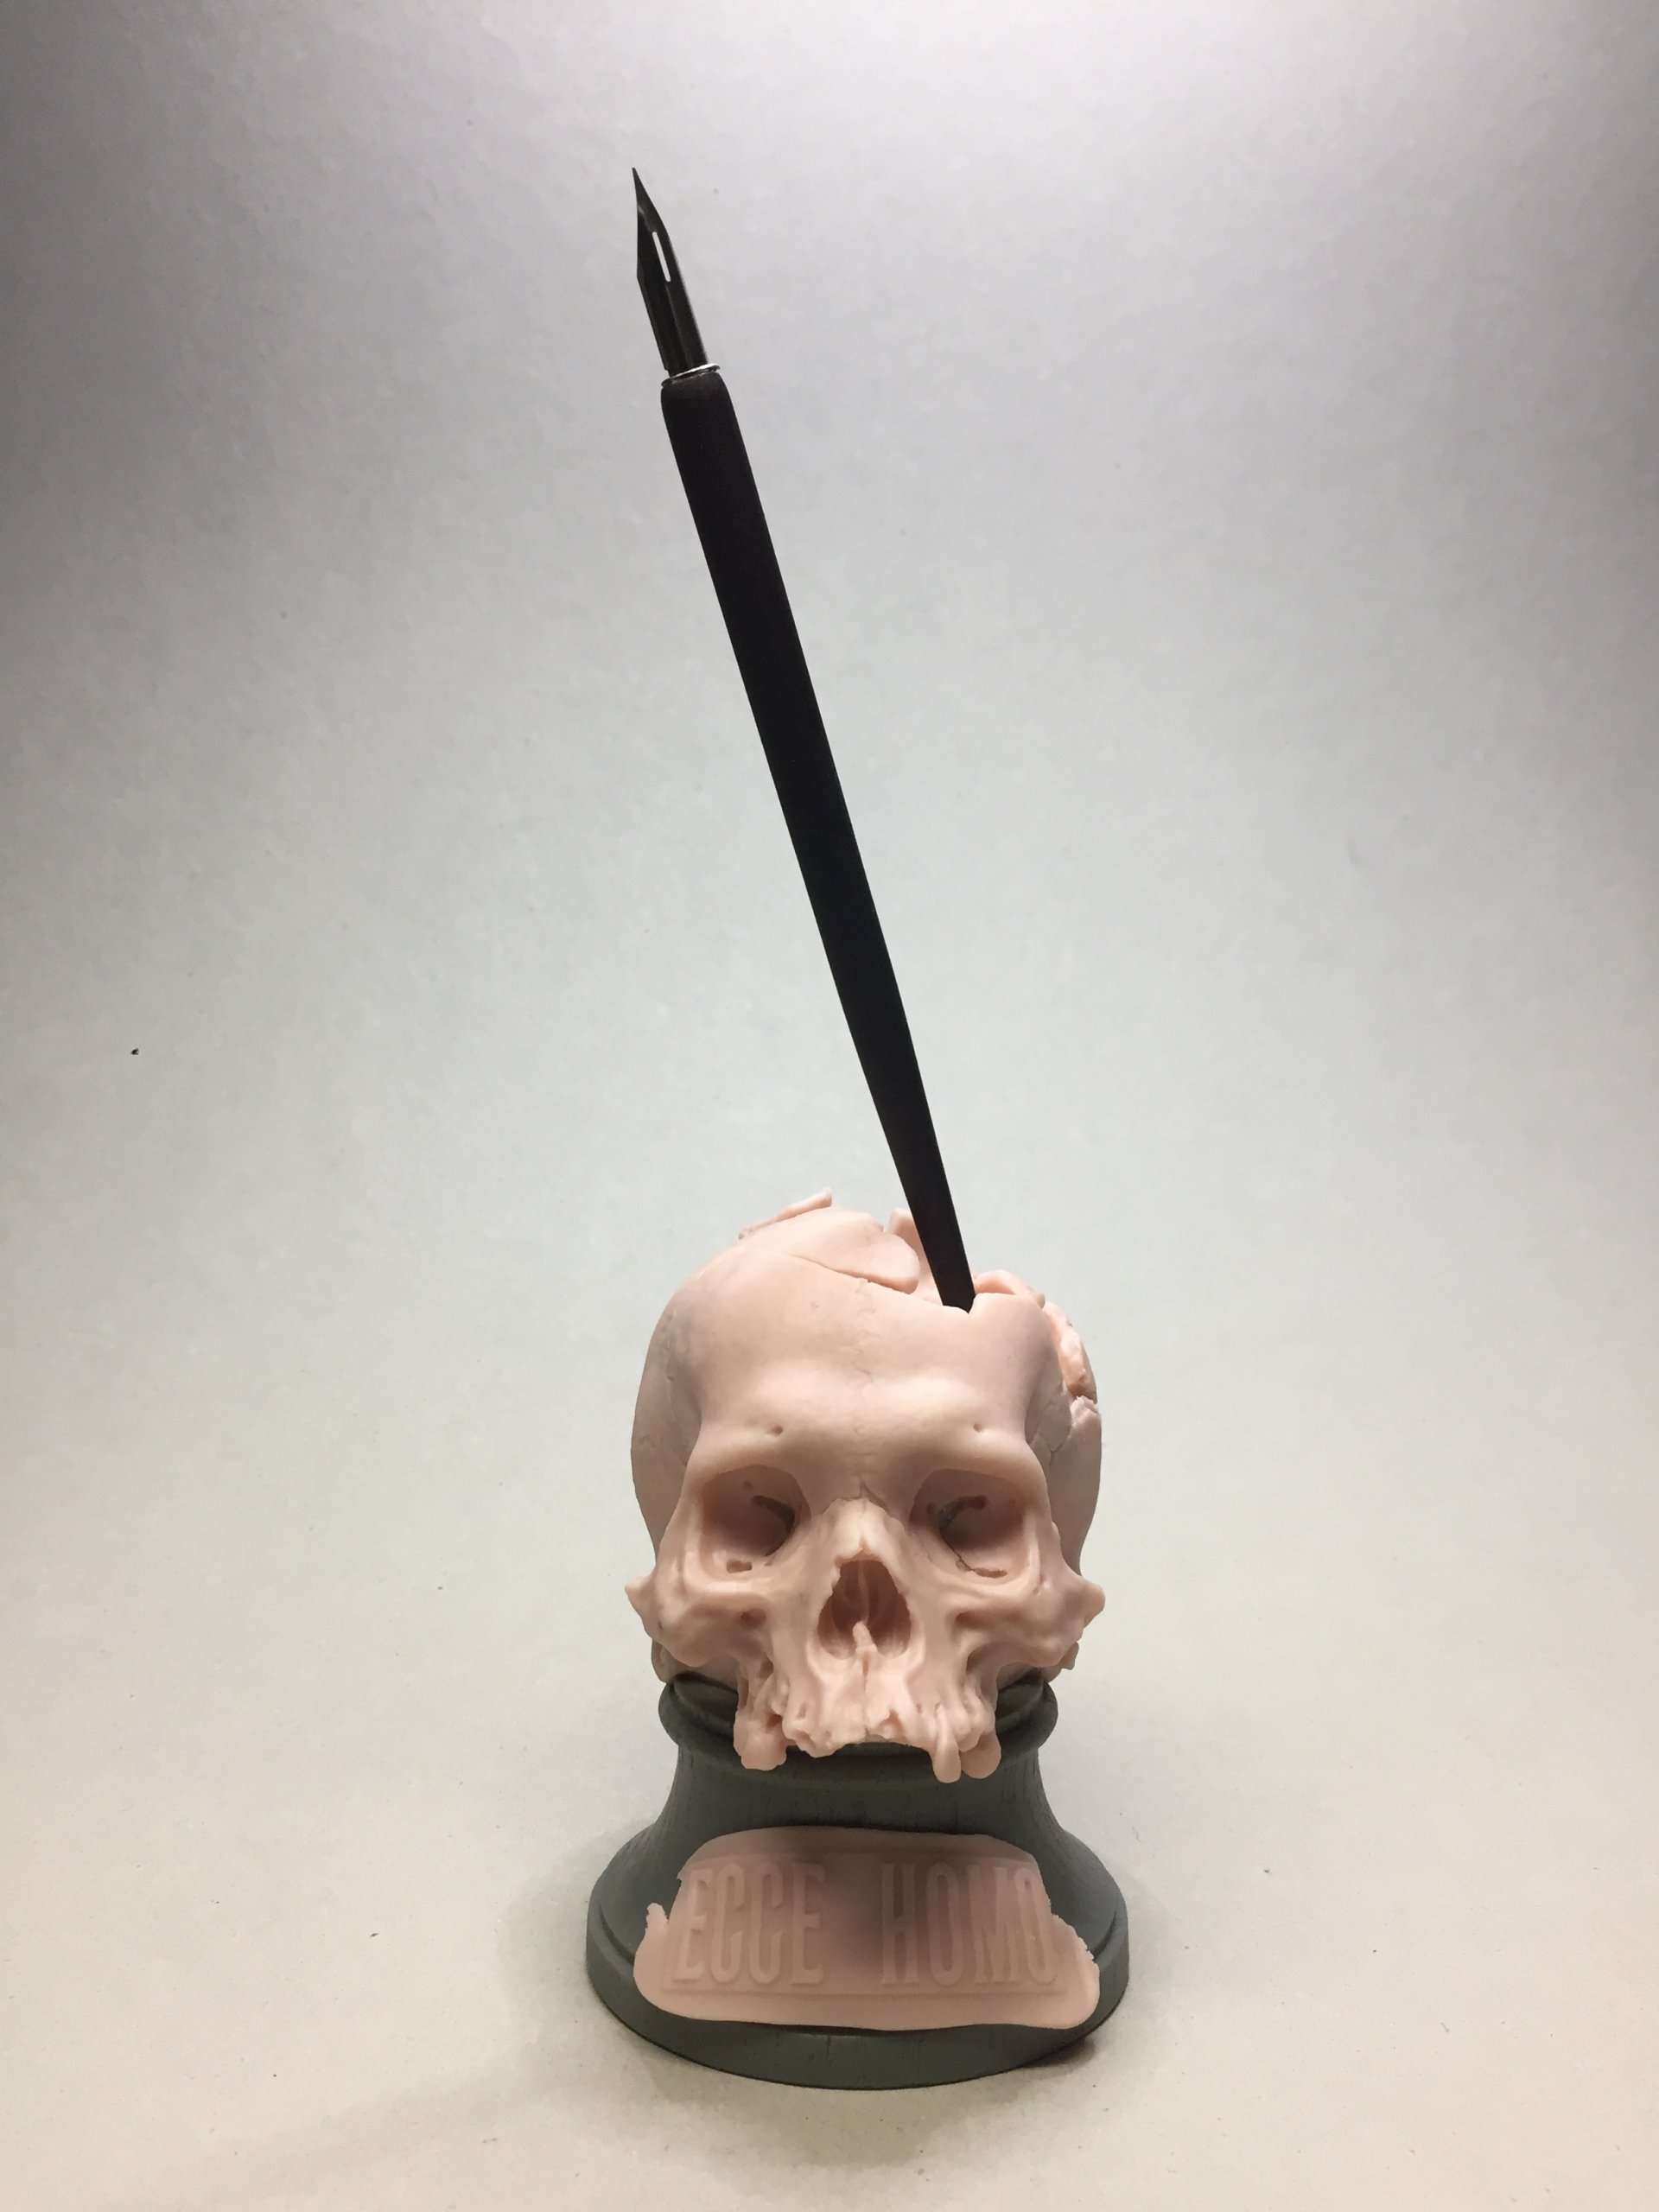
From the beginning, I knew that my design cannot be an ordinary anatomical skull. It does not have to be perfect and precise, but at least a little individual. It has to be different. And so I started carving a rather vague vision of what I want to get ... which in the end turned into the form of an inkwell from the inkpot from Count Dracula's pen.
THE CREATIVE PROCESS
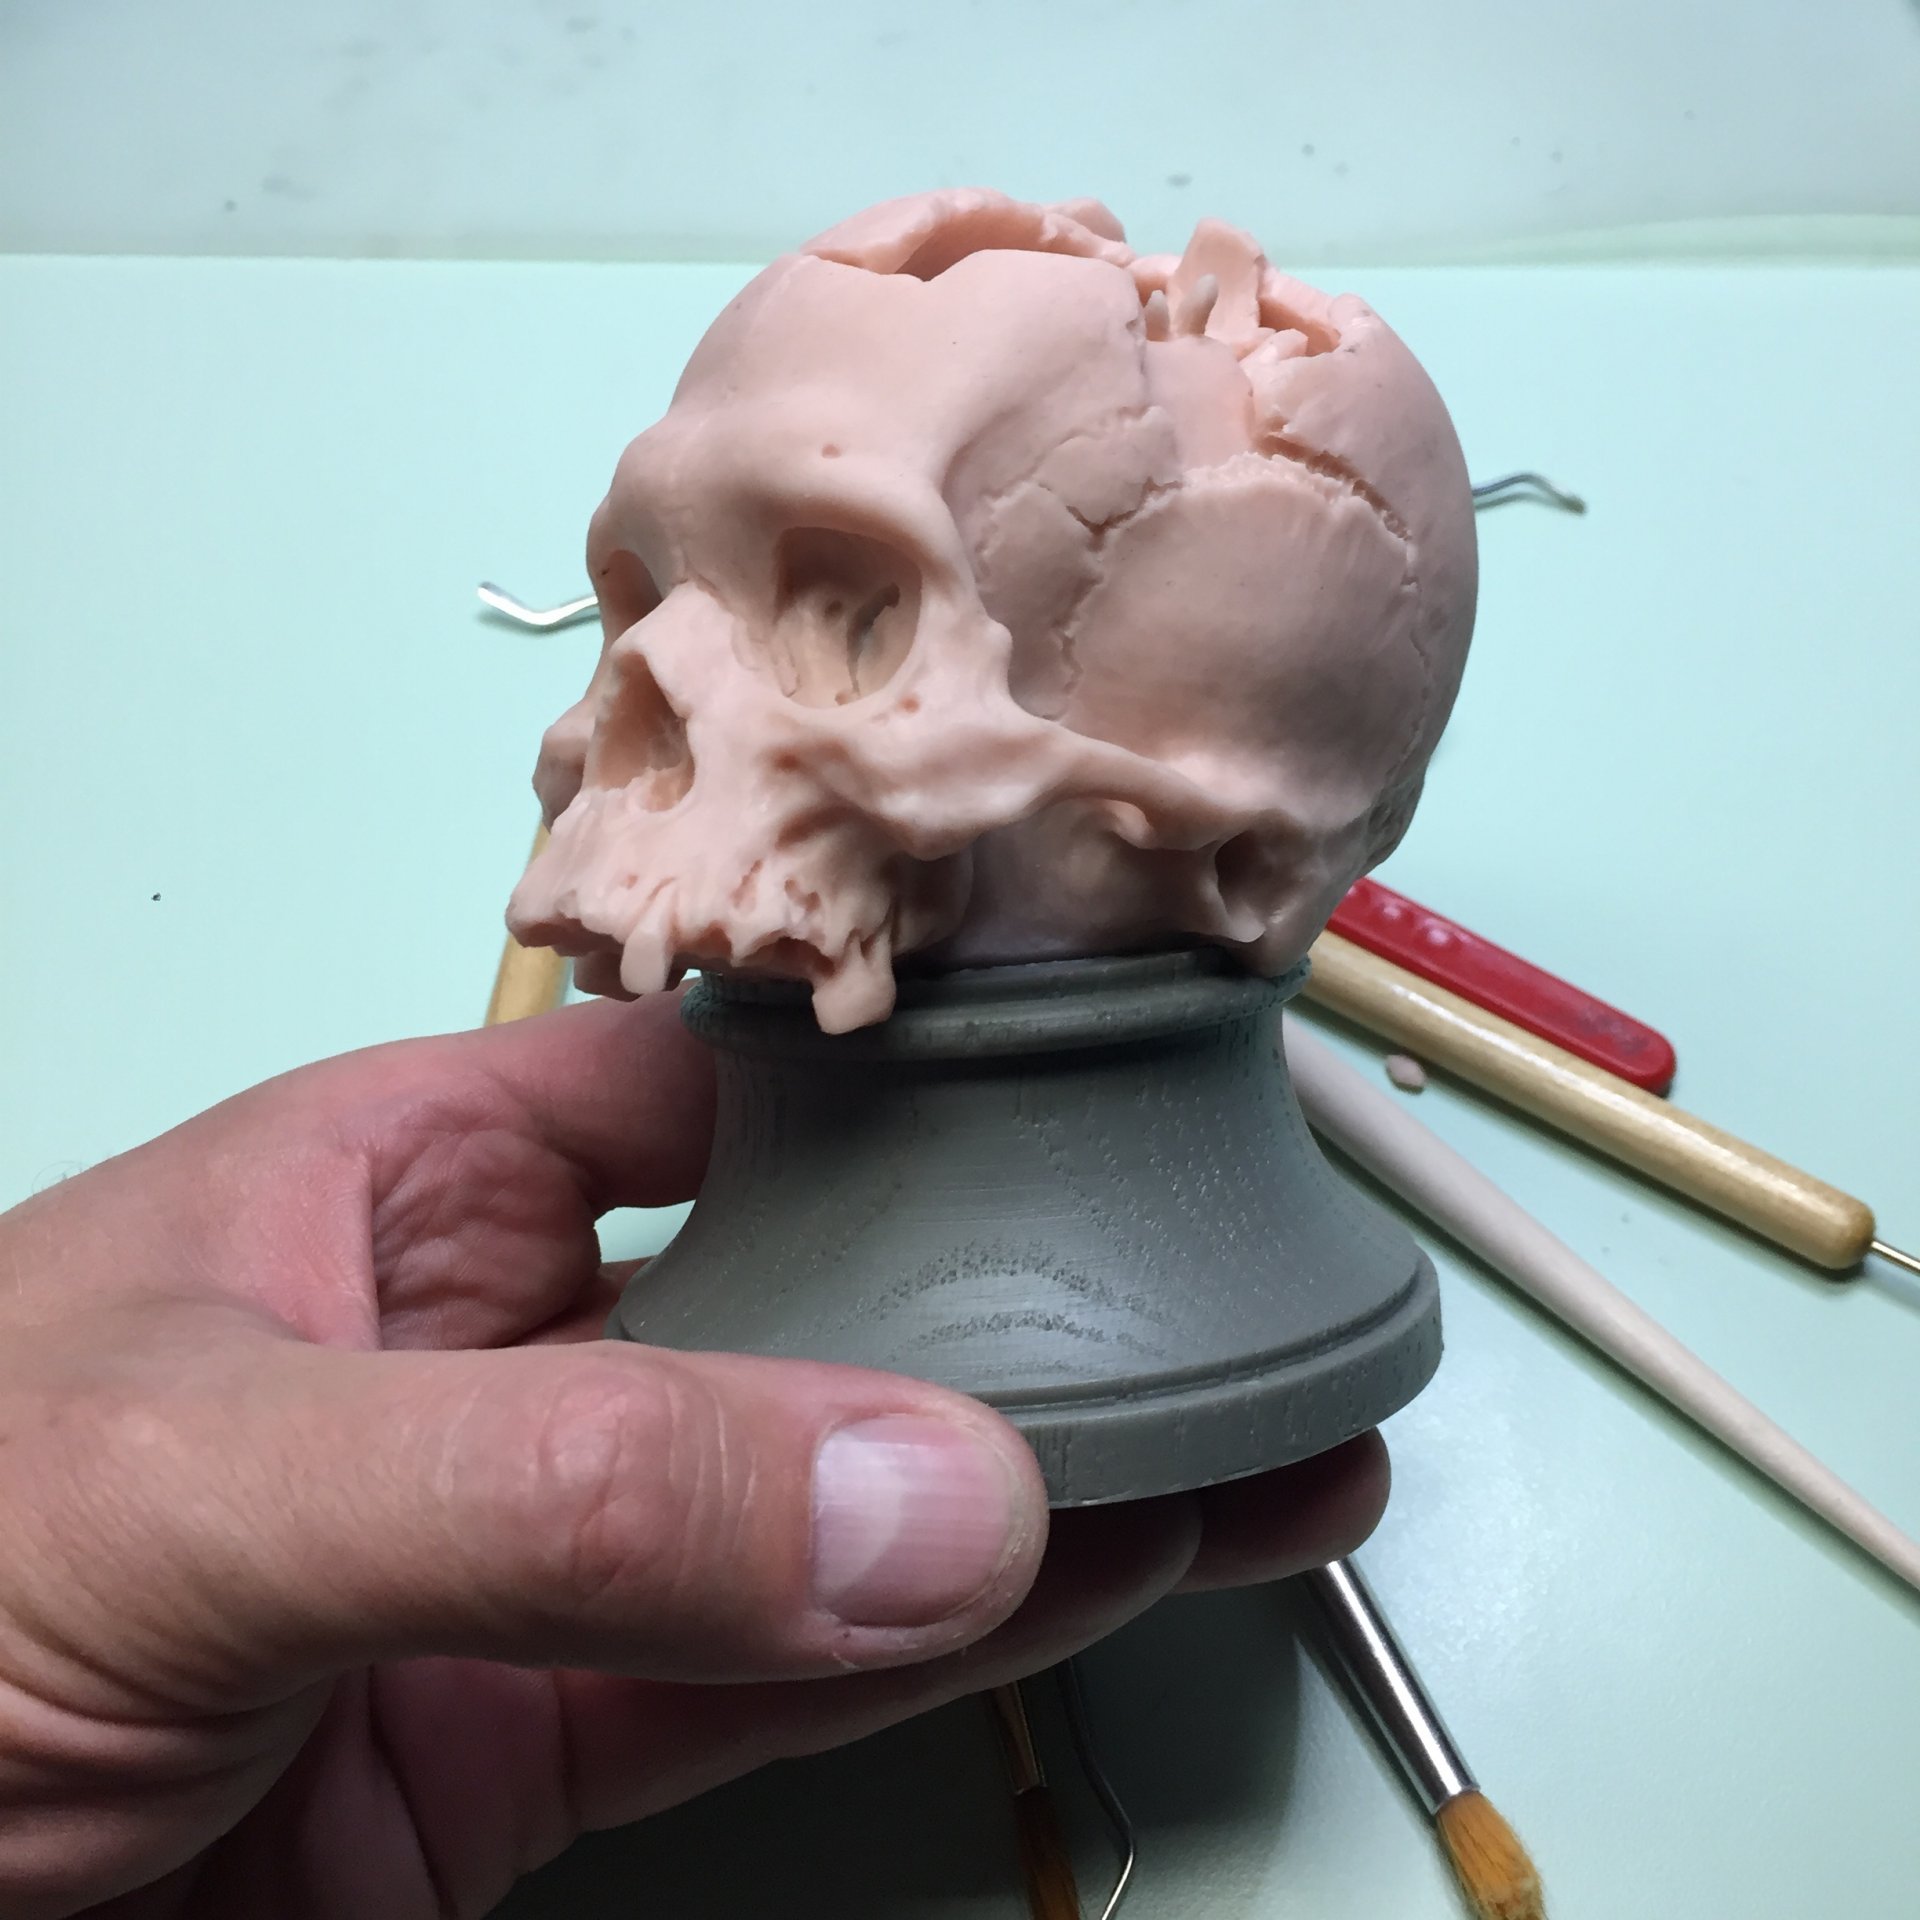
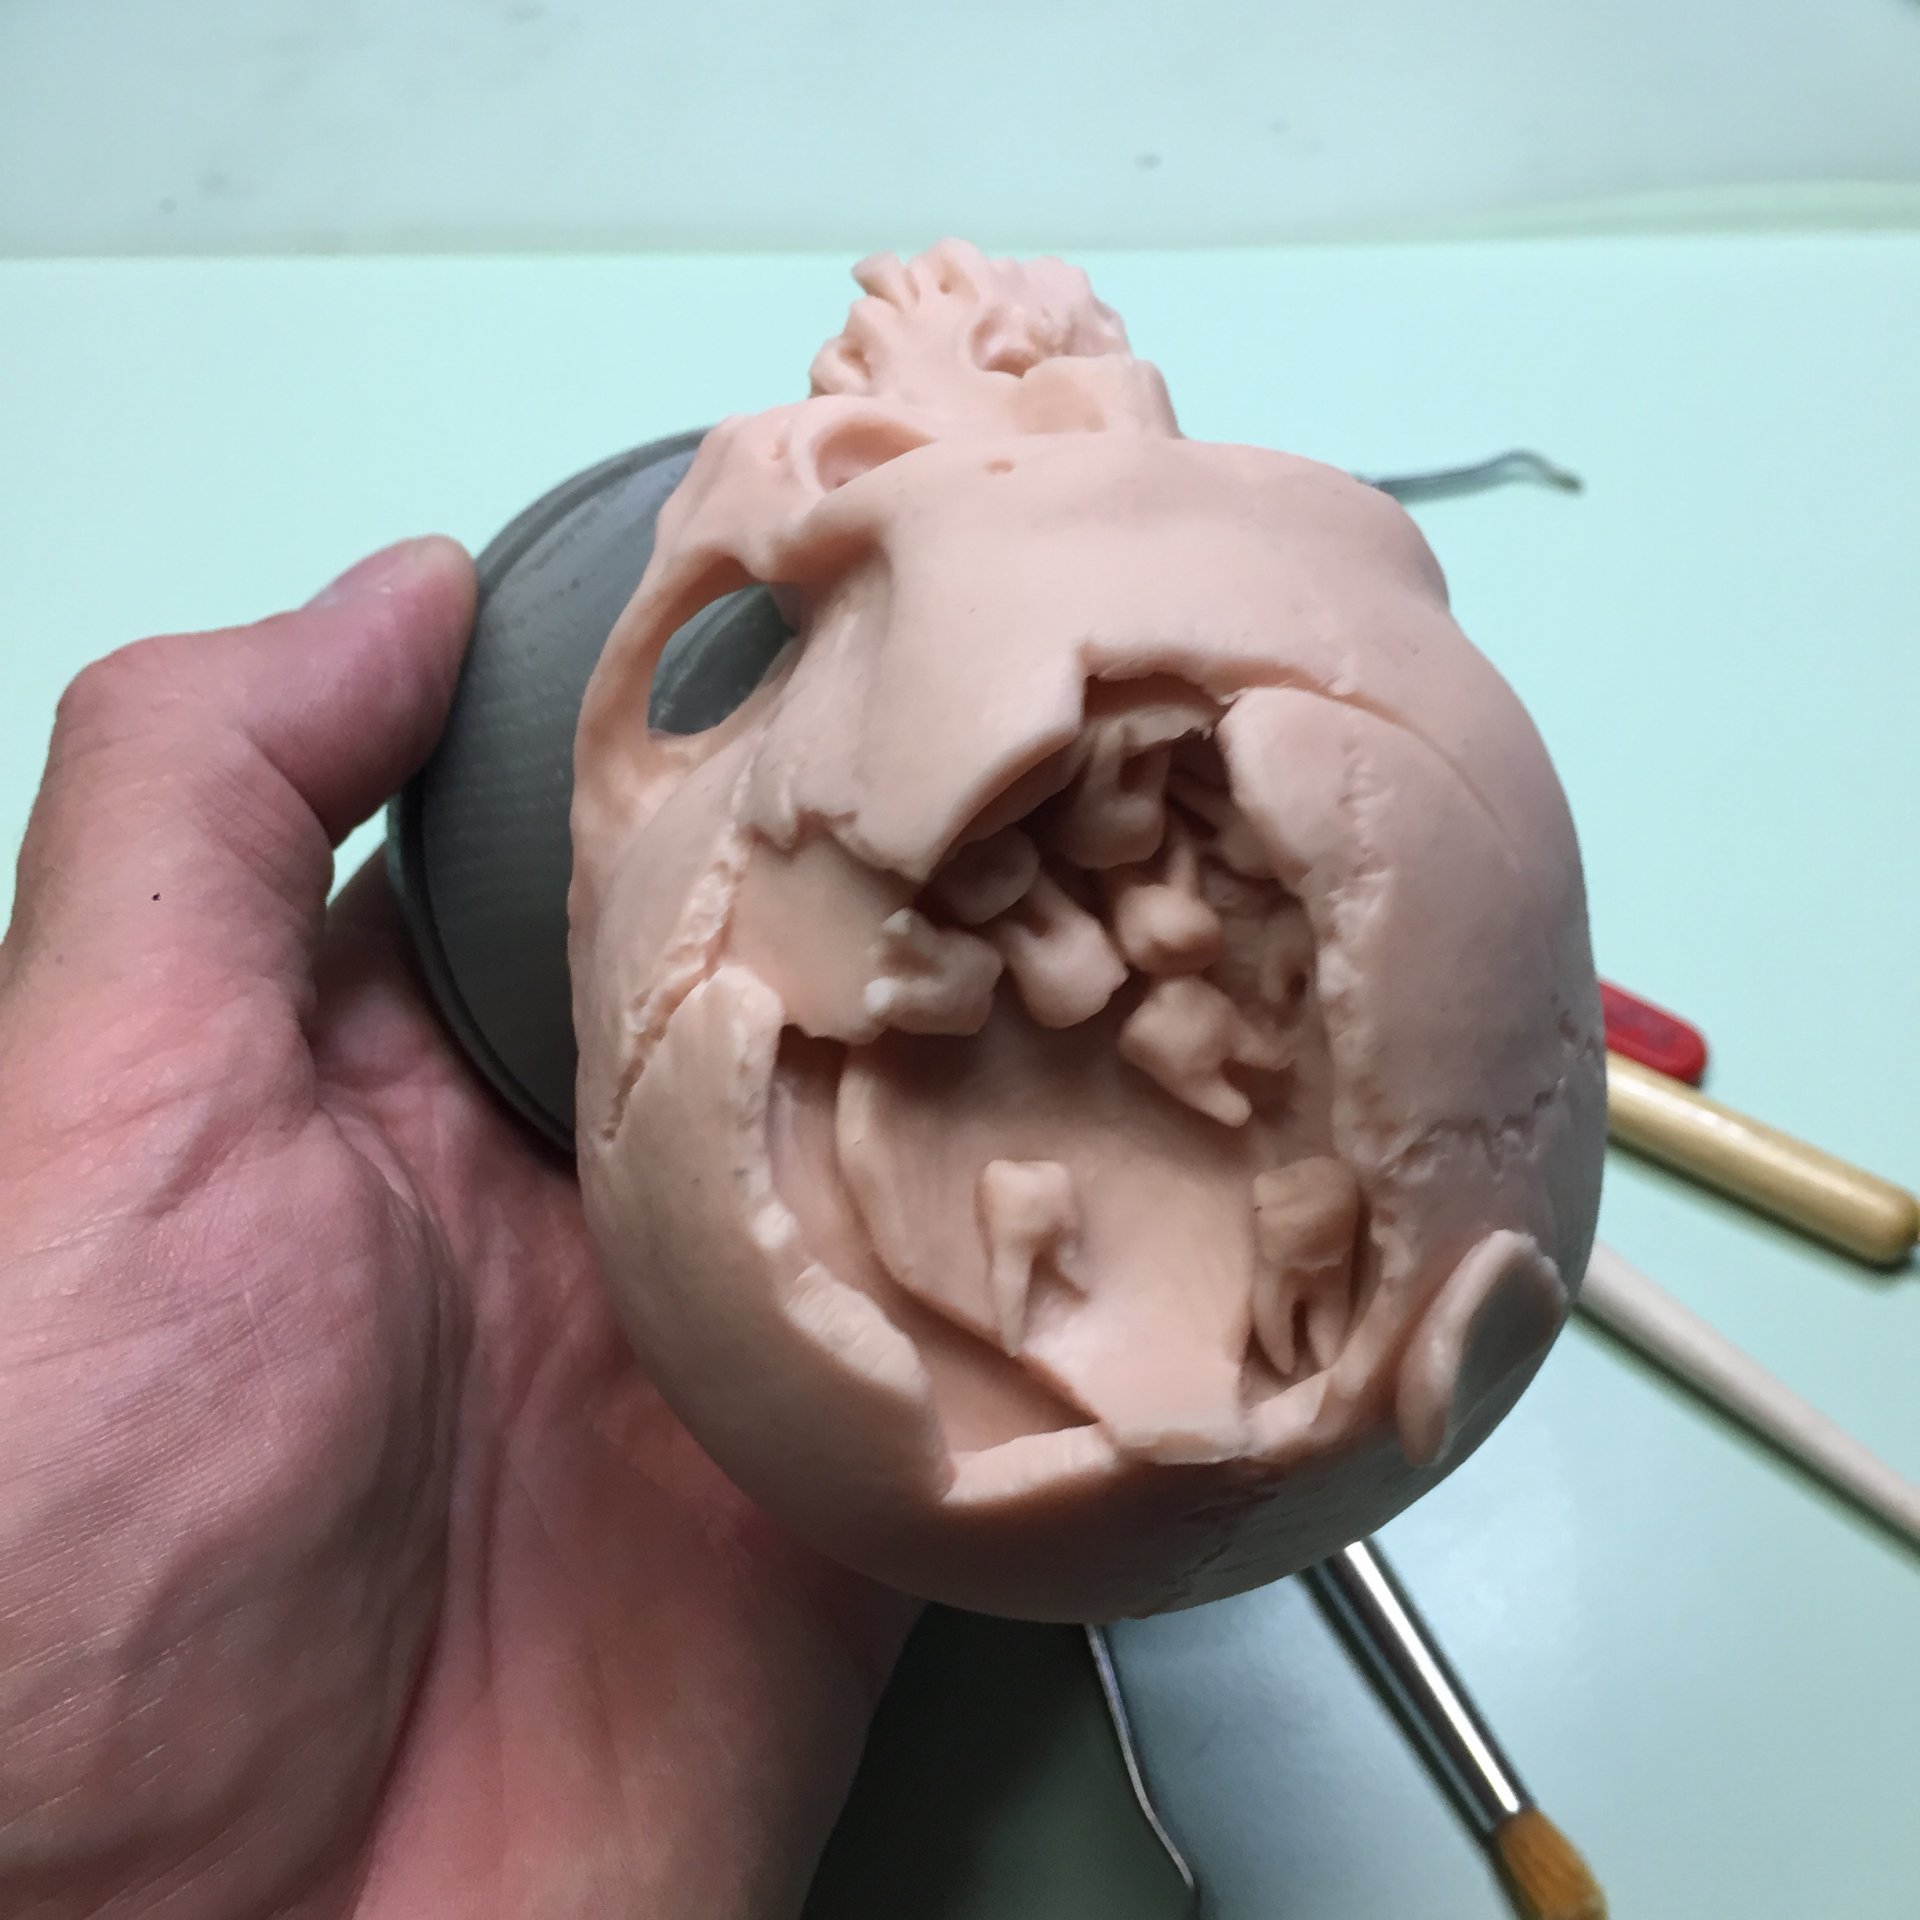
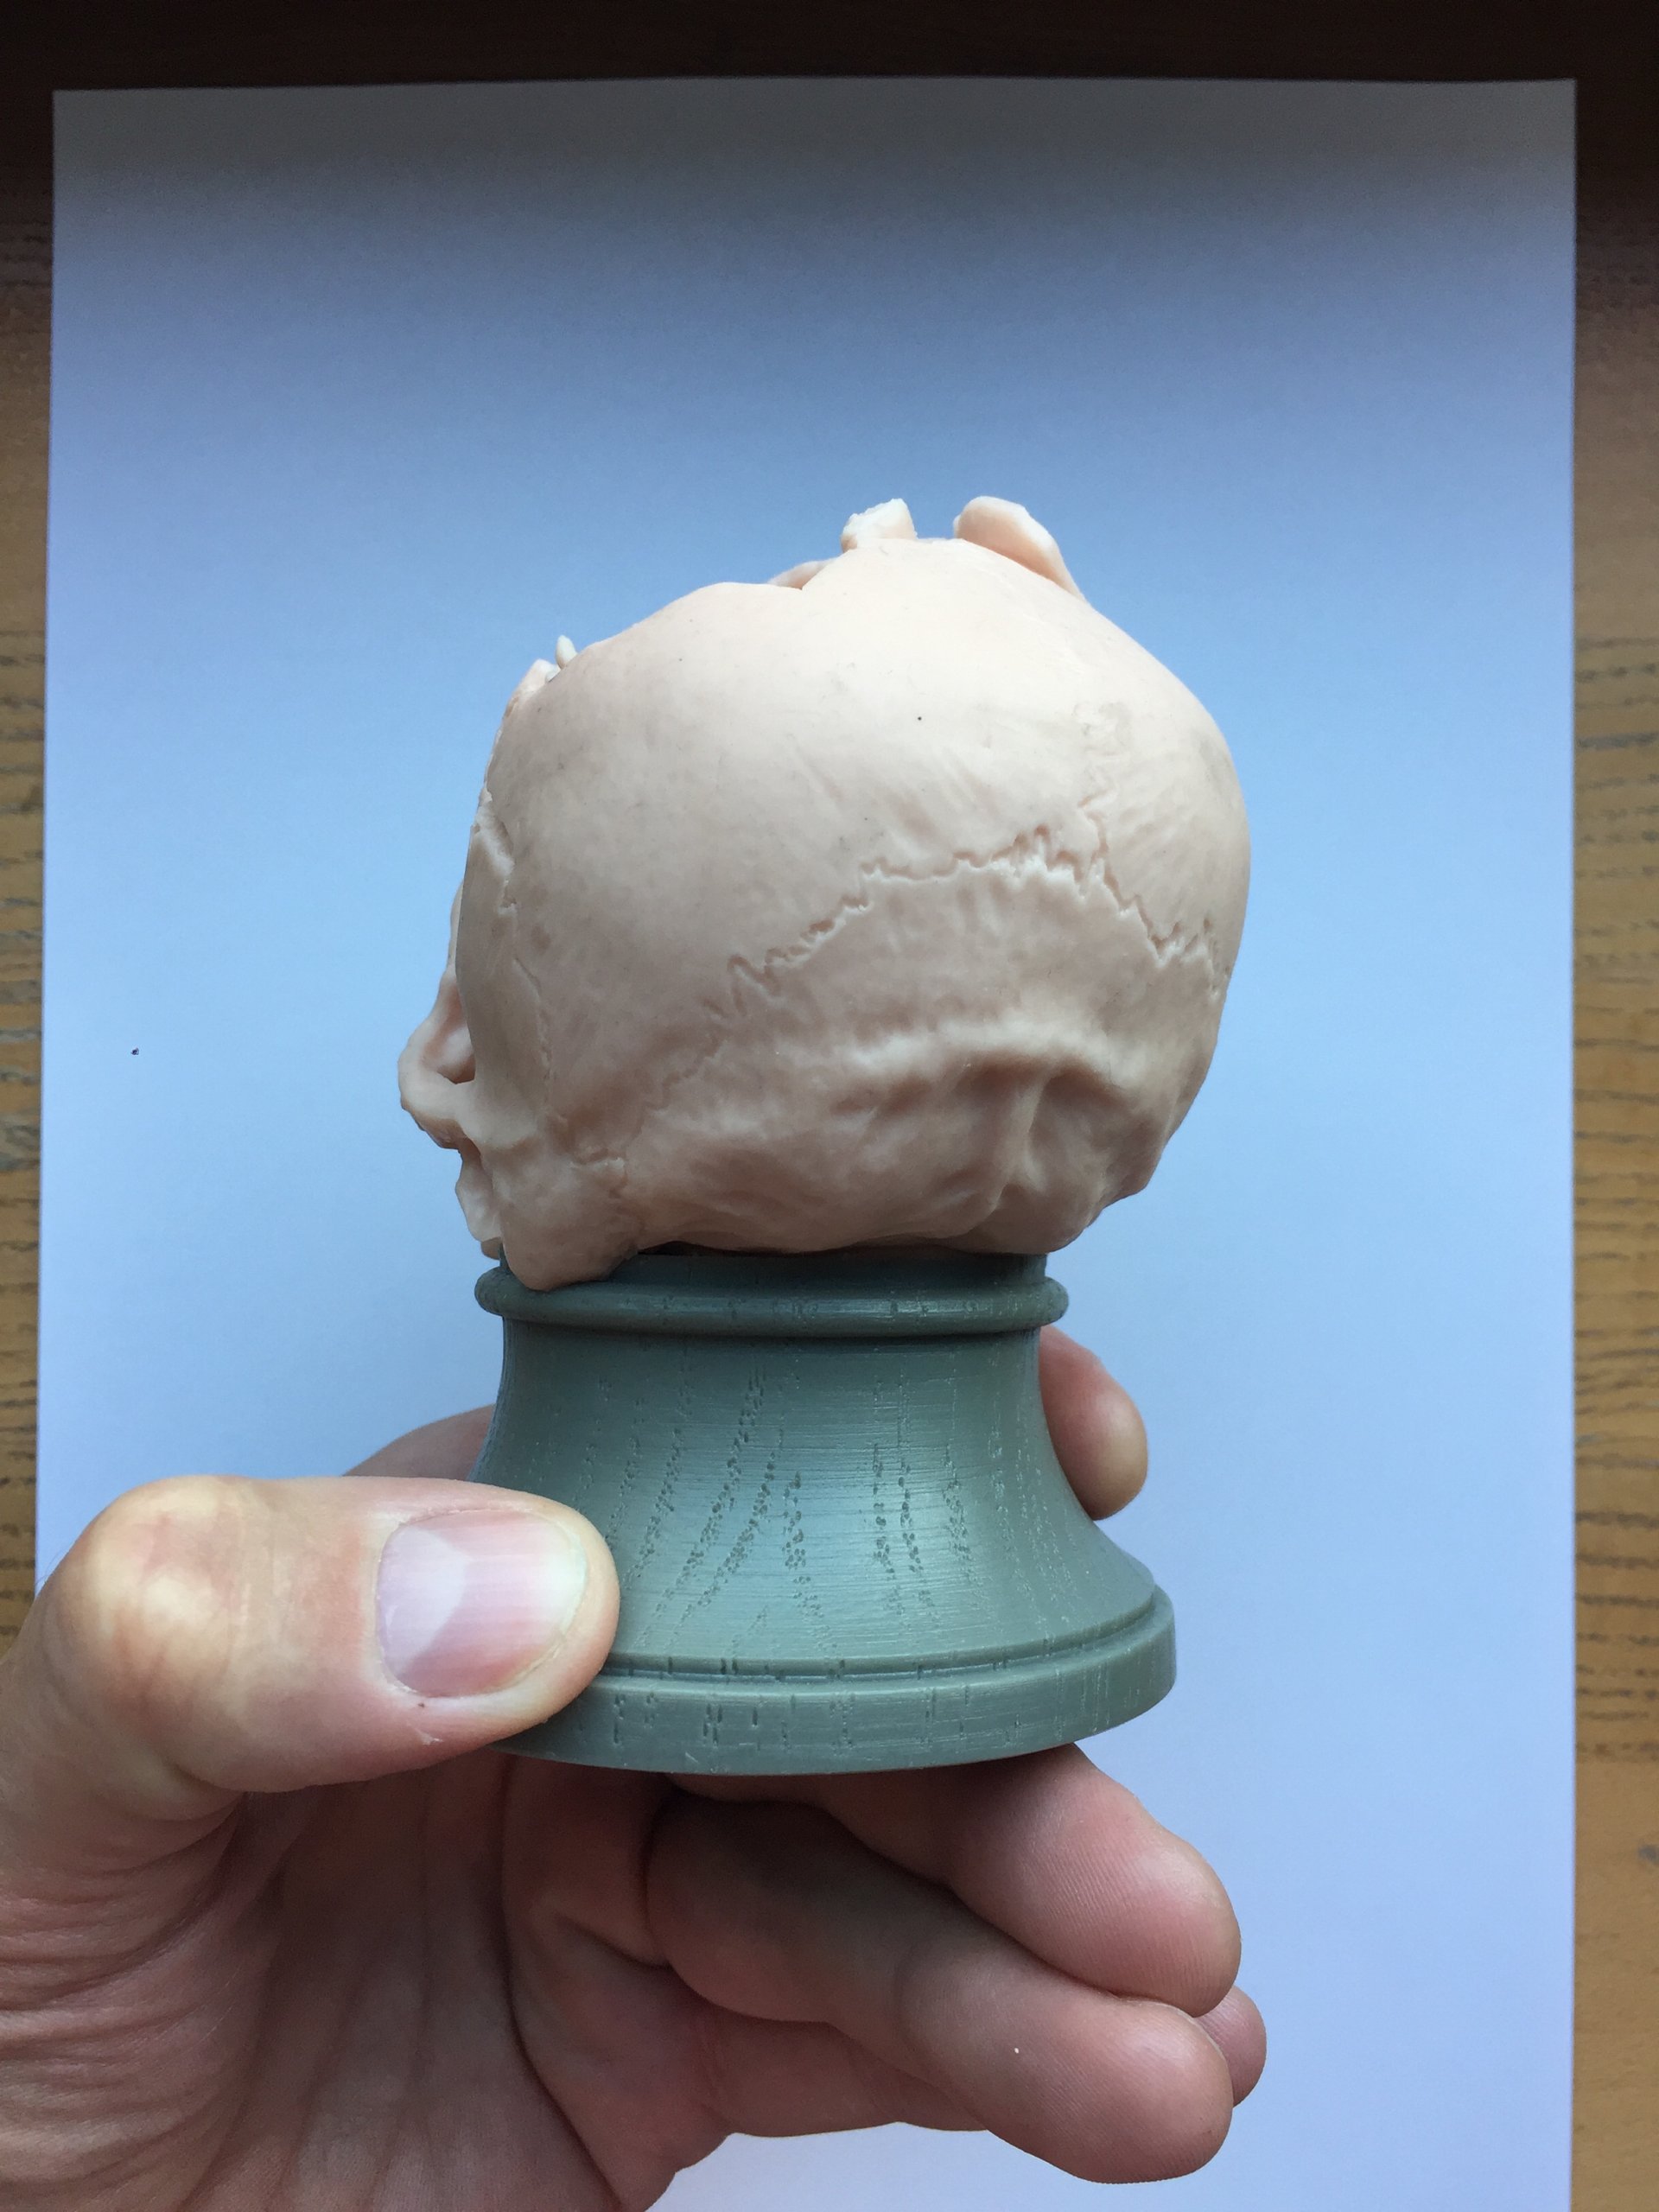
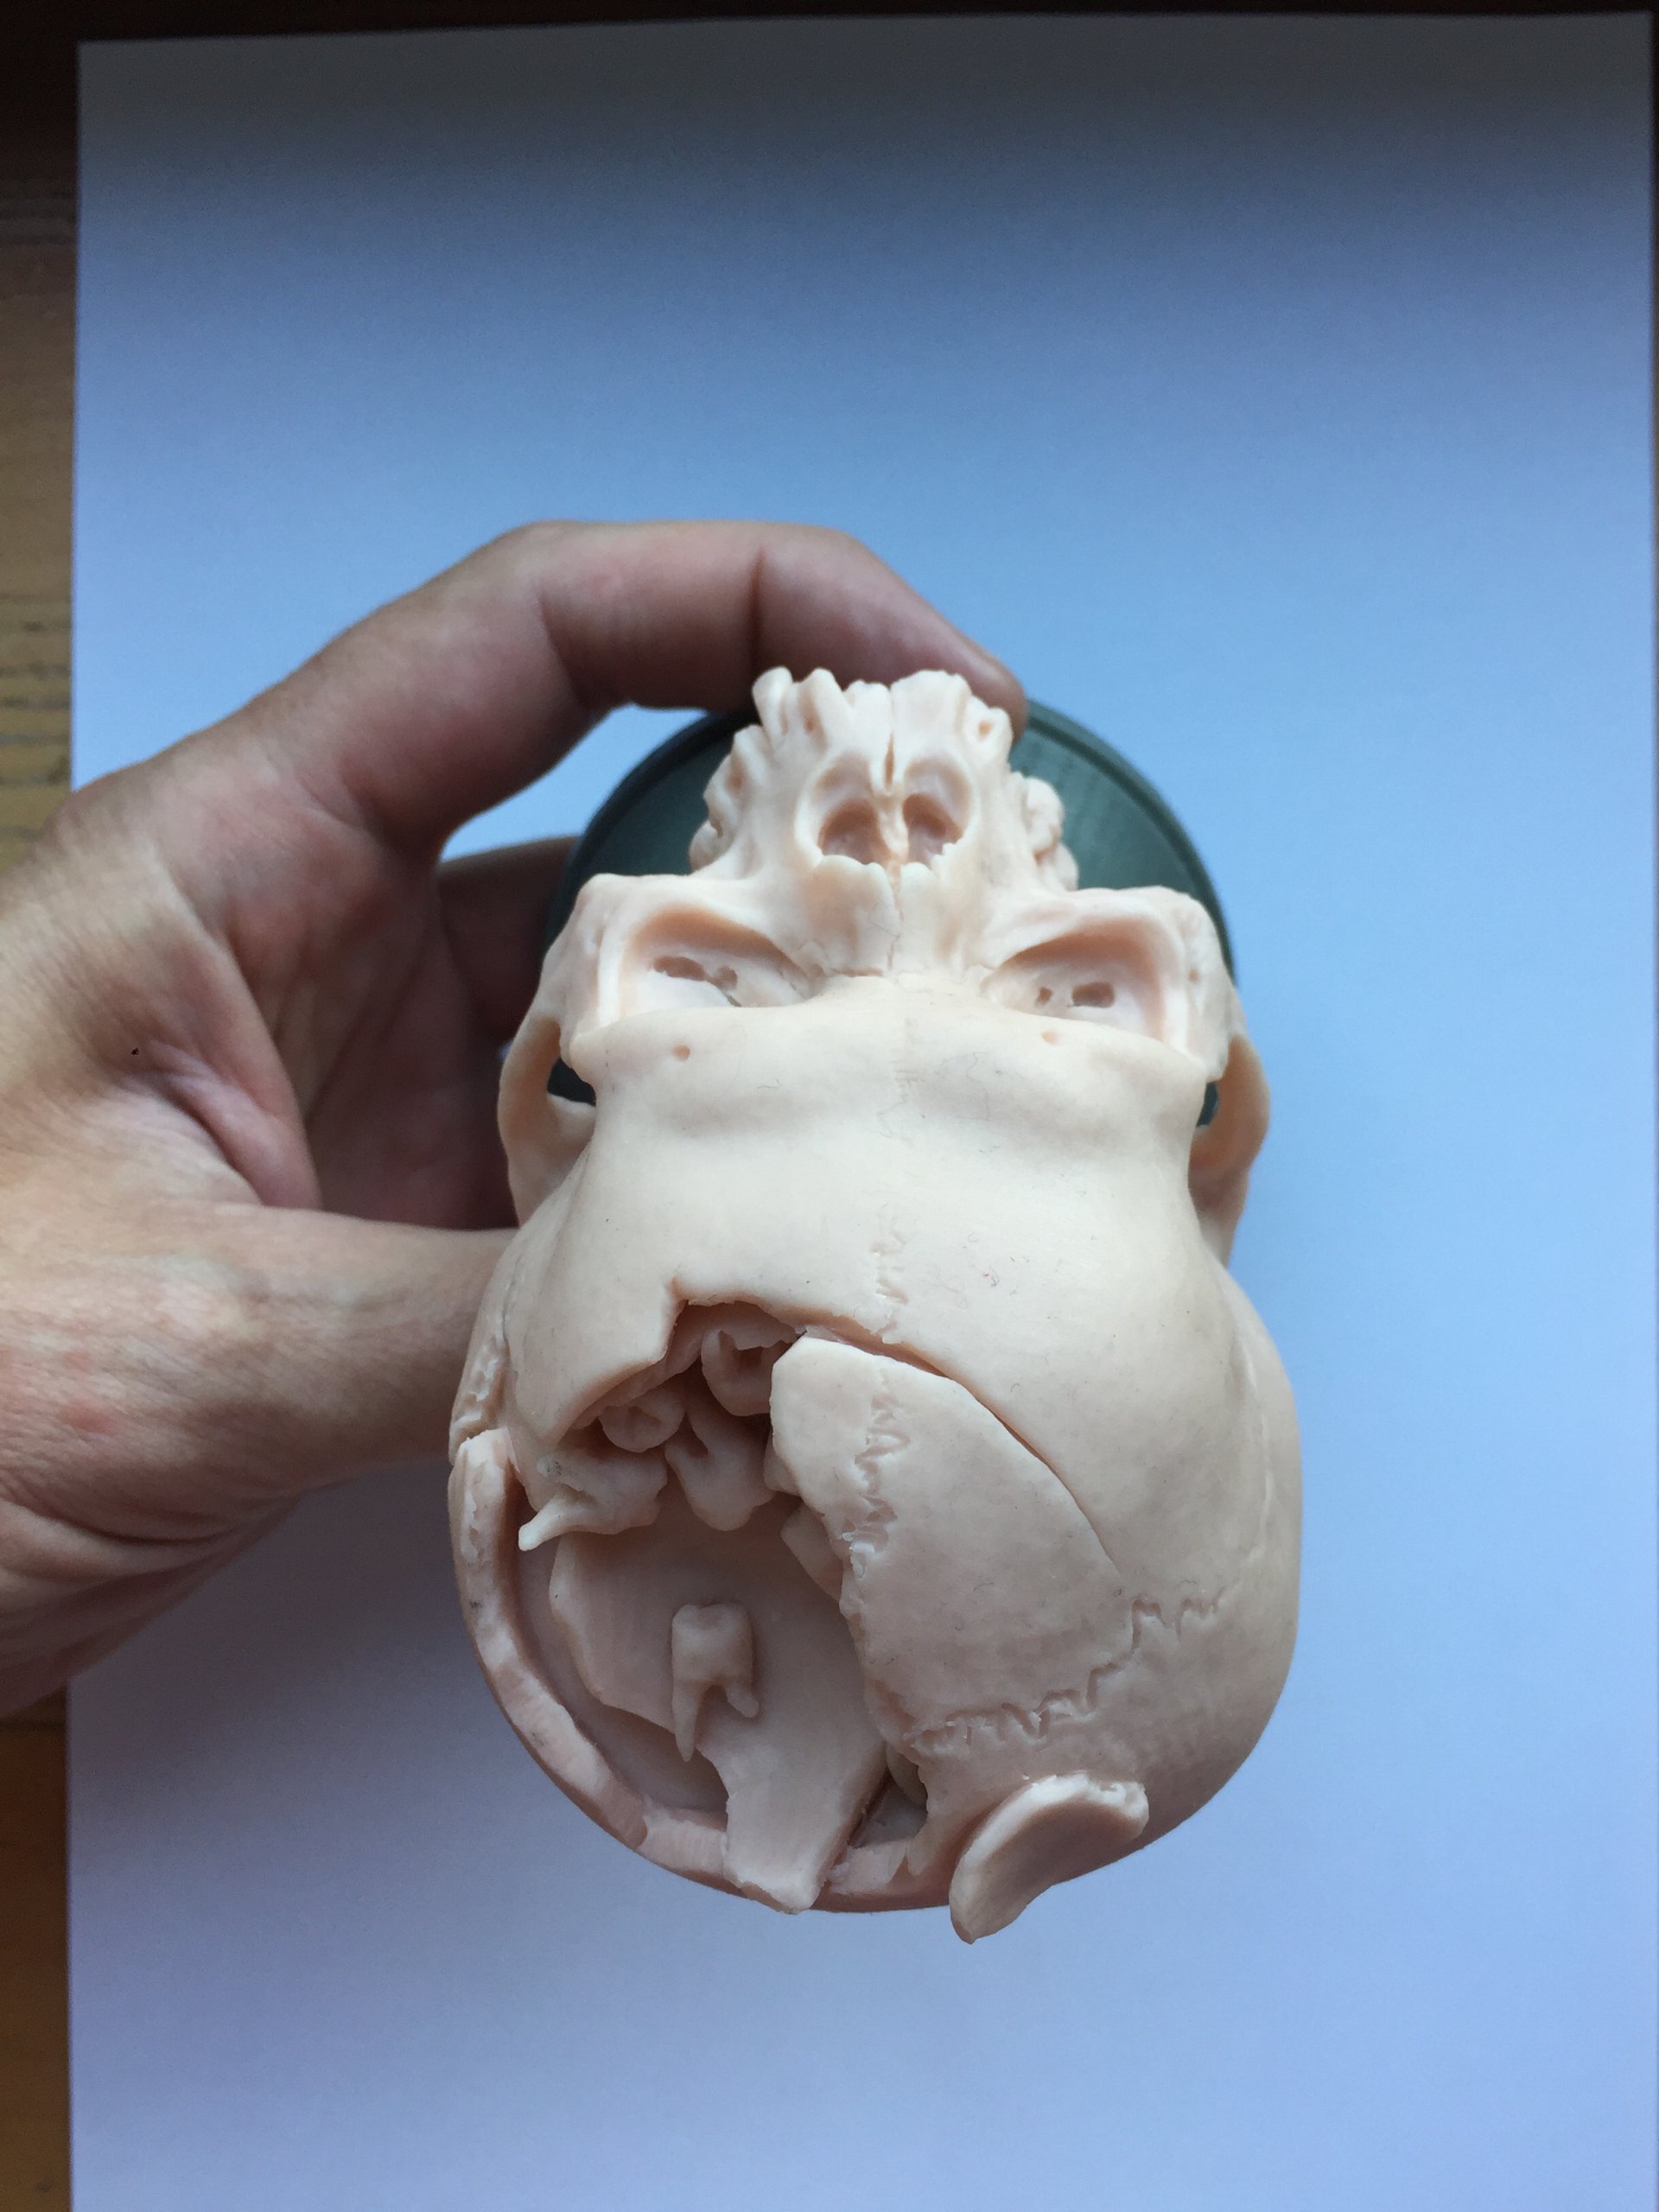
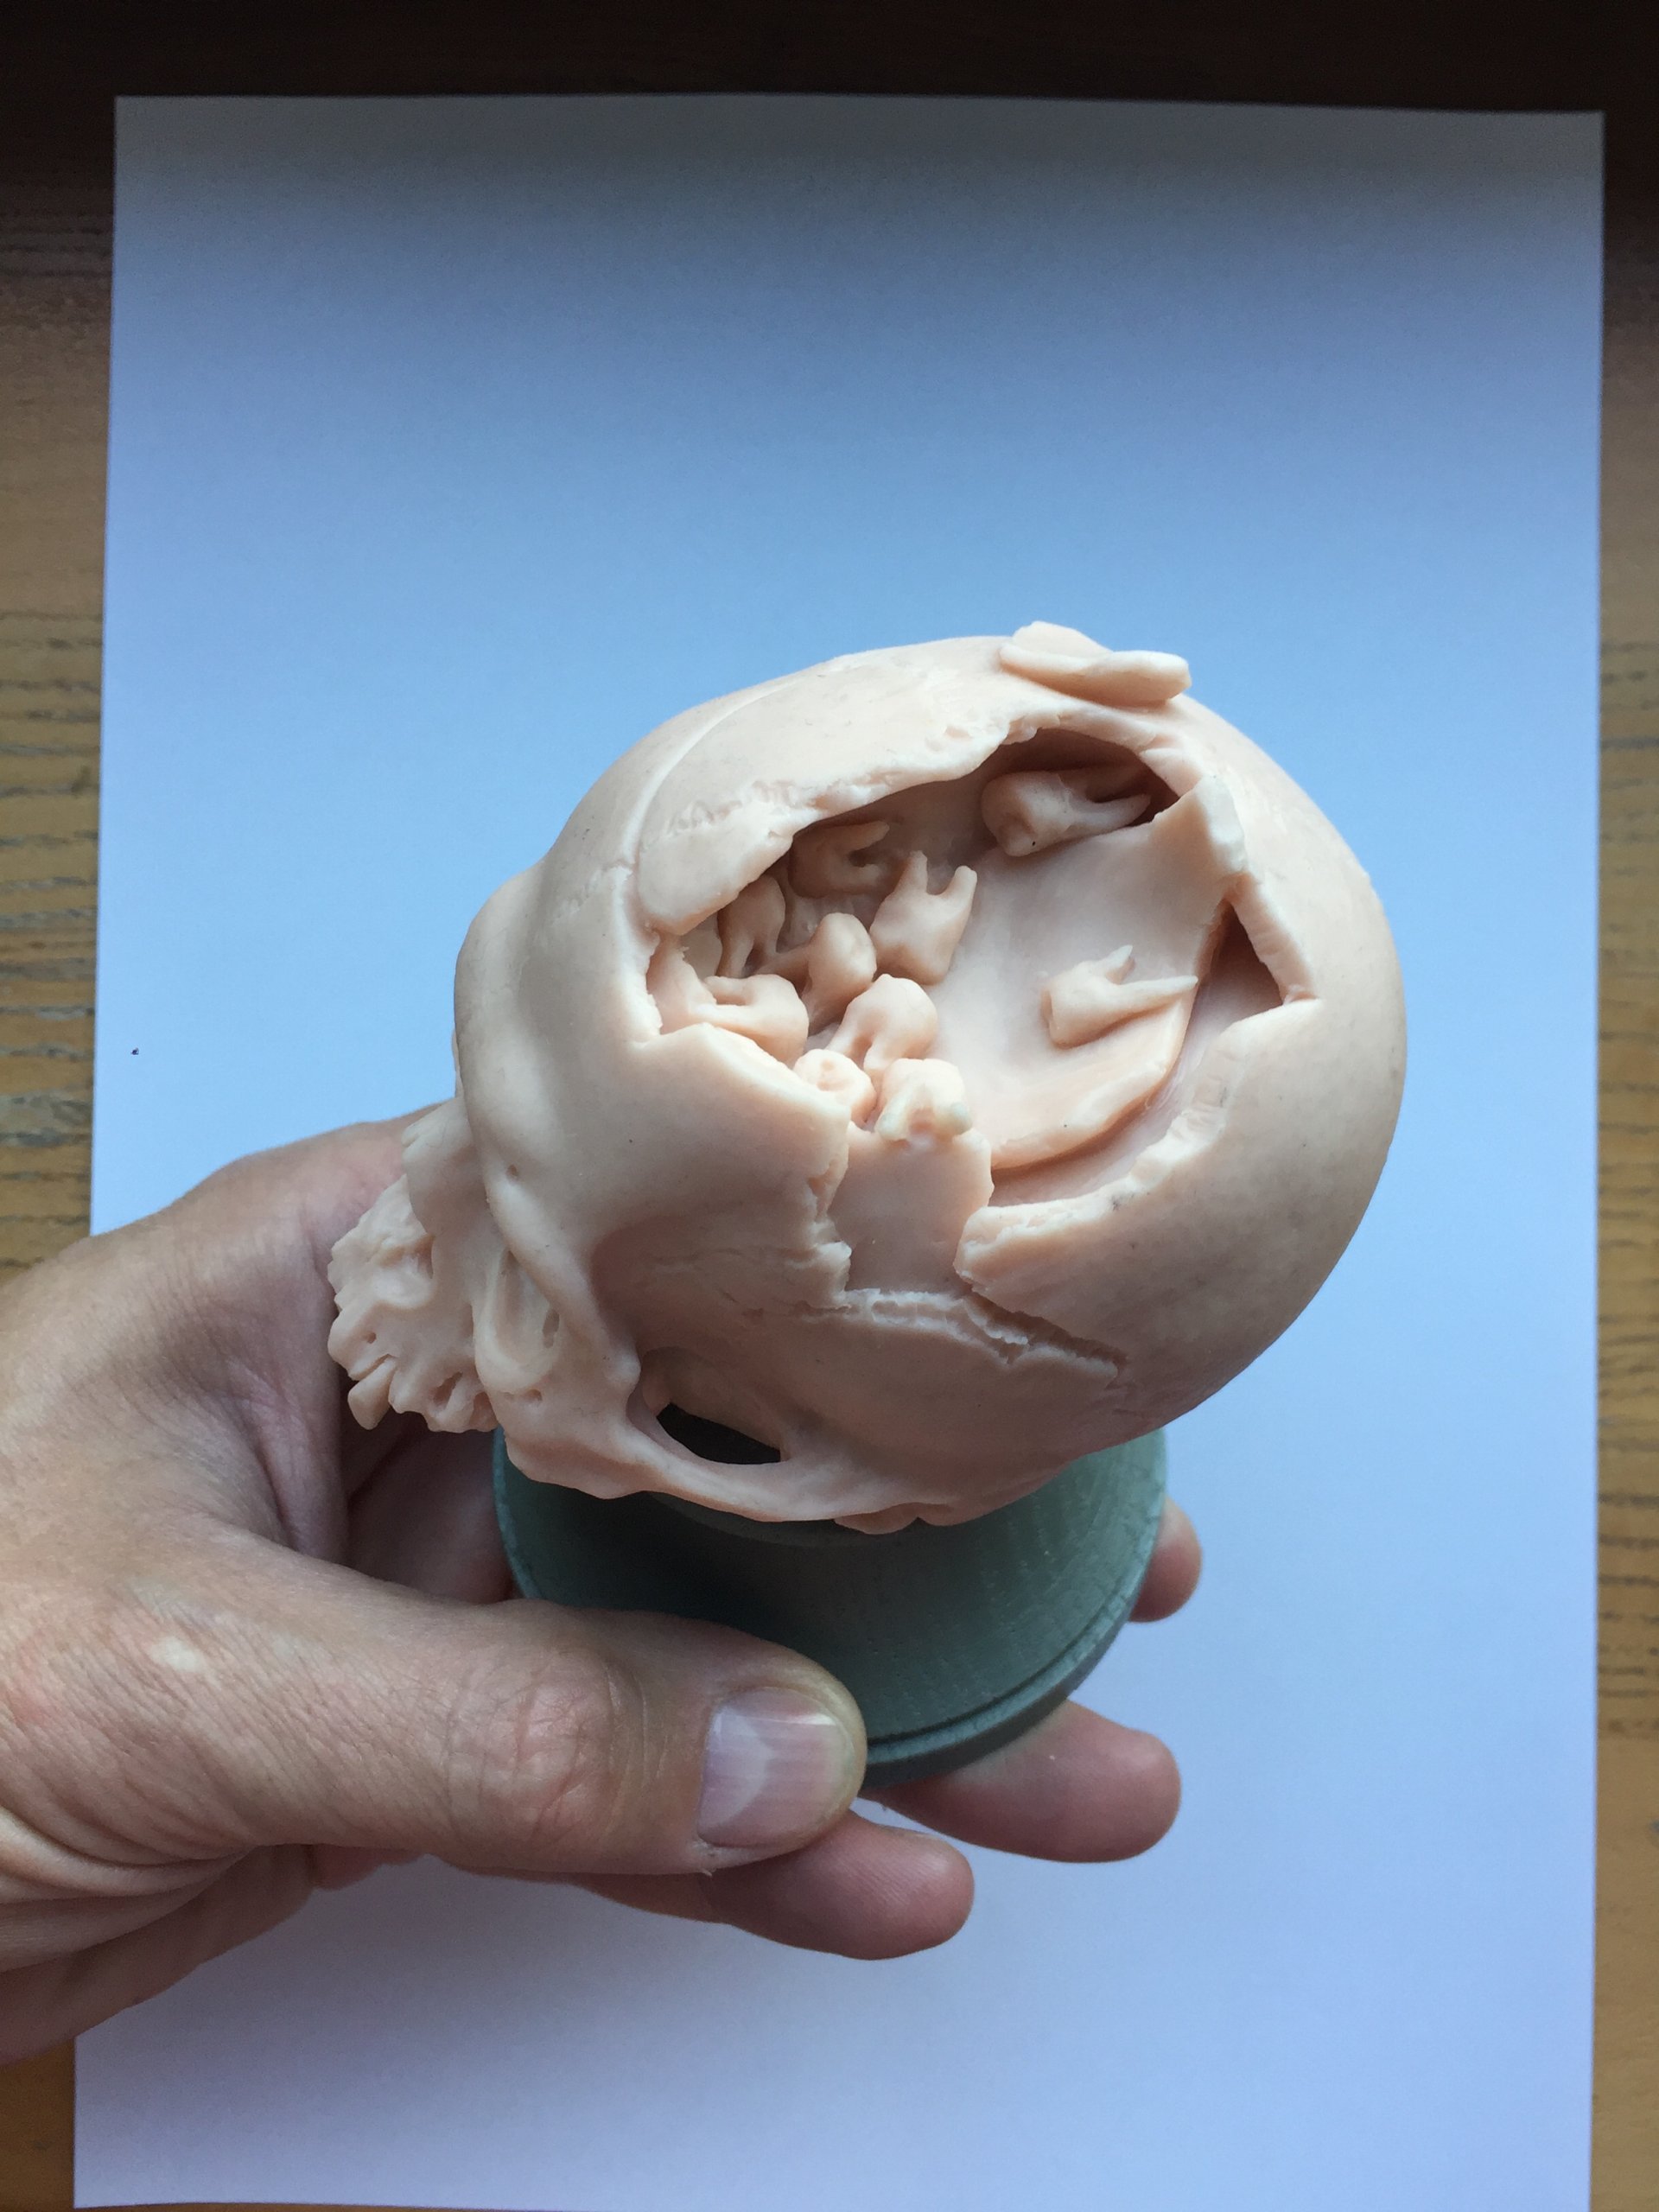
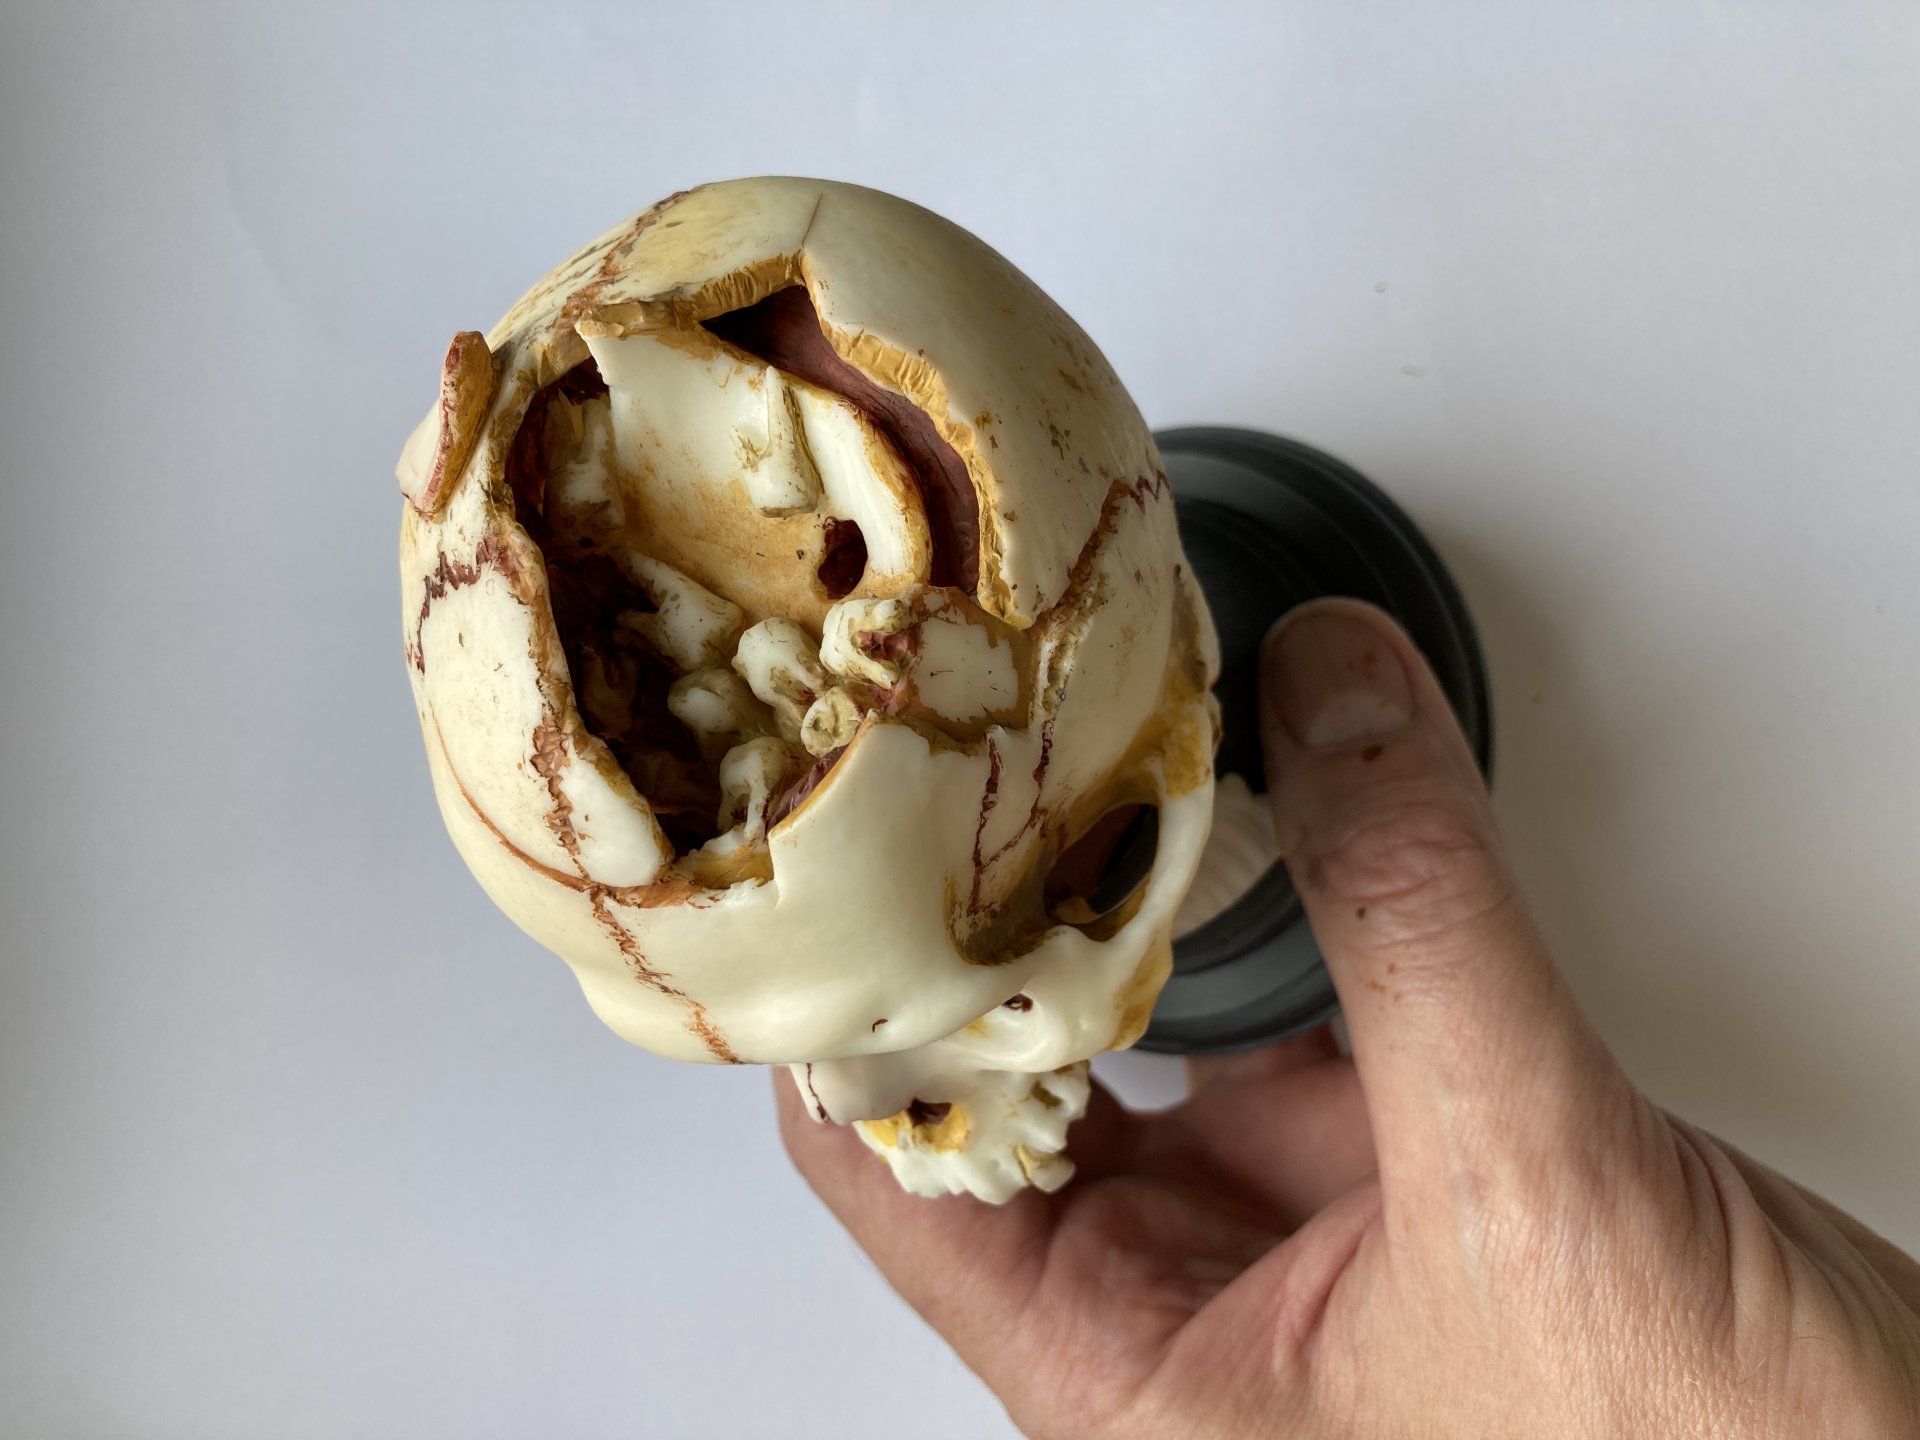
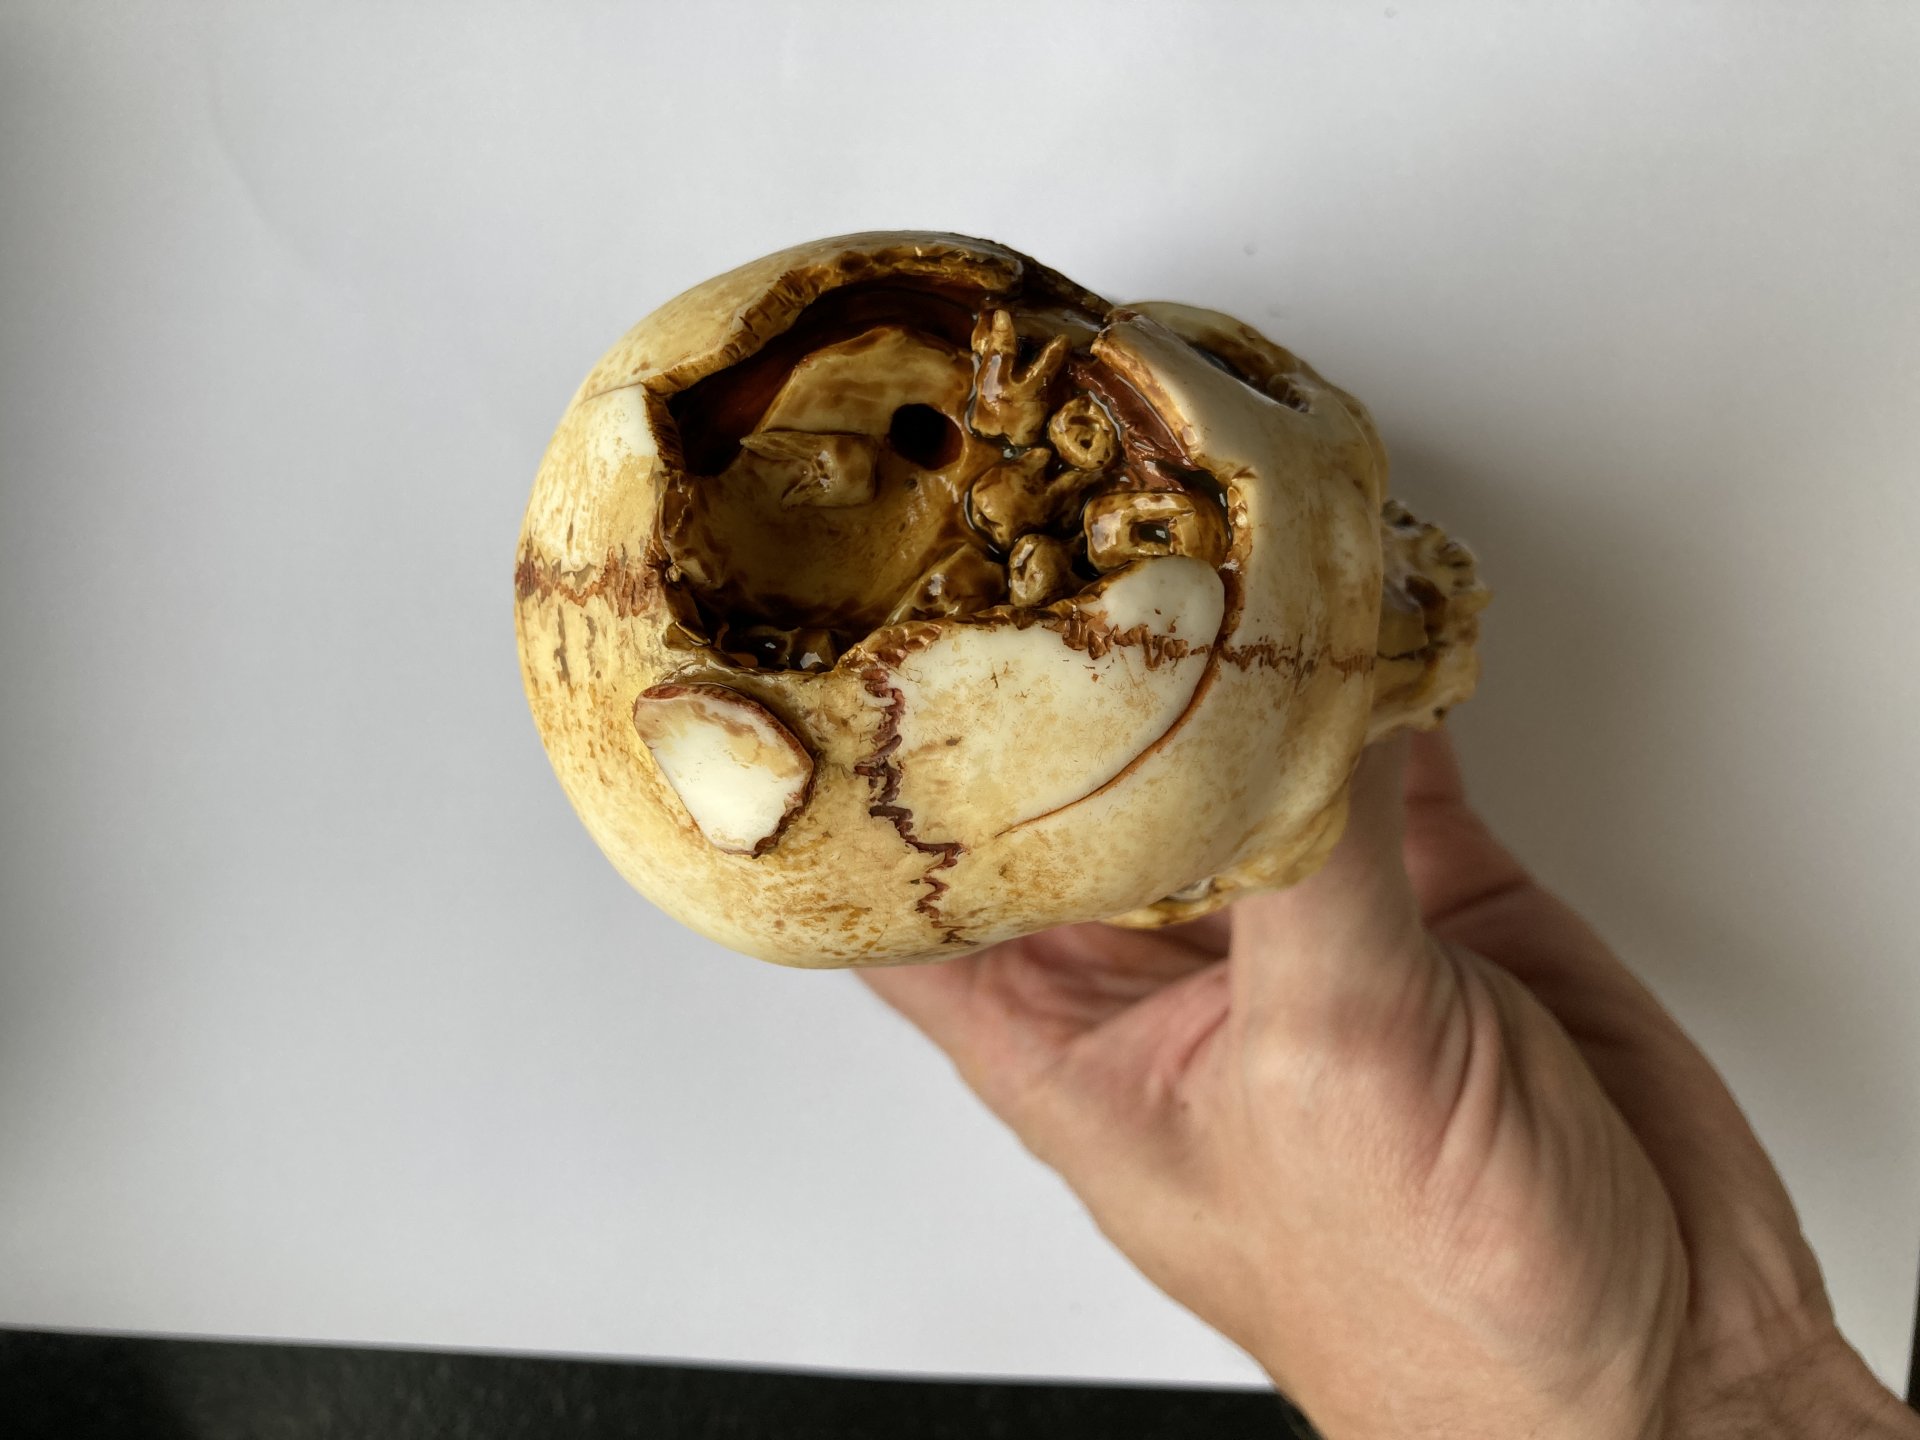
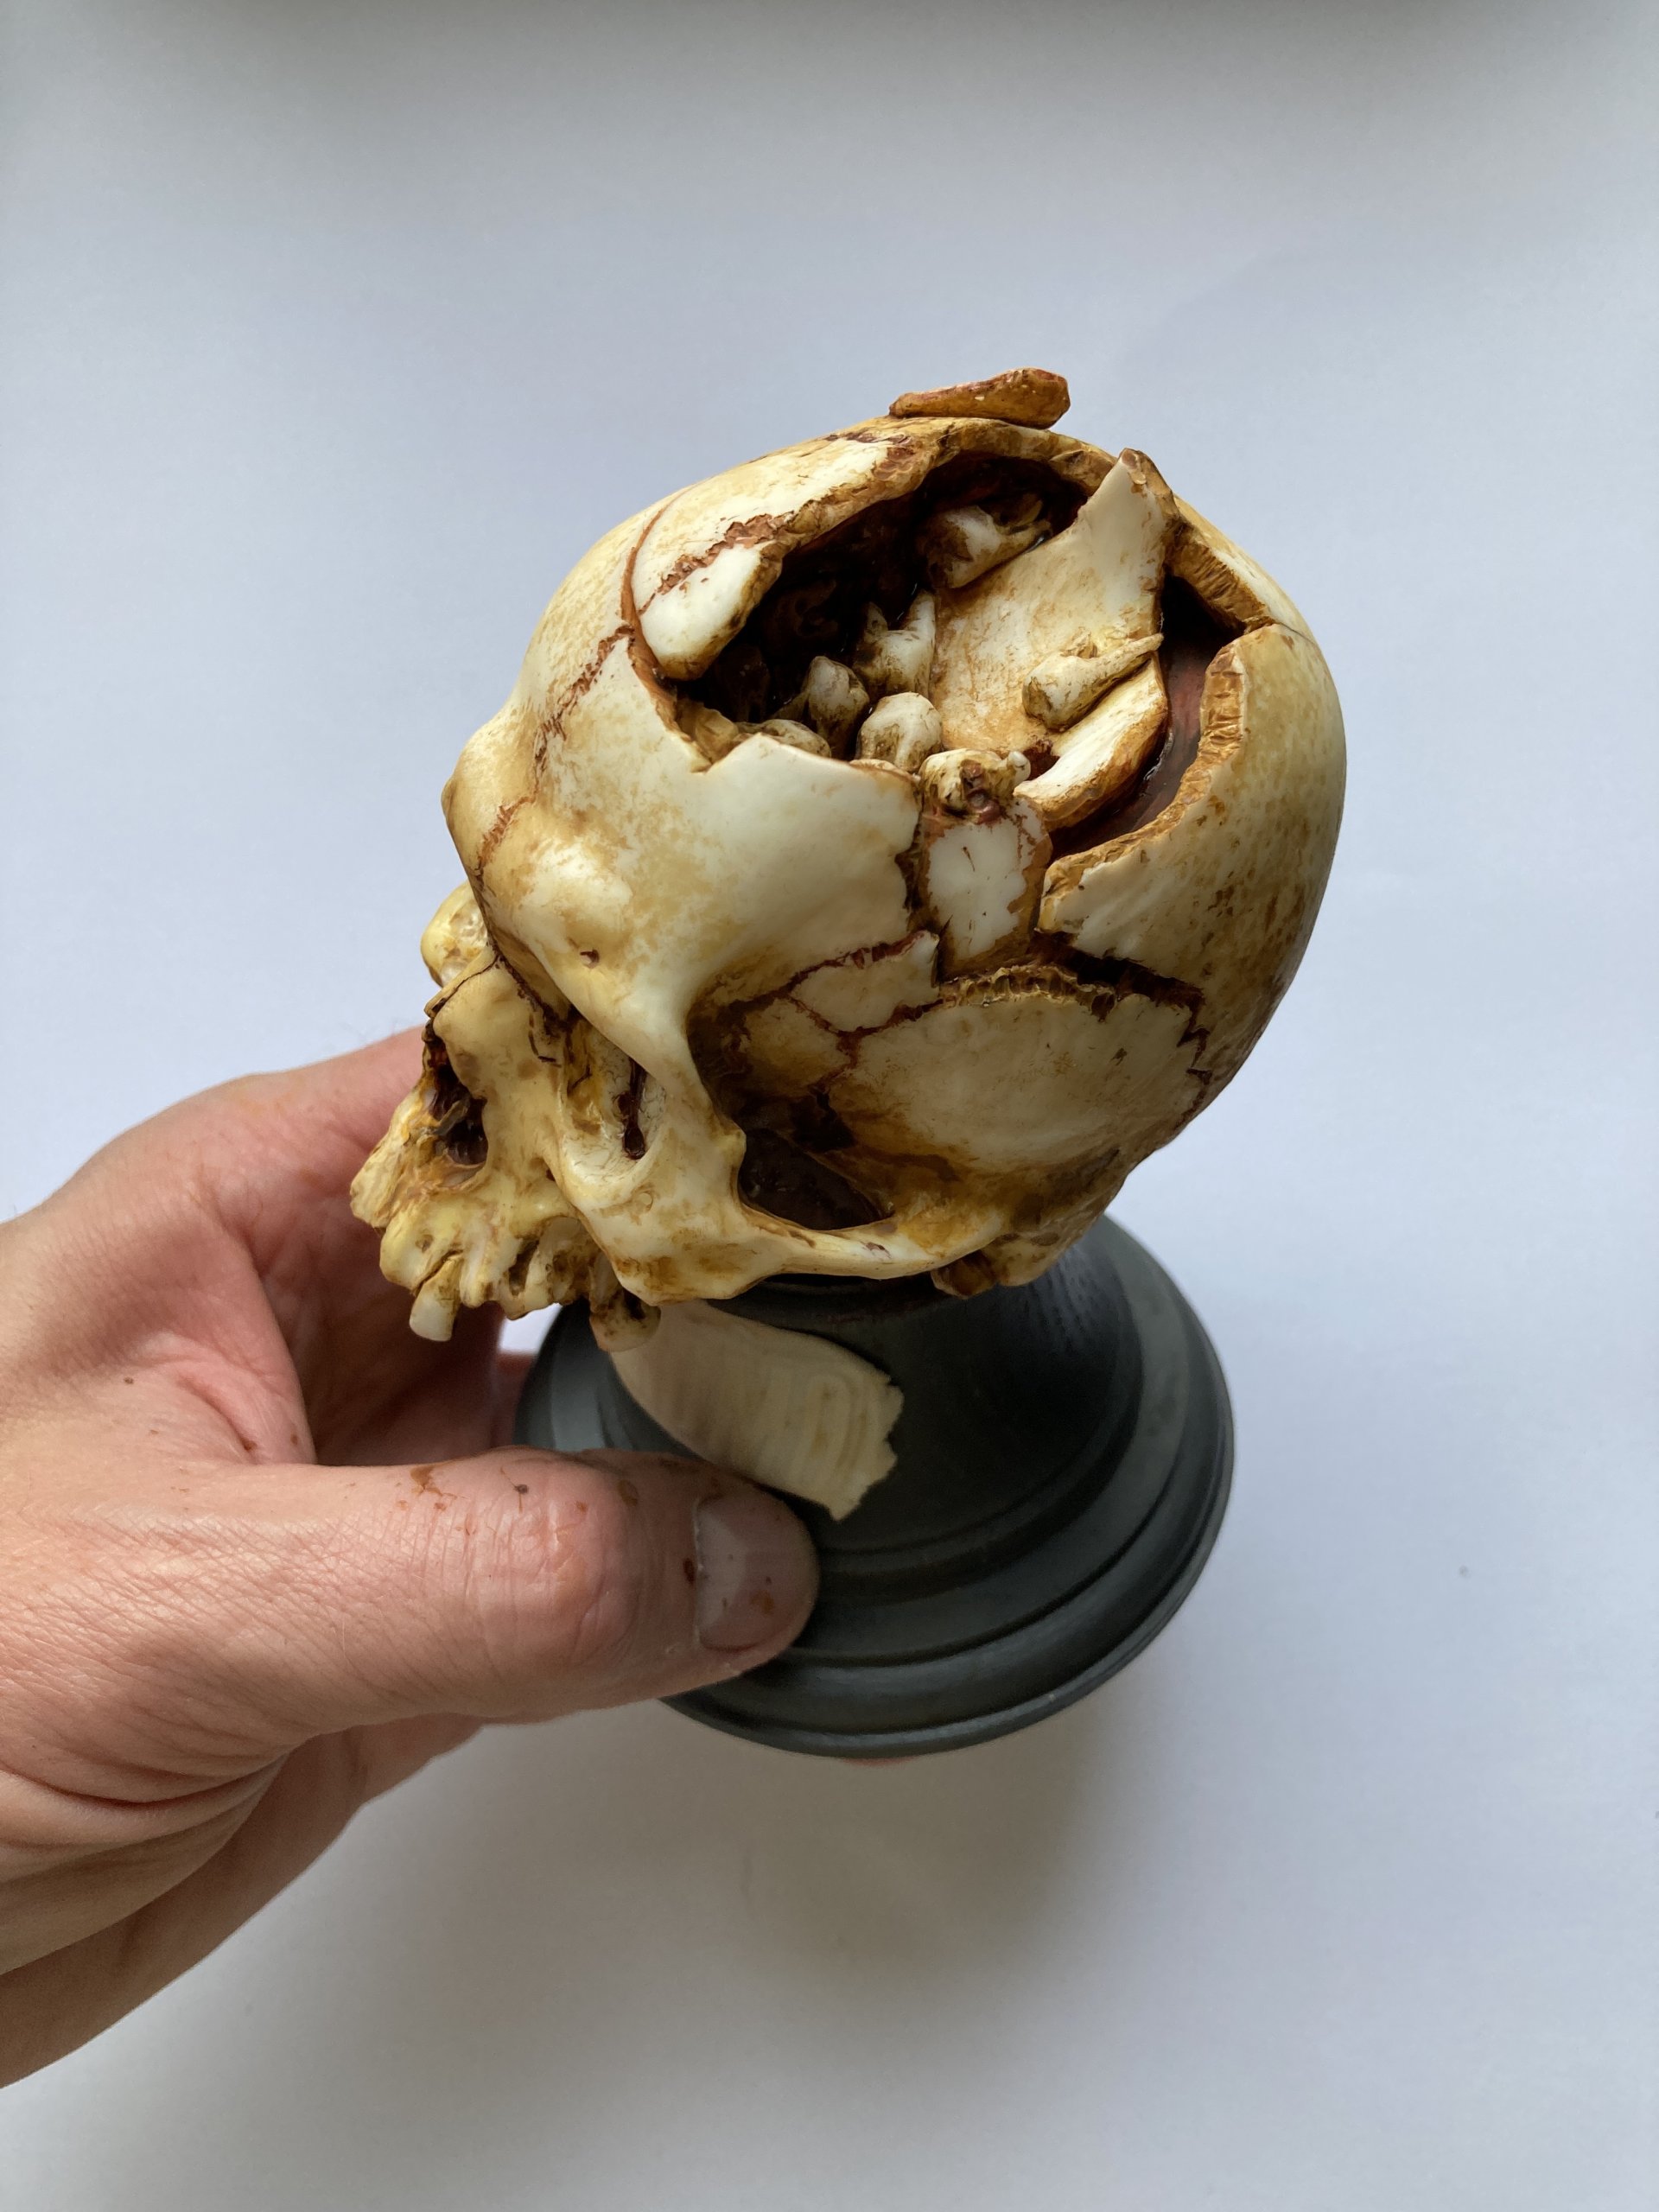
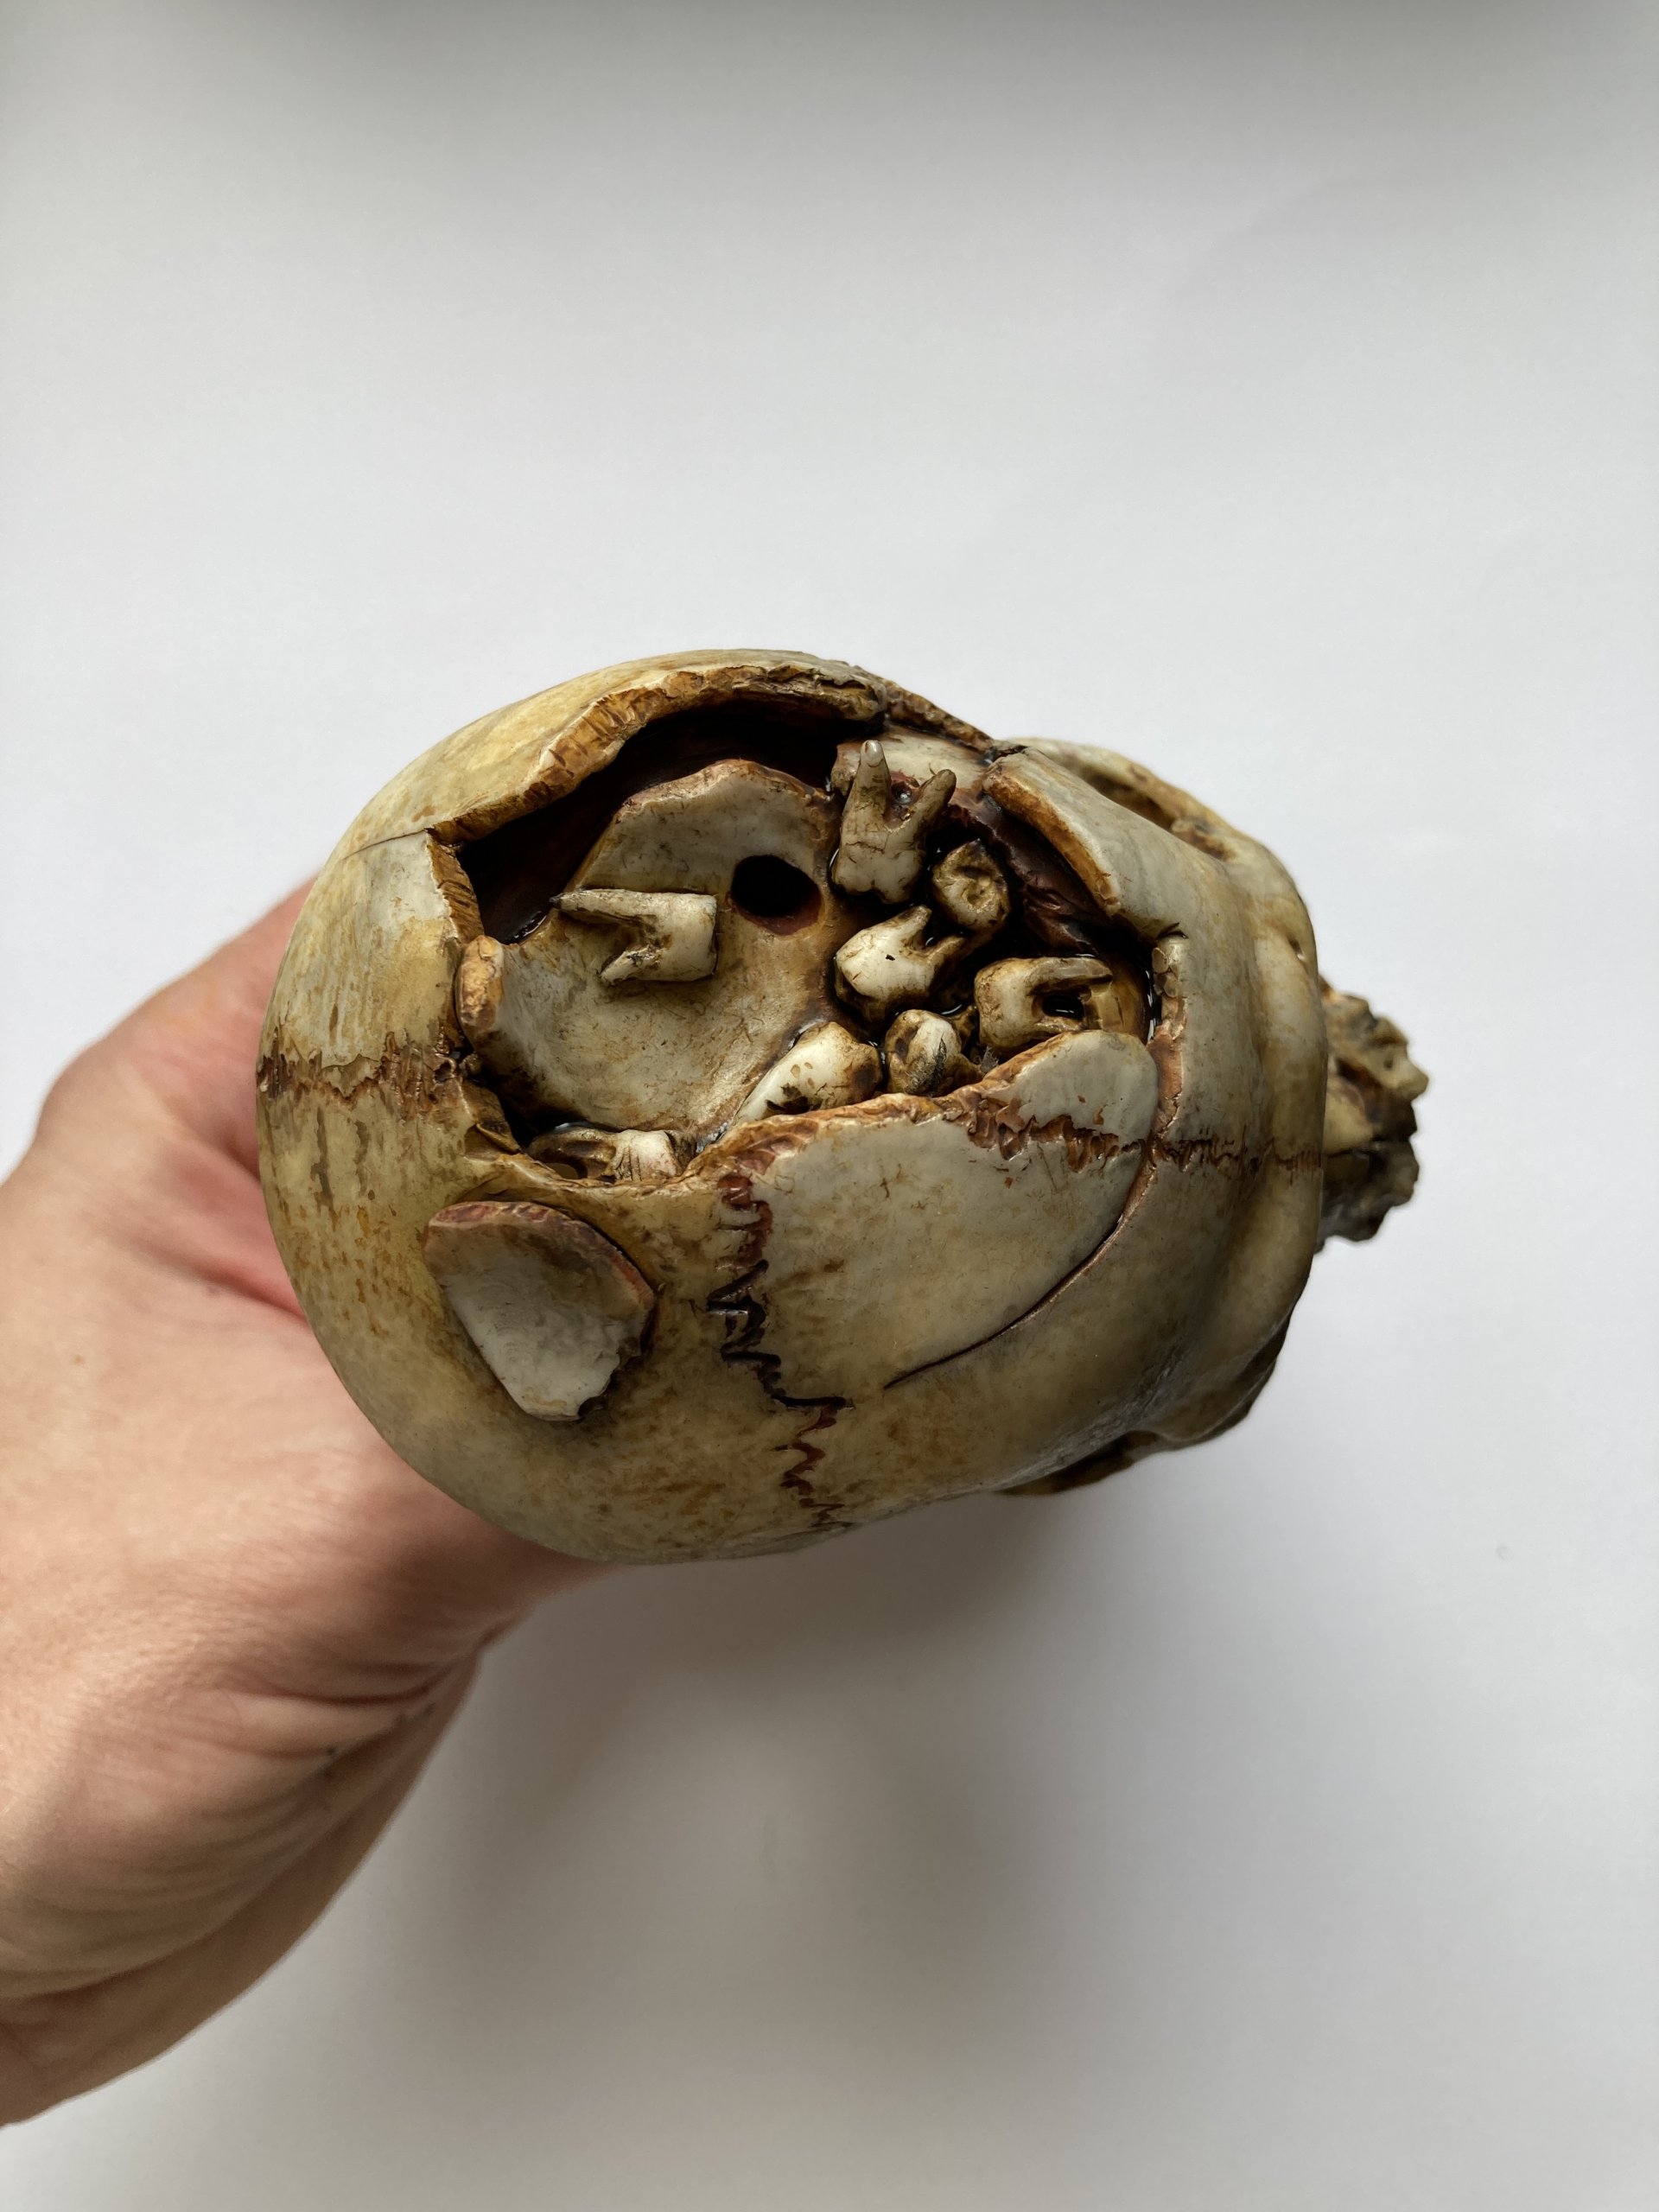
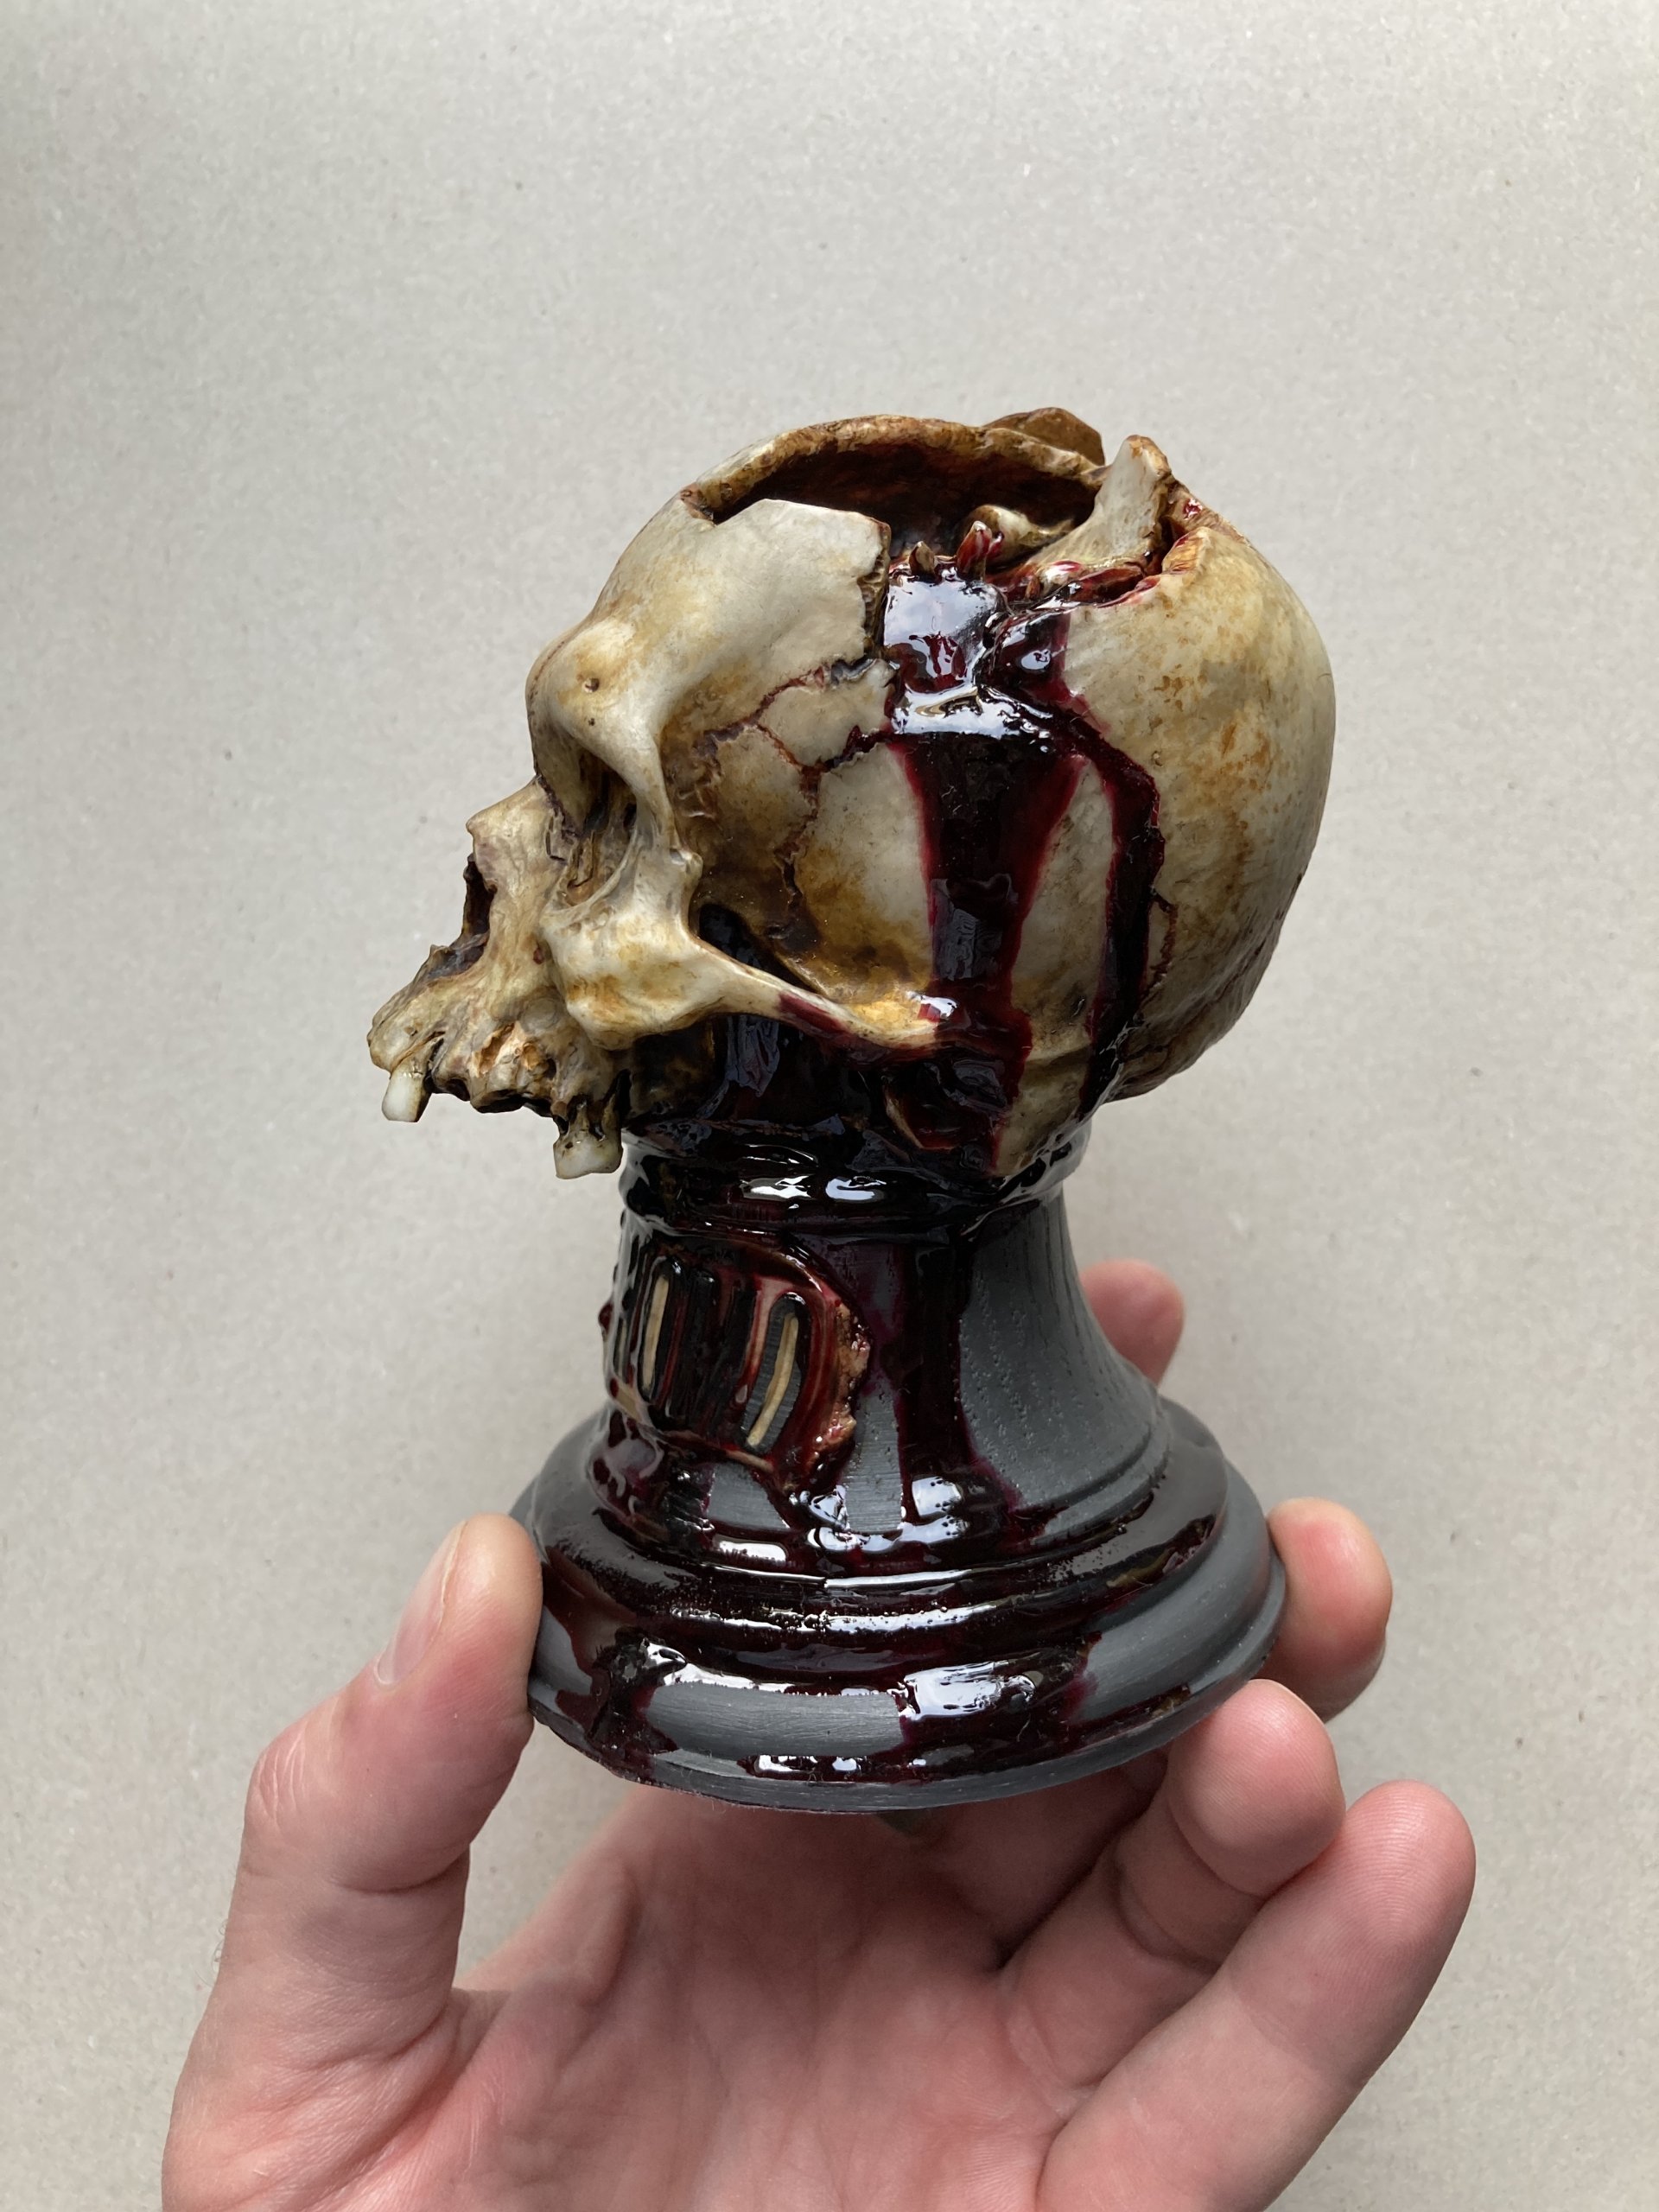
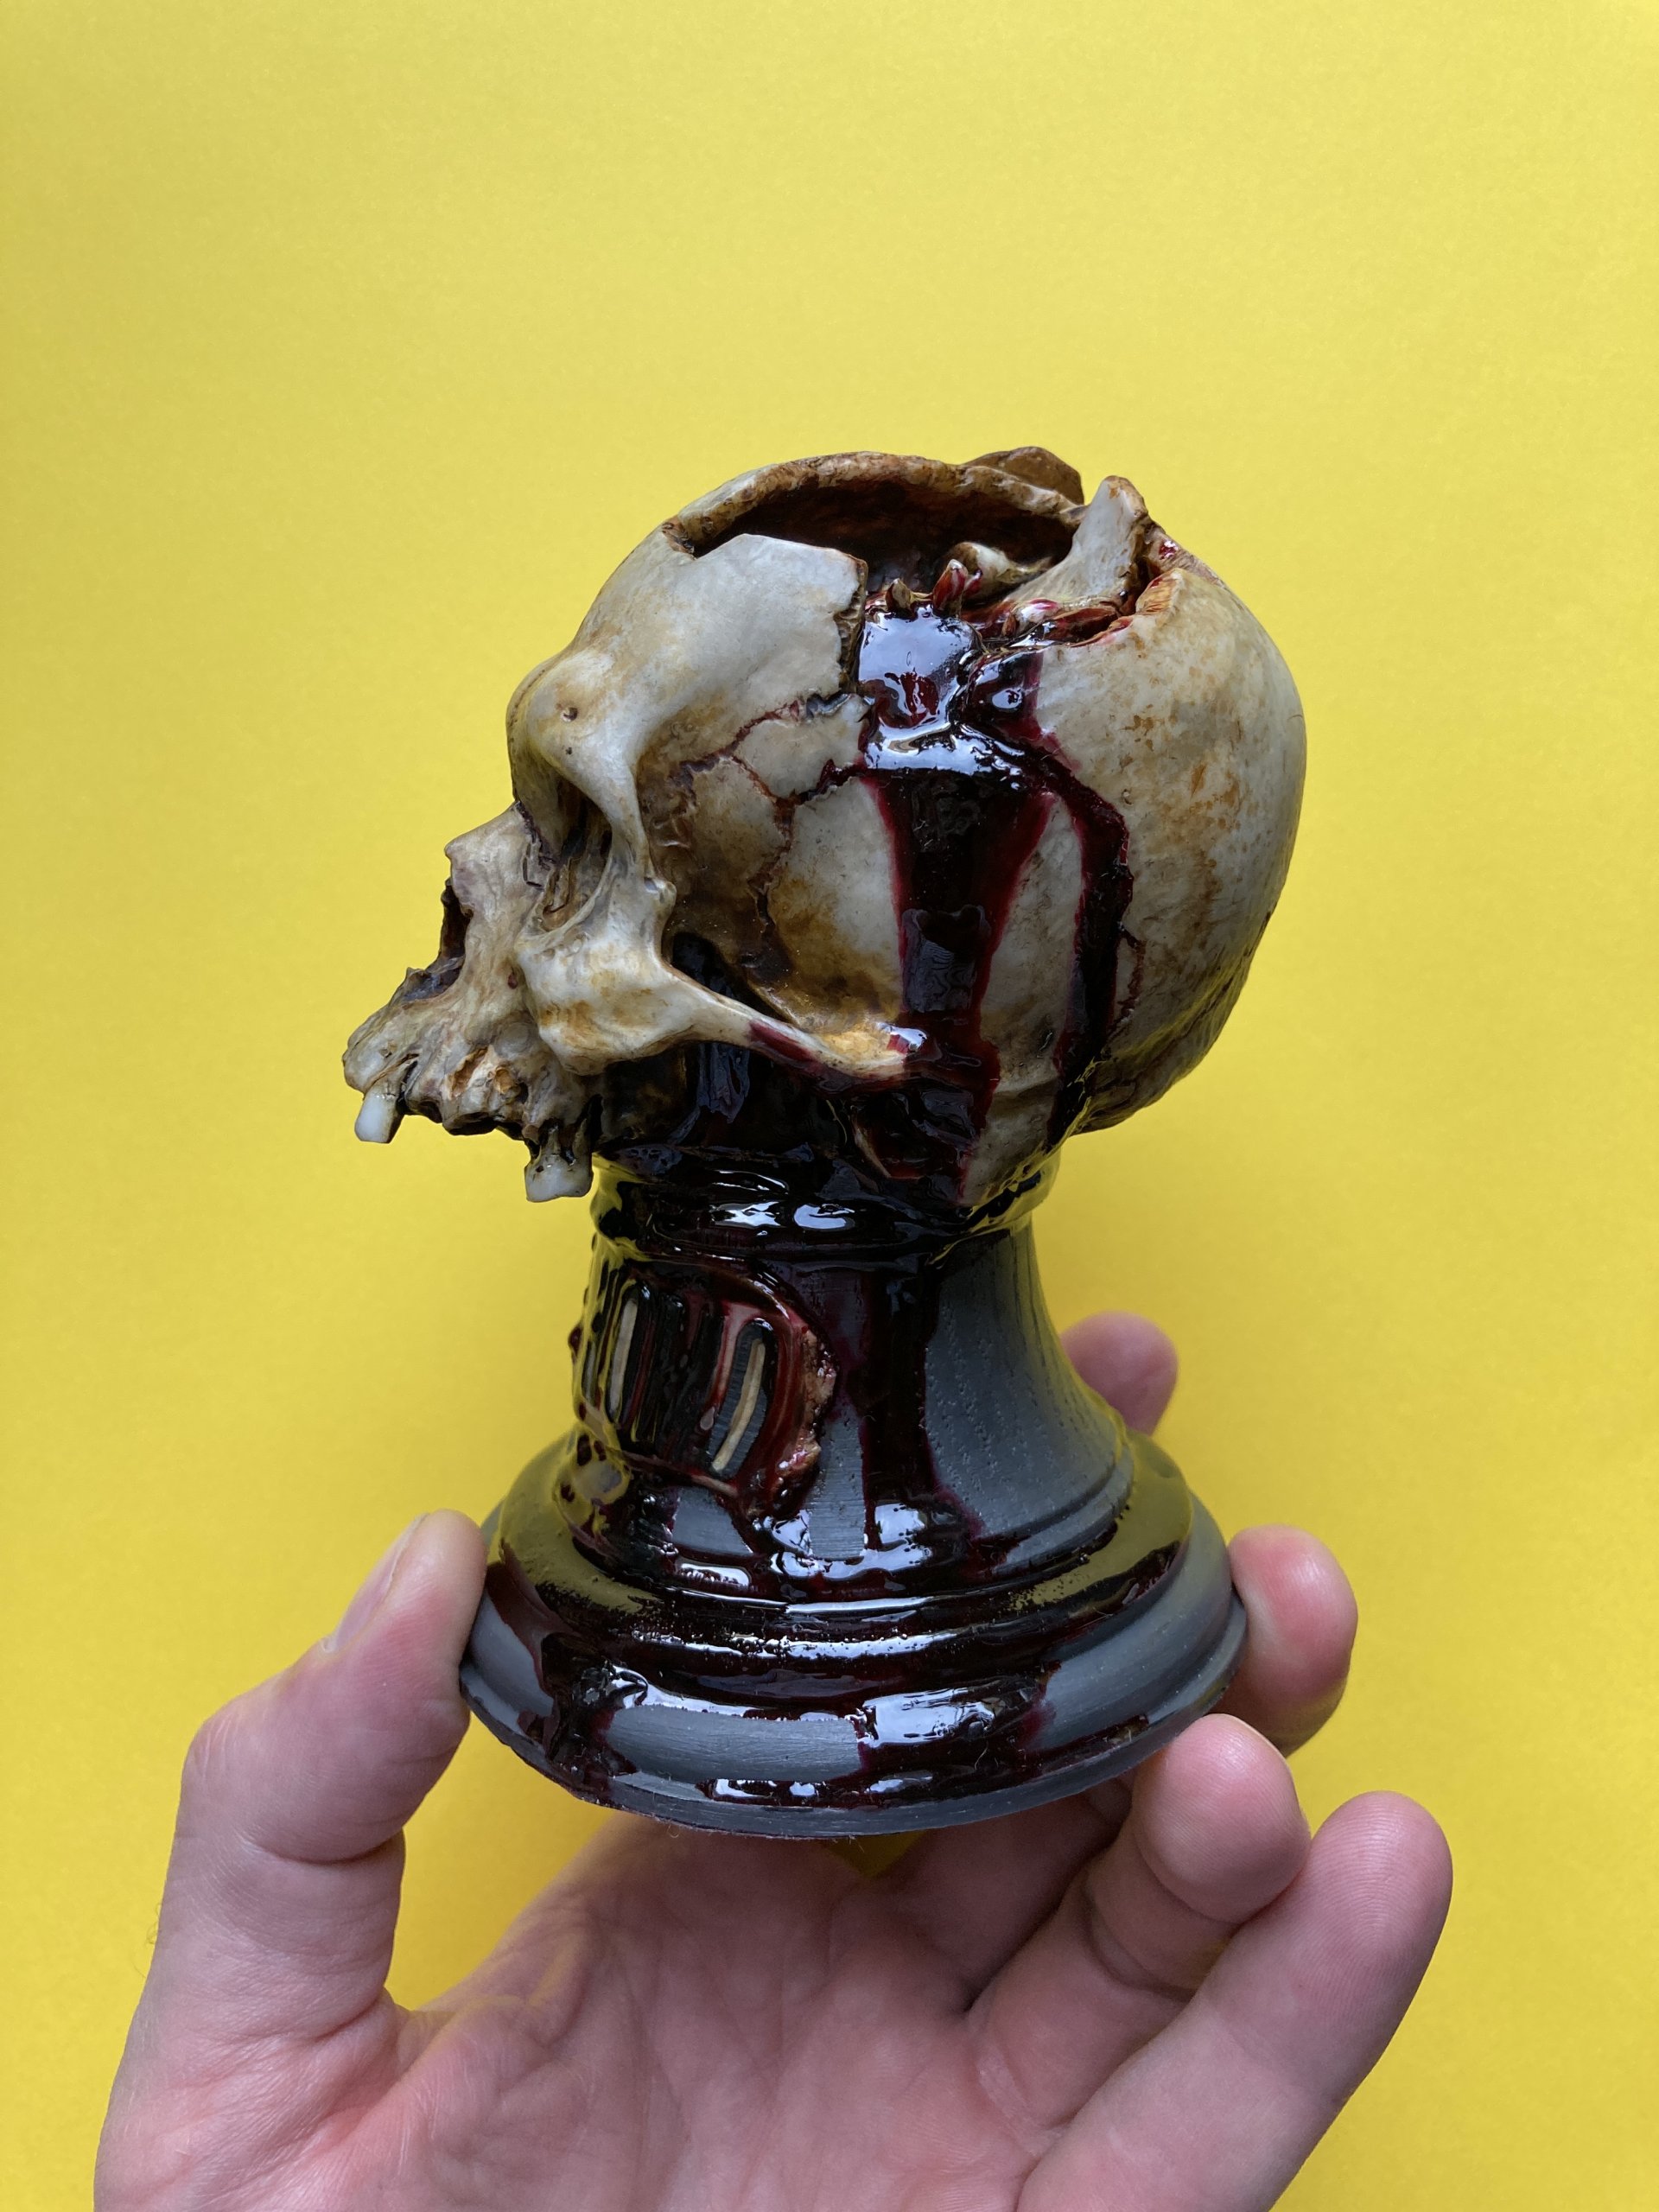
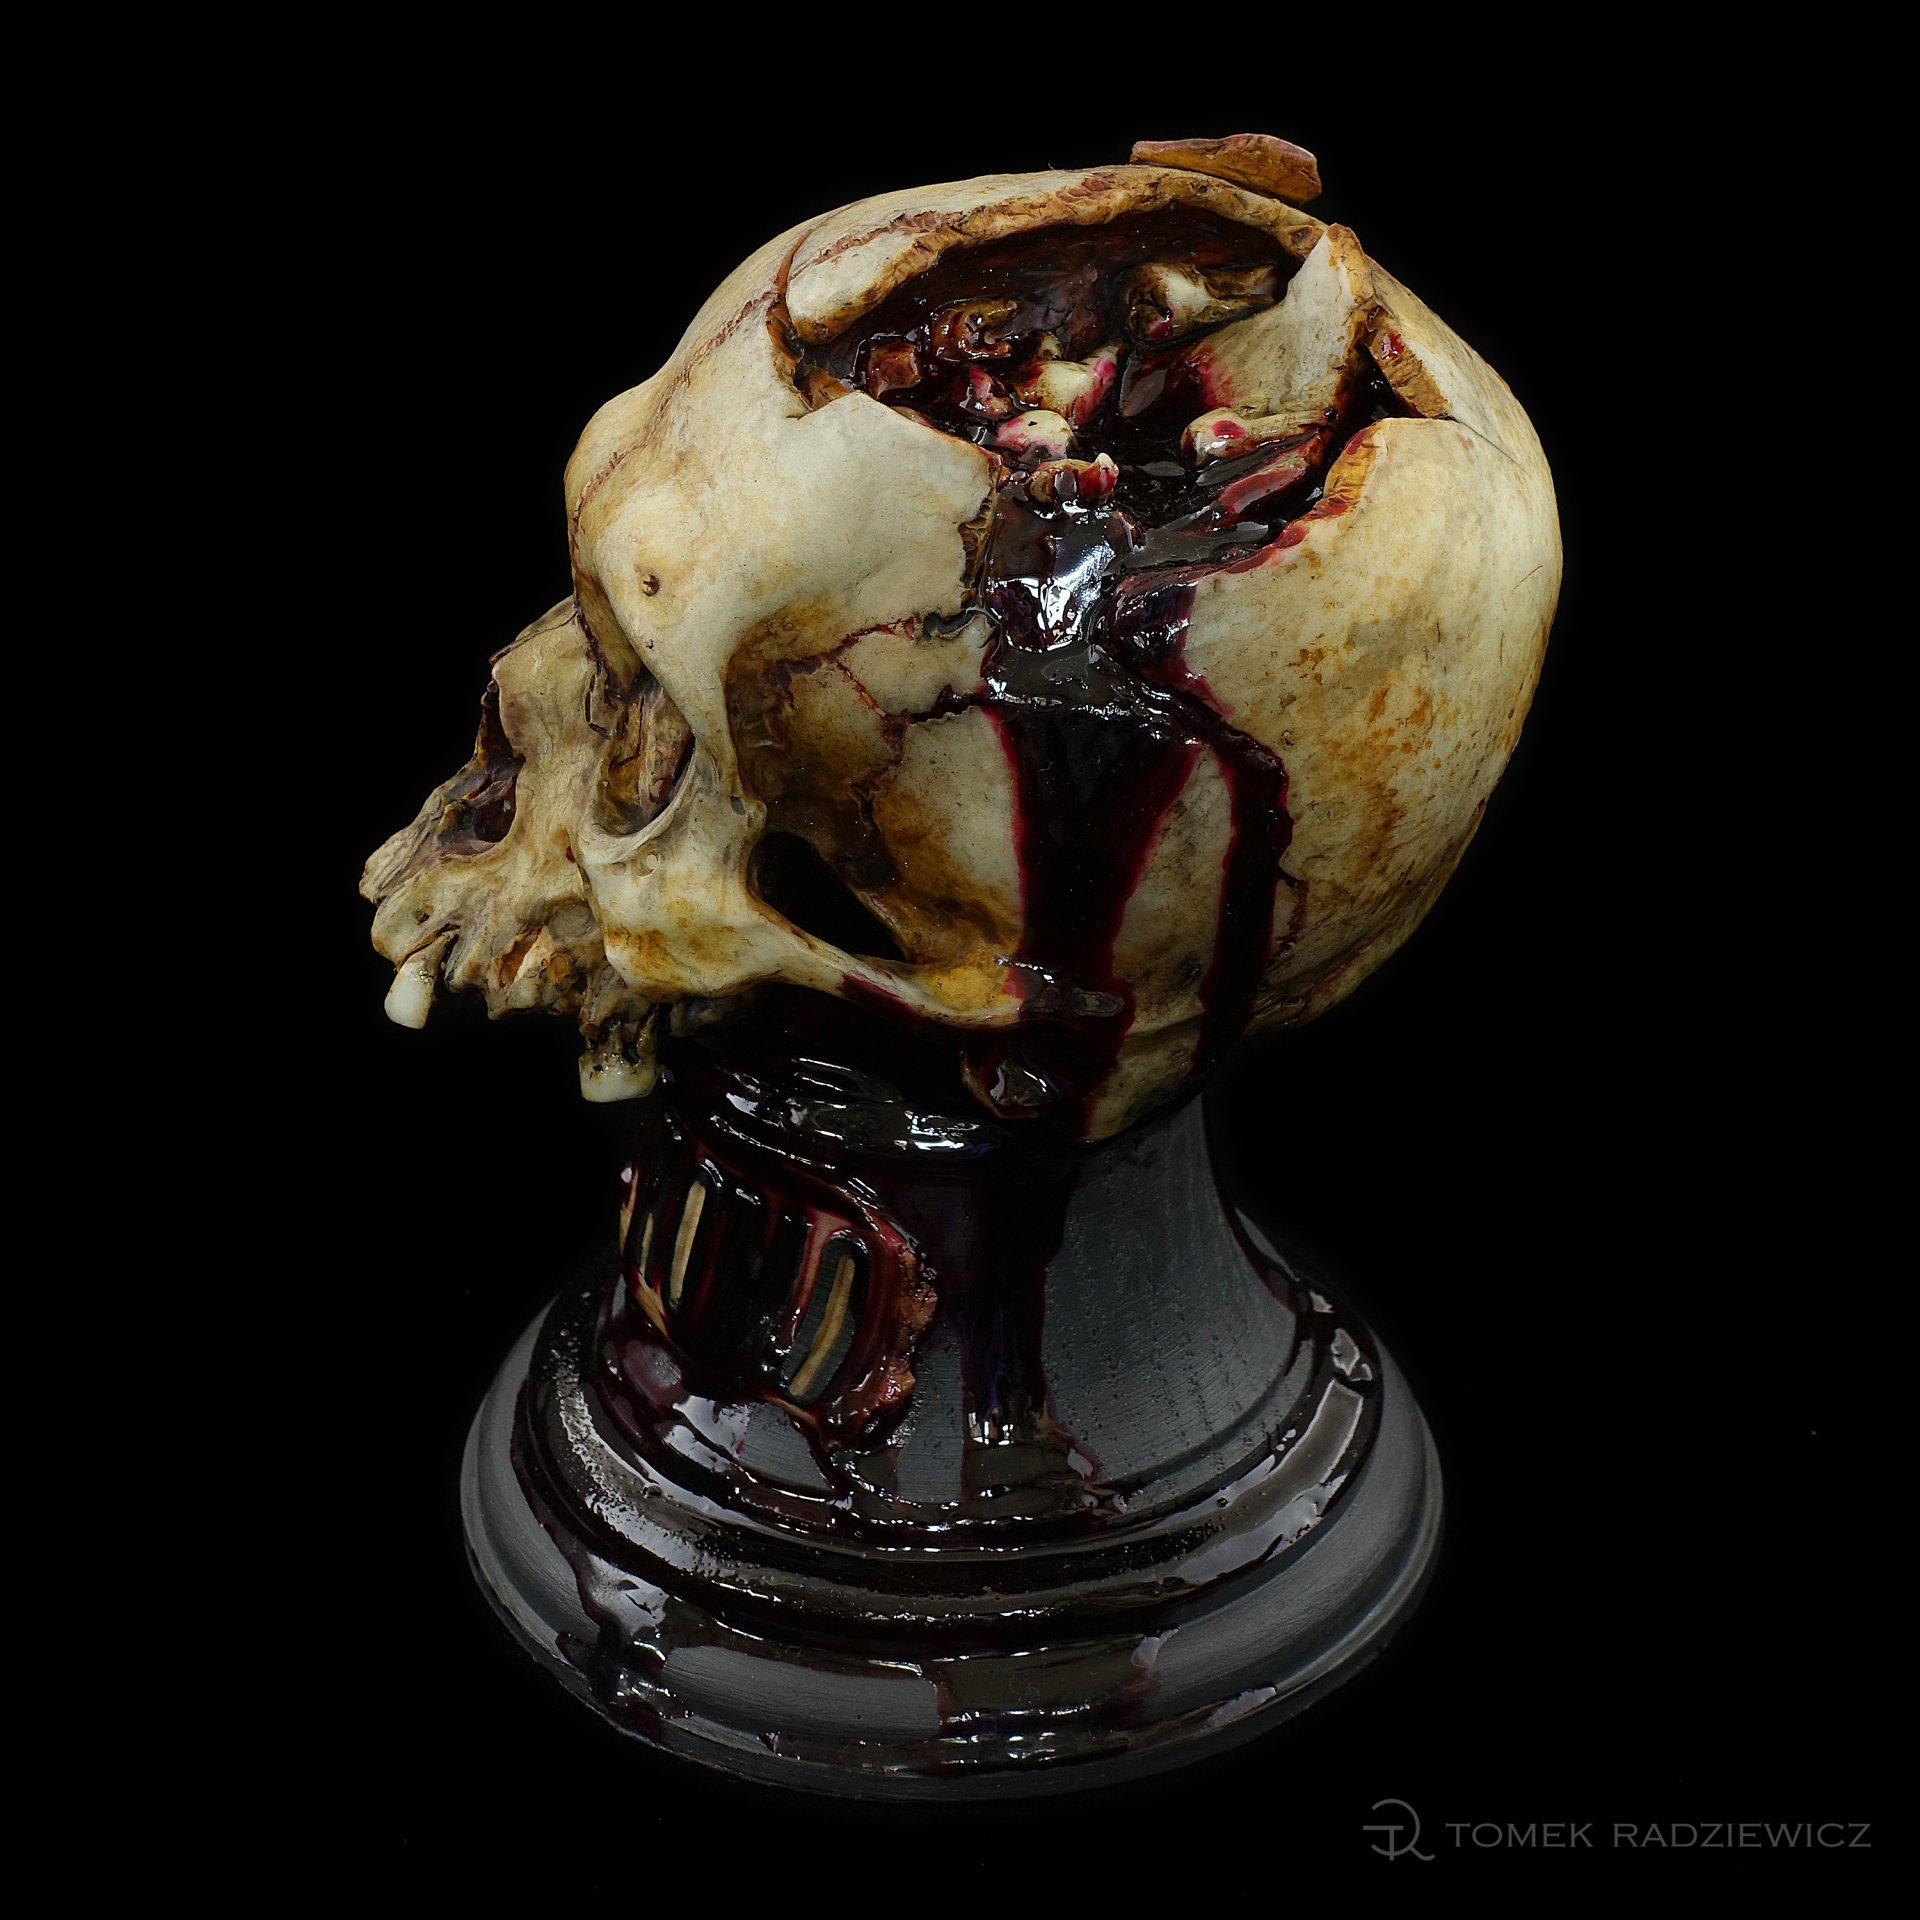
What I like most in my work is discovering the concept and sculptural process itself. As part of a series of sculptures called Dracula's Inkwell, I started carving the skull of the Tooth Fairy with only the outline of the project in my head and was open to what would happen as next. I was wondering if it should be cracked or with a hole. I assumed I would carve it without a jaw. The entire series of Dracula's inkpot was created with the head on a base with blood, but the final effect was unknown to me. During craving I keep my mind open, so when I came up with the idea of inserting the fallen teeth inside the skull, I decided just to go for it. And this idea appeared unexpectedly during the creation ... So I was about to finish the project in a credible, ugly, terrifying and interesting way.
SCULPTURE MATERIAL
To make this sculpture, I used a flesh-colored resin, close to the final color. Every time I work on a small scale, I use the clay polymer - in this project as well. I really like to create in it, because I can position the main body quickly and precisely, which is the basis for me. When I have warm hands, the material is soft and graceful in modeling, so I carefully work on every detail. And when my hands get cold and the material no longer forms well, I eagerly reach for a cup of hot tea, so perfect for cooler autumn days ...
TOOLS
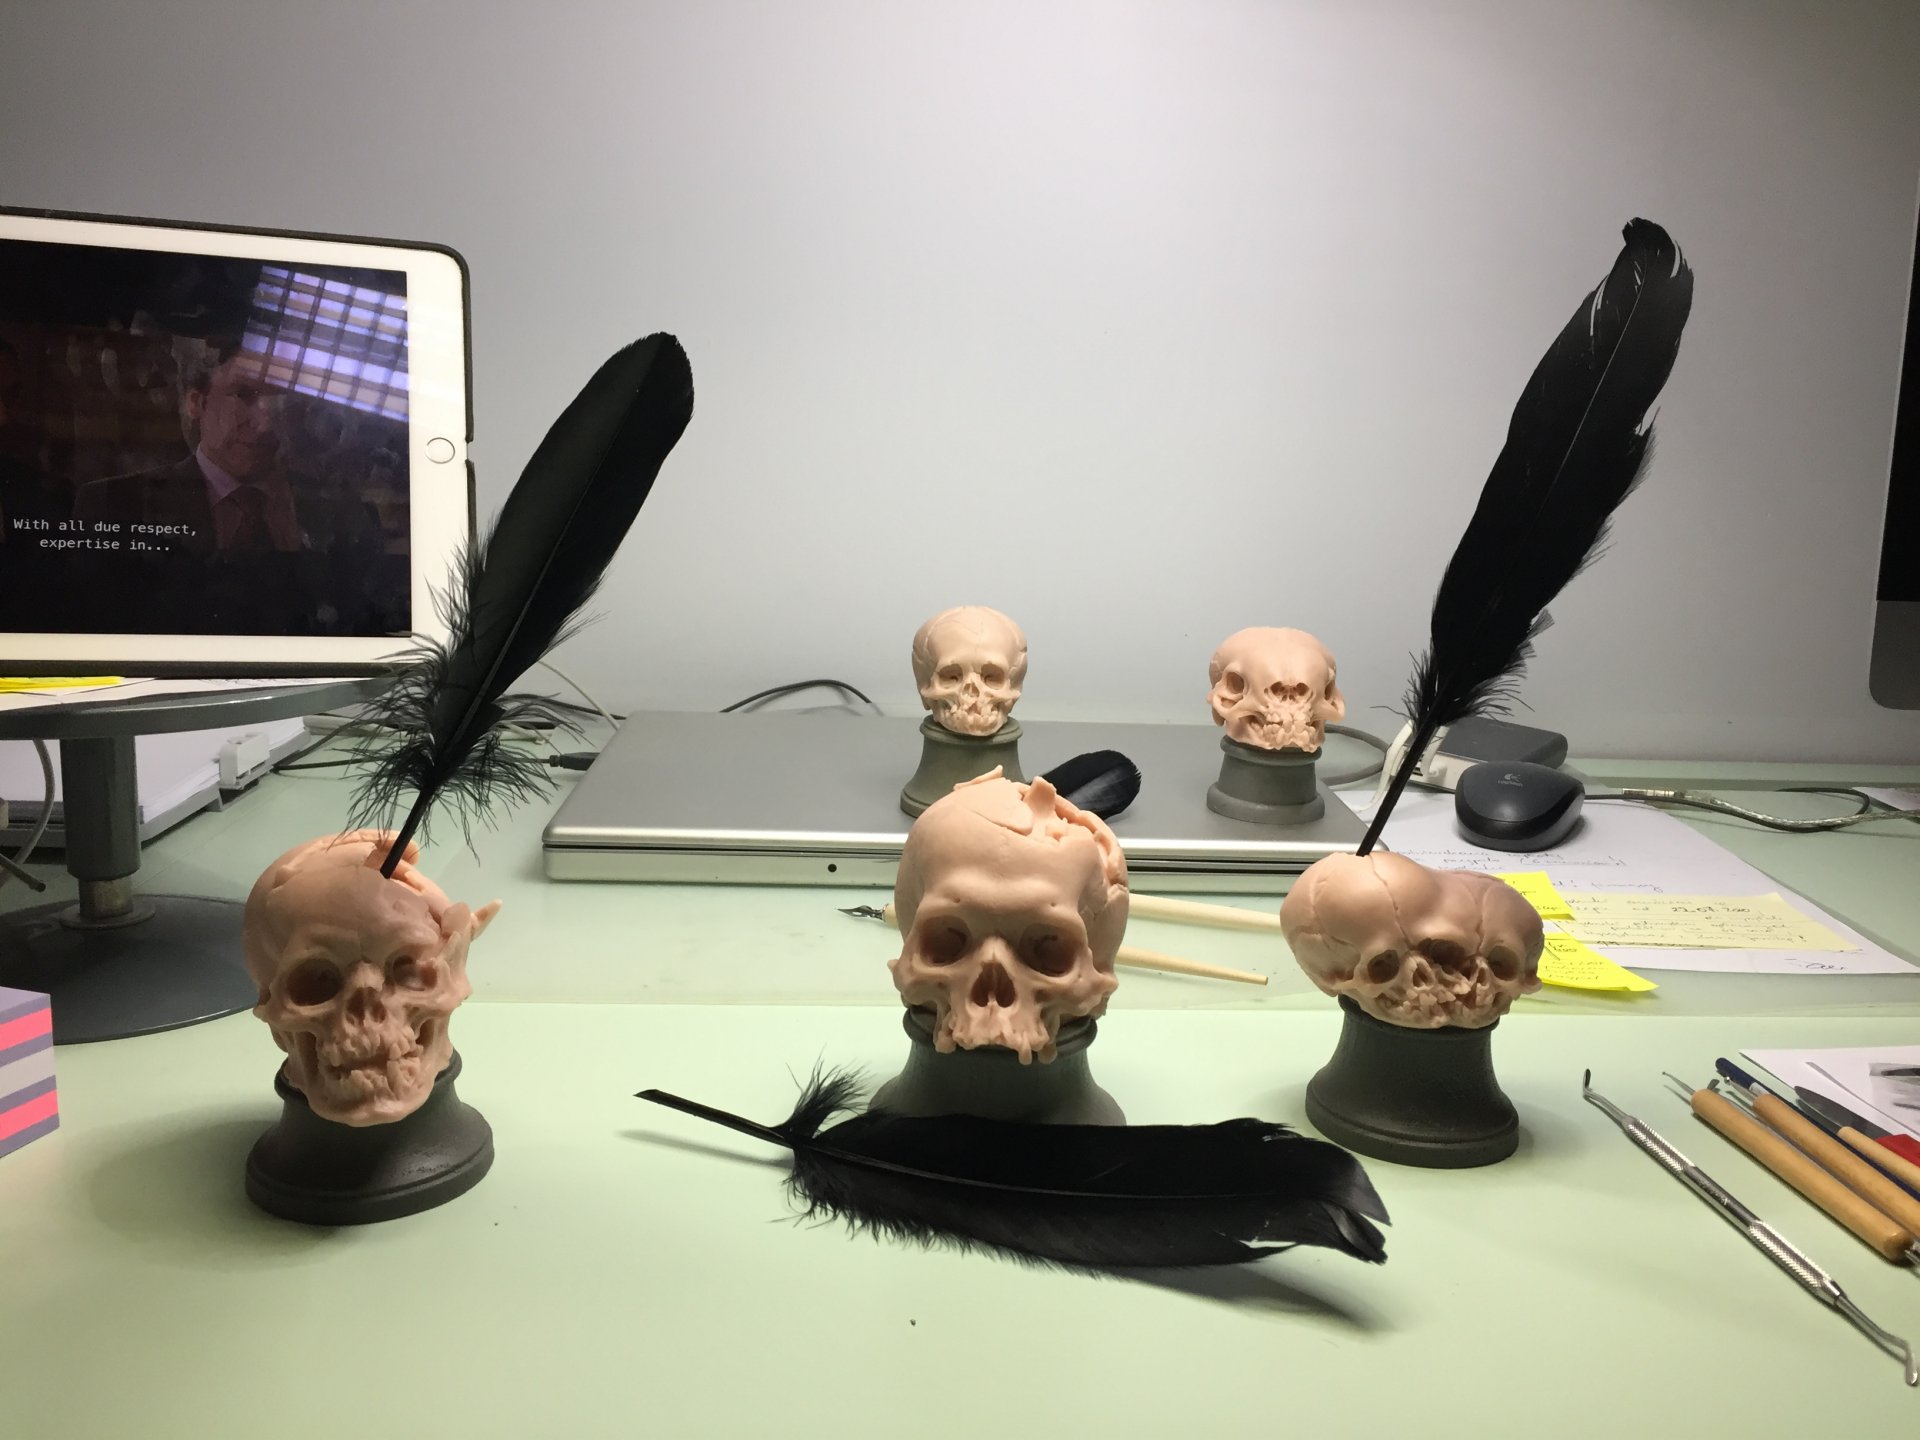
My main tools in the work as a sculptor are hands and head. In addition to these, I use accessories, such as a simple, pointed but blunt small knife, a dental spatula, a few ball tools and three brushes. You don't actually need more - these few simple tools I use most often.
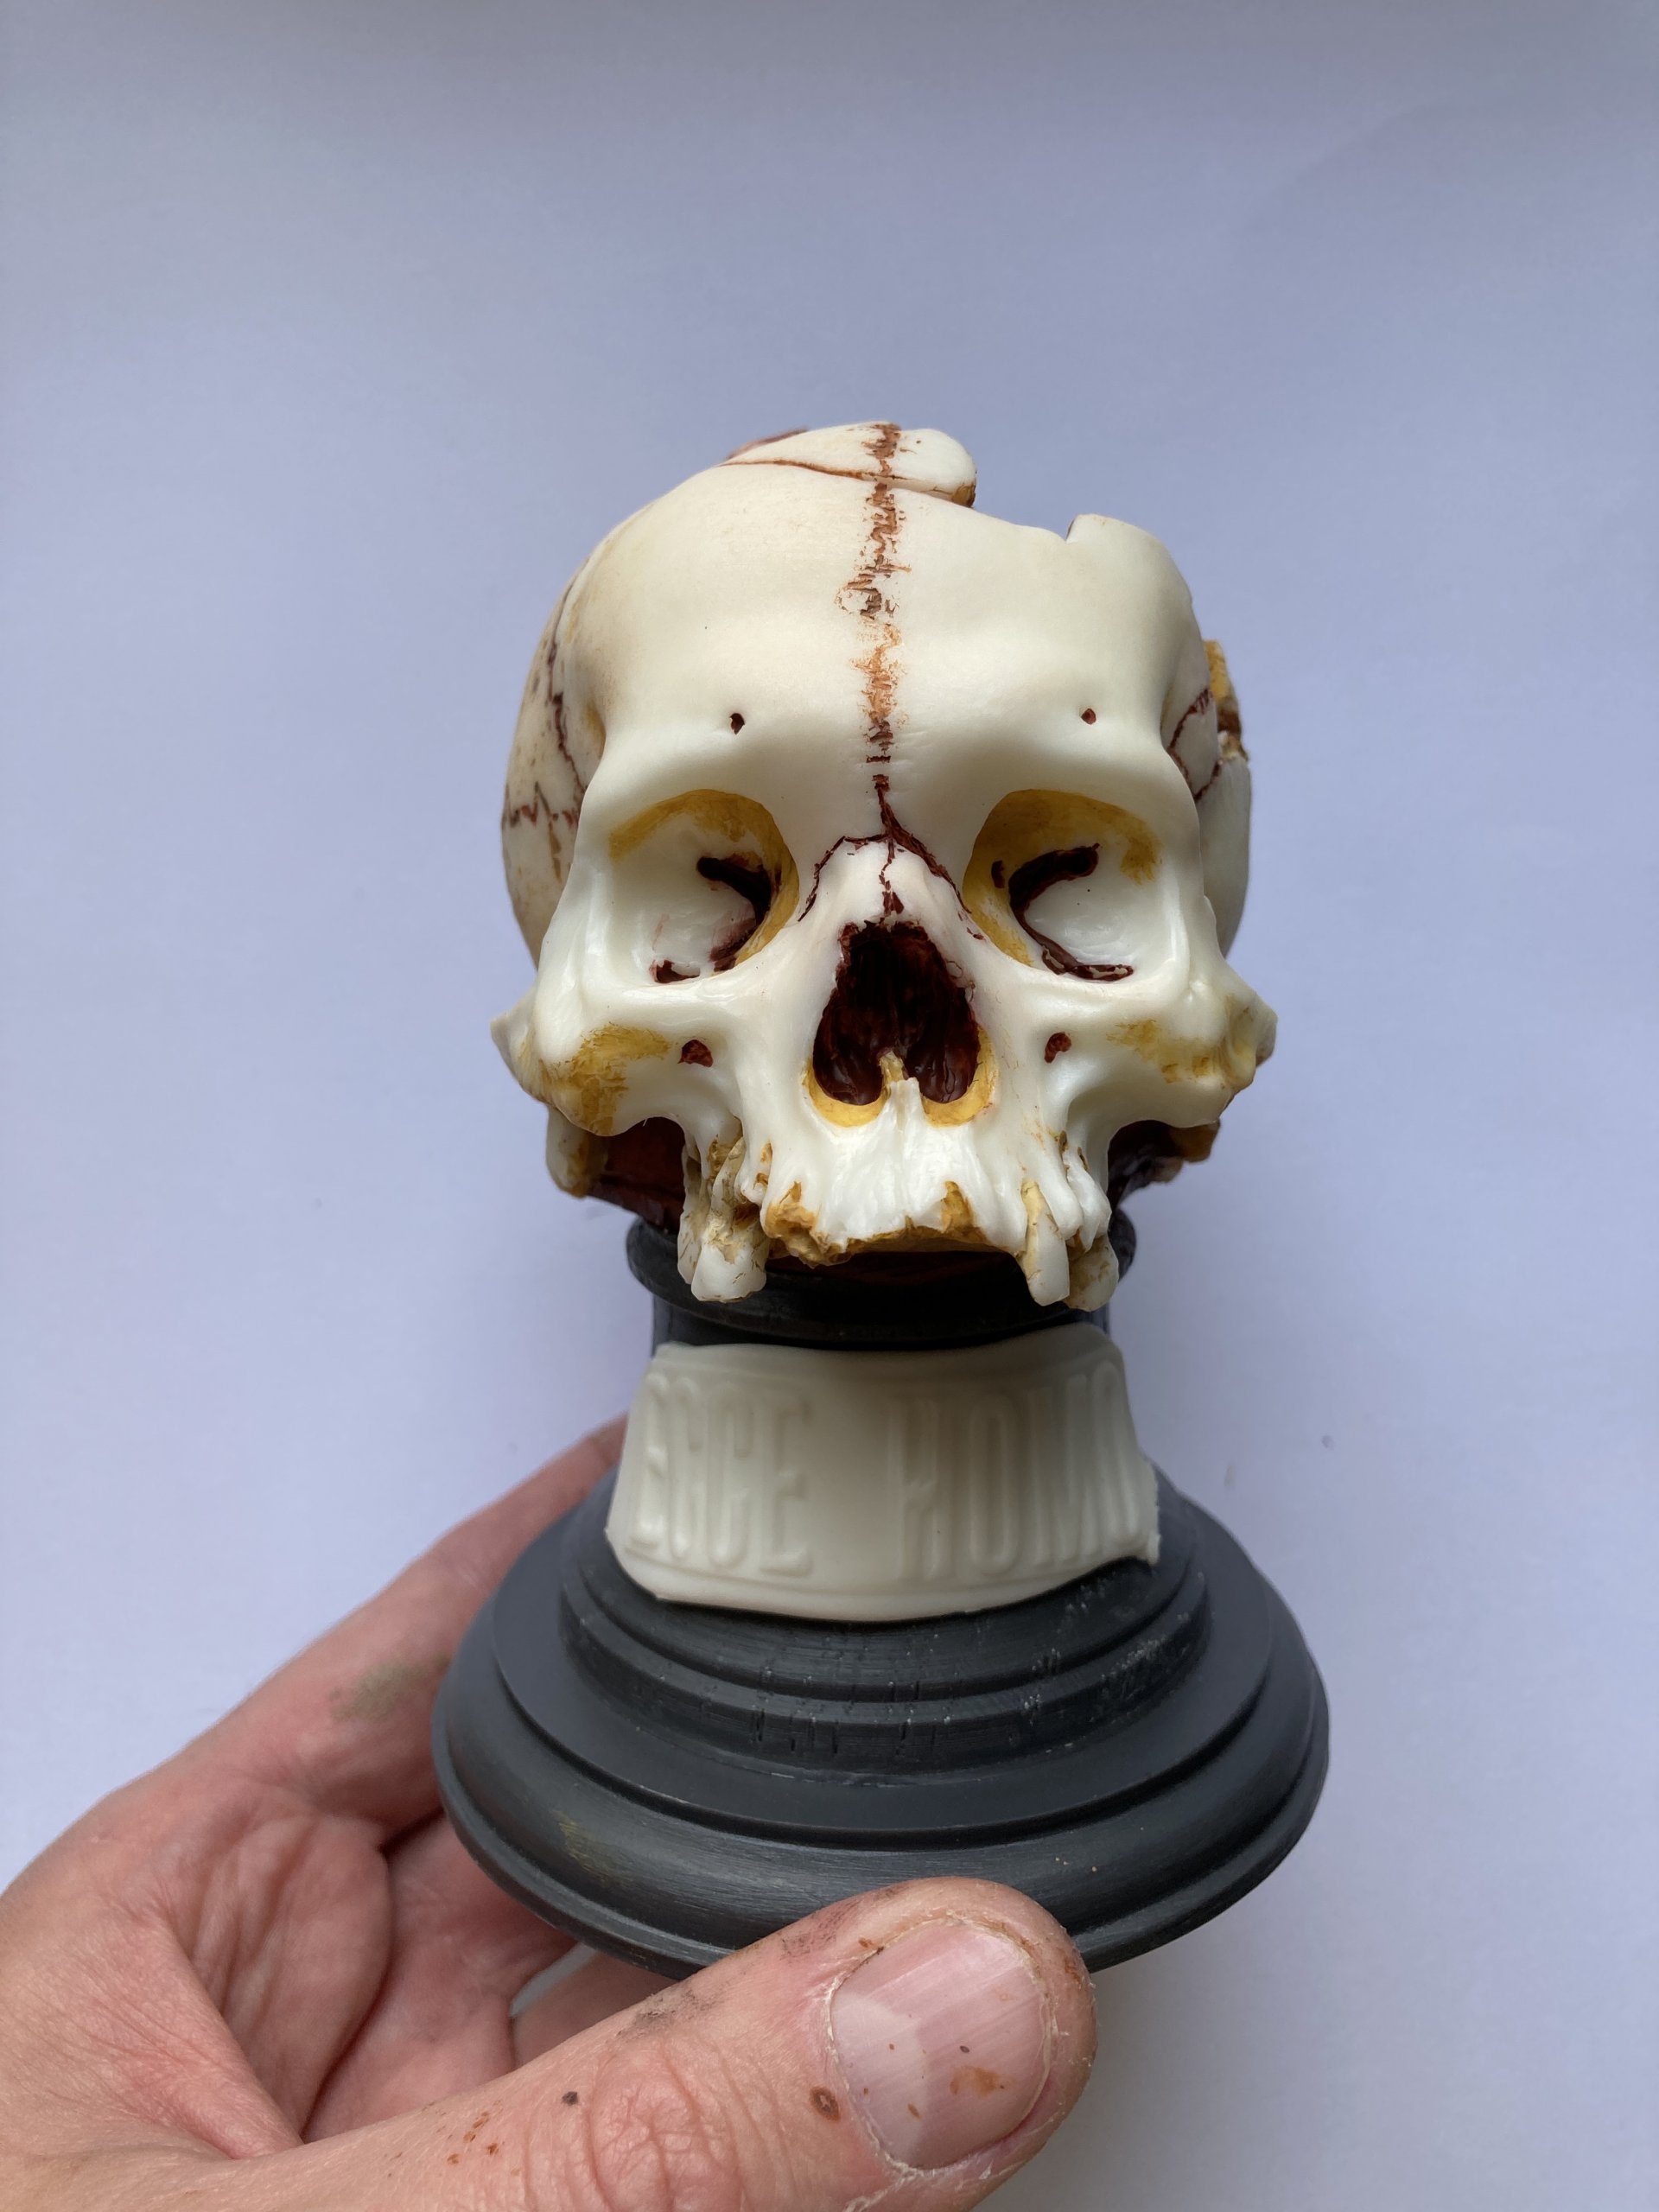
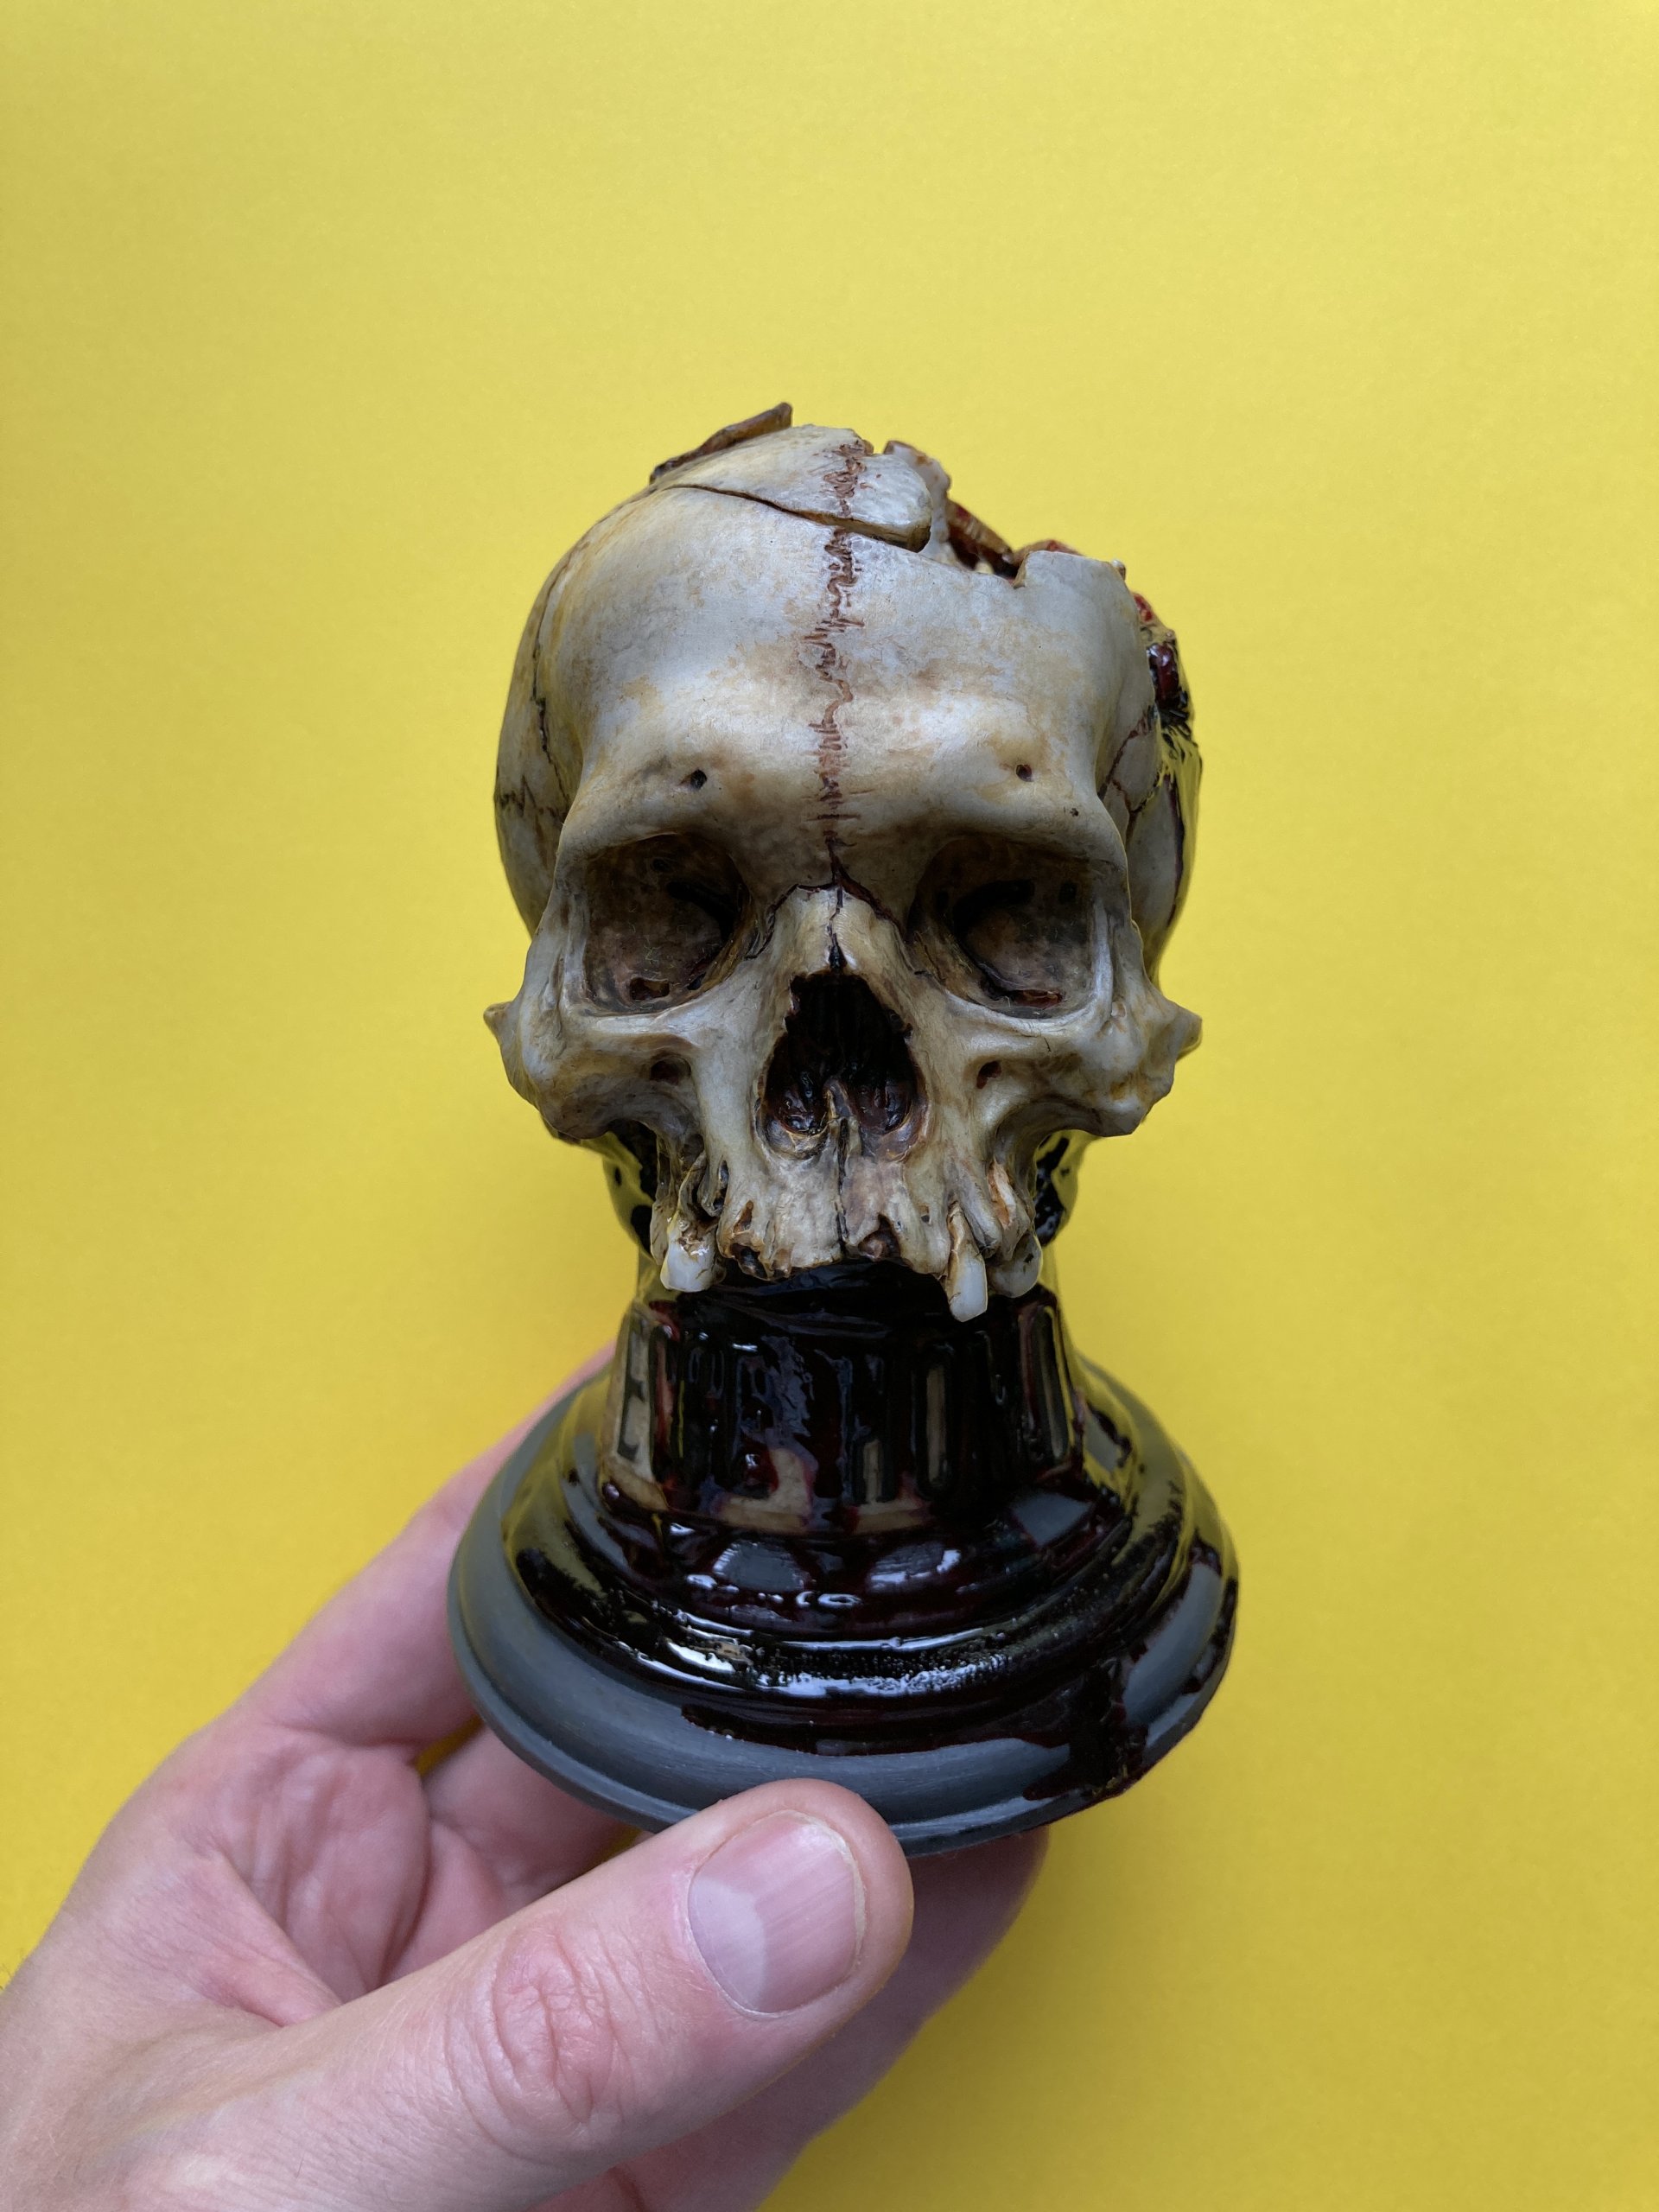
The main body I built and shaped with fingers and a small knife, focusing in particular on proportions of the skull, large surfaces and essential details. Only after setting proportions I took more tools to work. At certain points, I was working alternately with ball tools and a small dental spatula - with their help I modeled eye sockets, temporal openings, nose, zygoma. When the outline of the skull was built, I reached for more chisels, such as smaller ball tools of different diameters or small spatulas. Using them, I modeled all the details. This was the step in which I paid particular attention to shaping smooth, live and rough surfaces. In the end, I made a skull texture that was varied - stronger texture for expression or calmer by leaving a smooth surface. Thanks to these measures, I received a unique character of a skull which is a sculpture rather than an anatomical exhibit.
SEARCHING FOR CHARACTER AND EXPRESSION OF THE SKULL
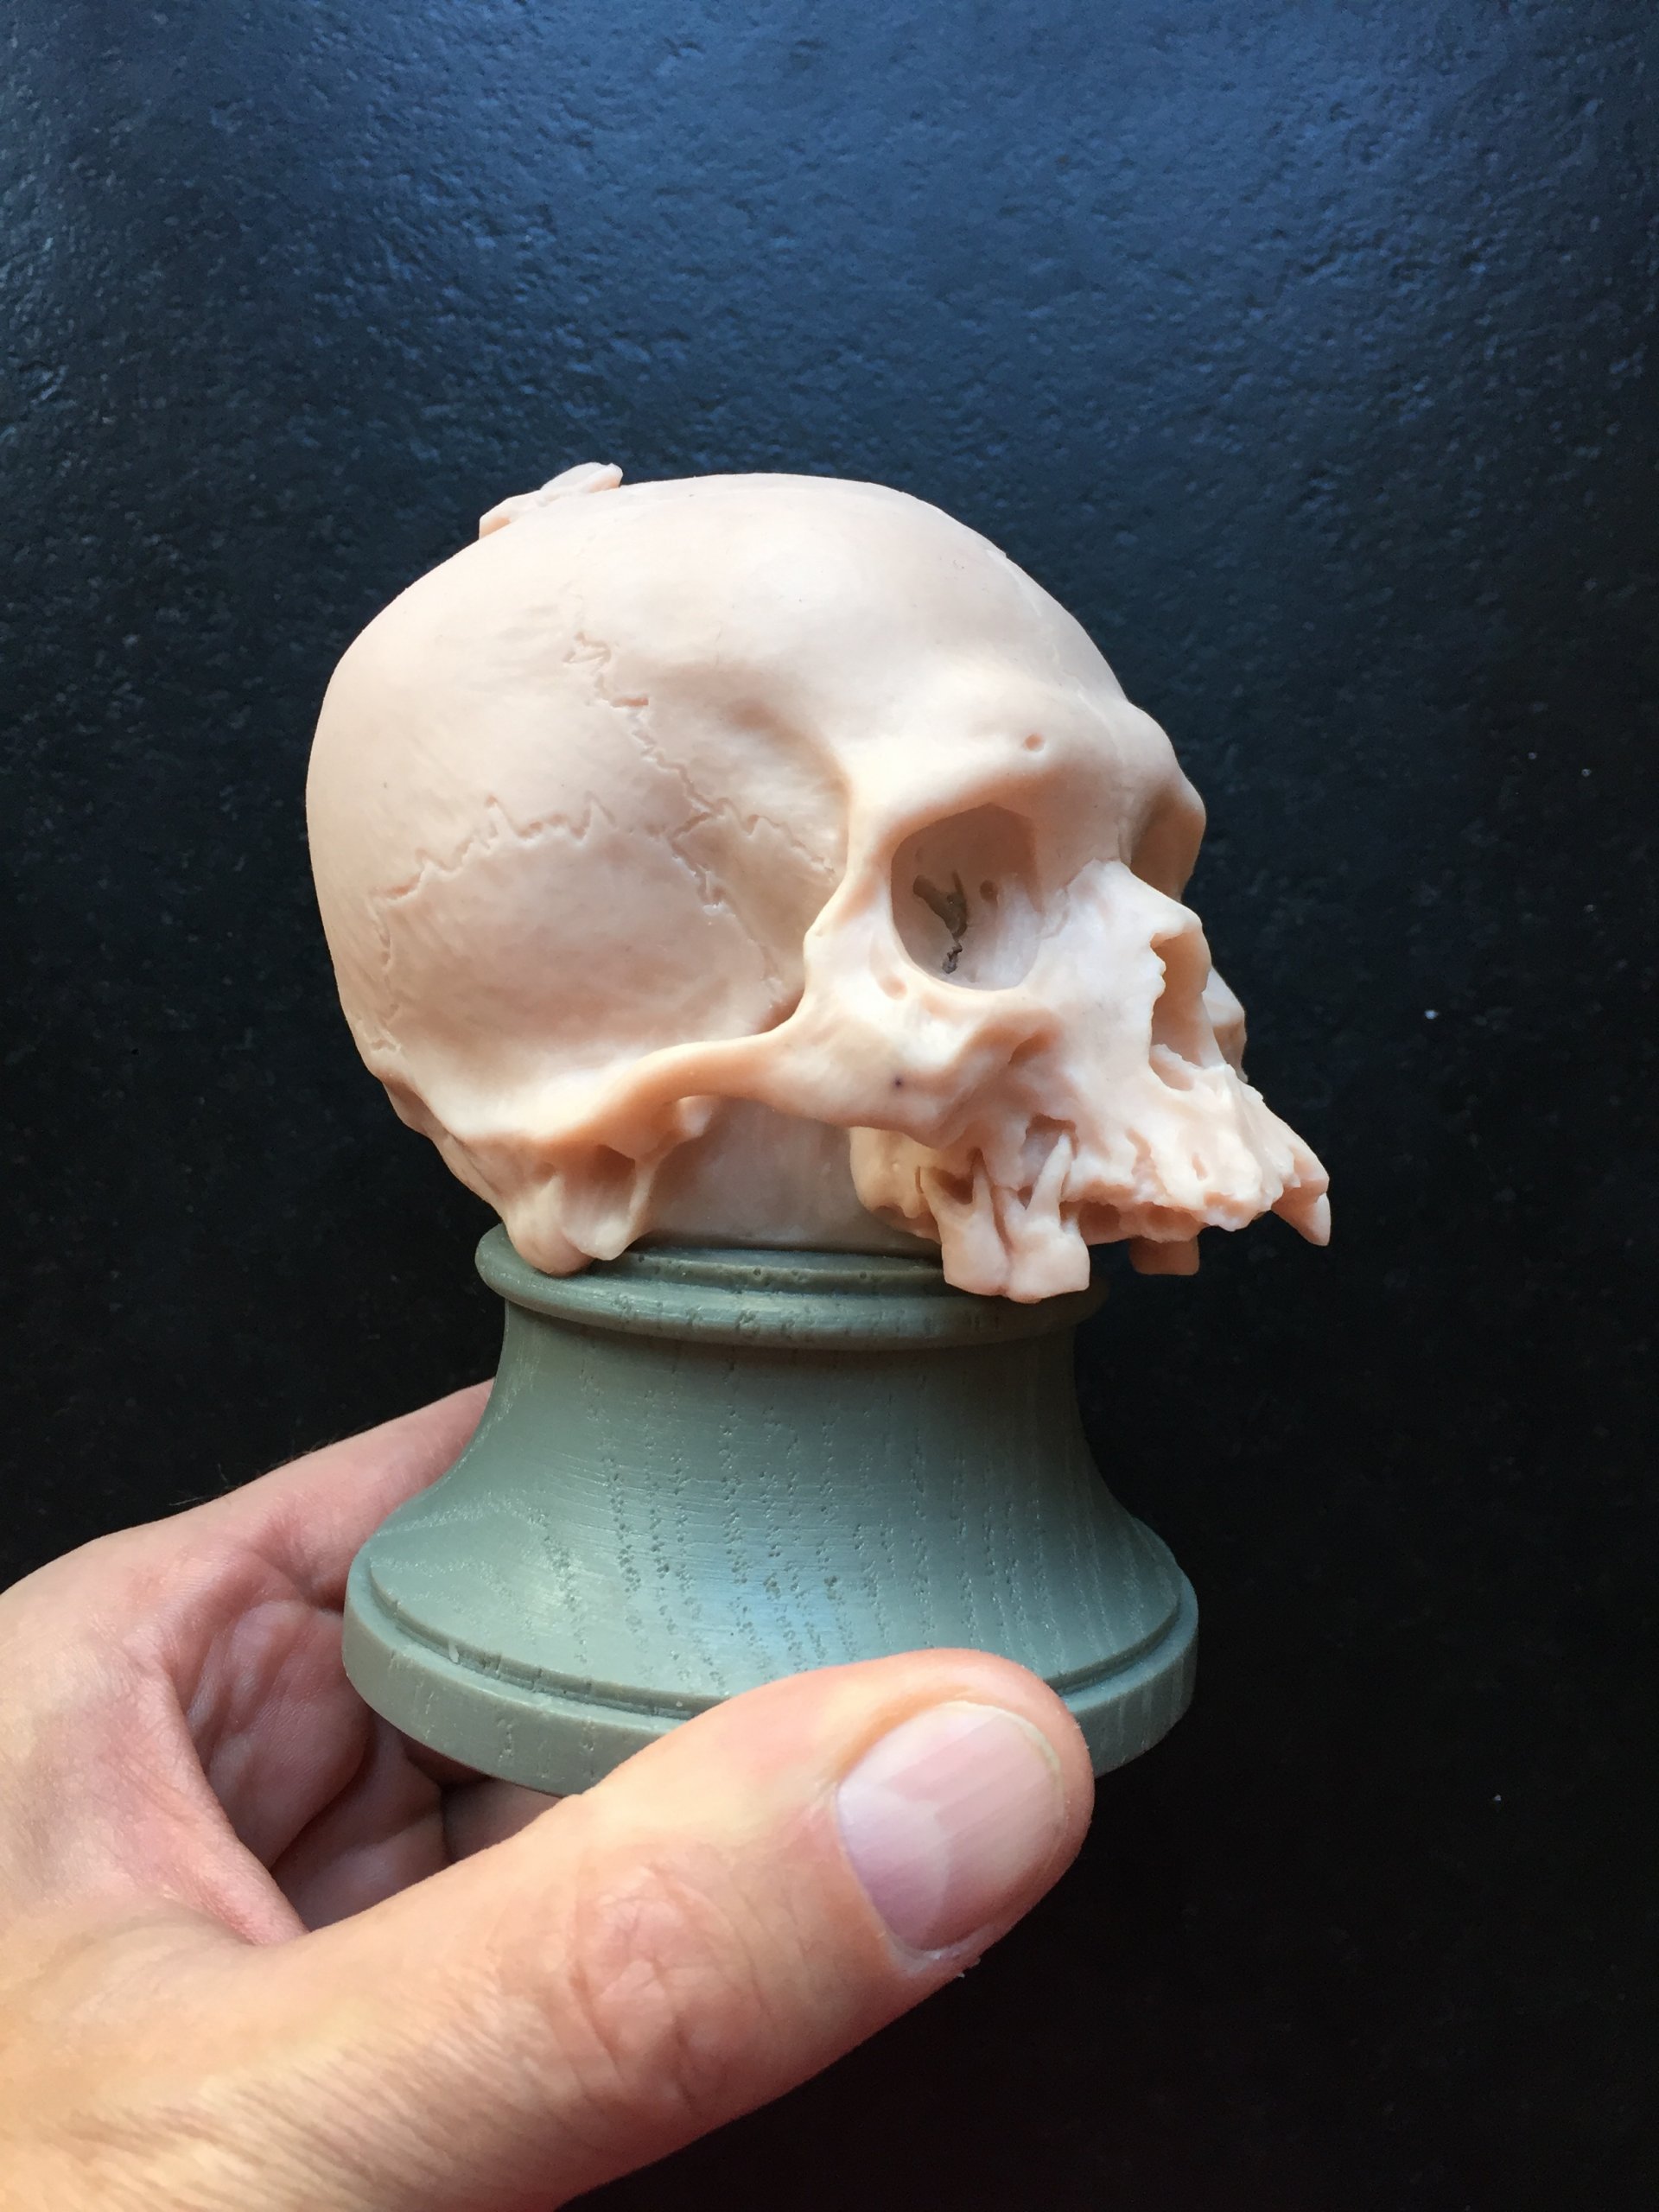
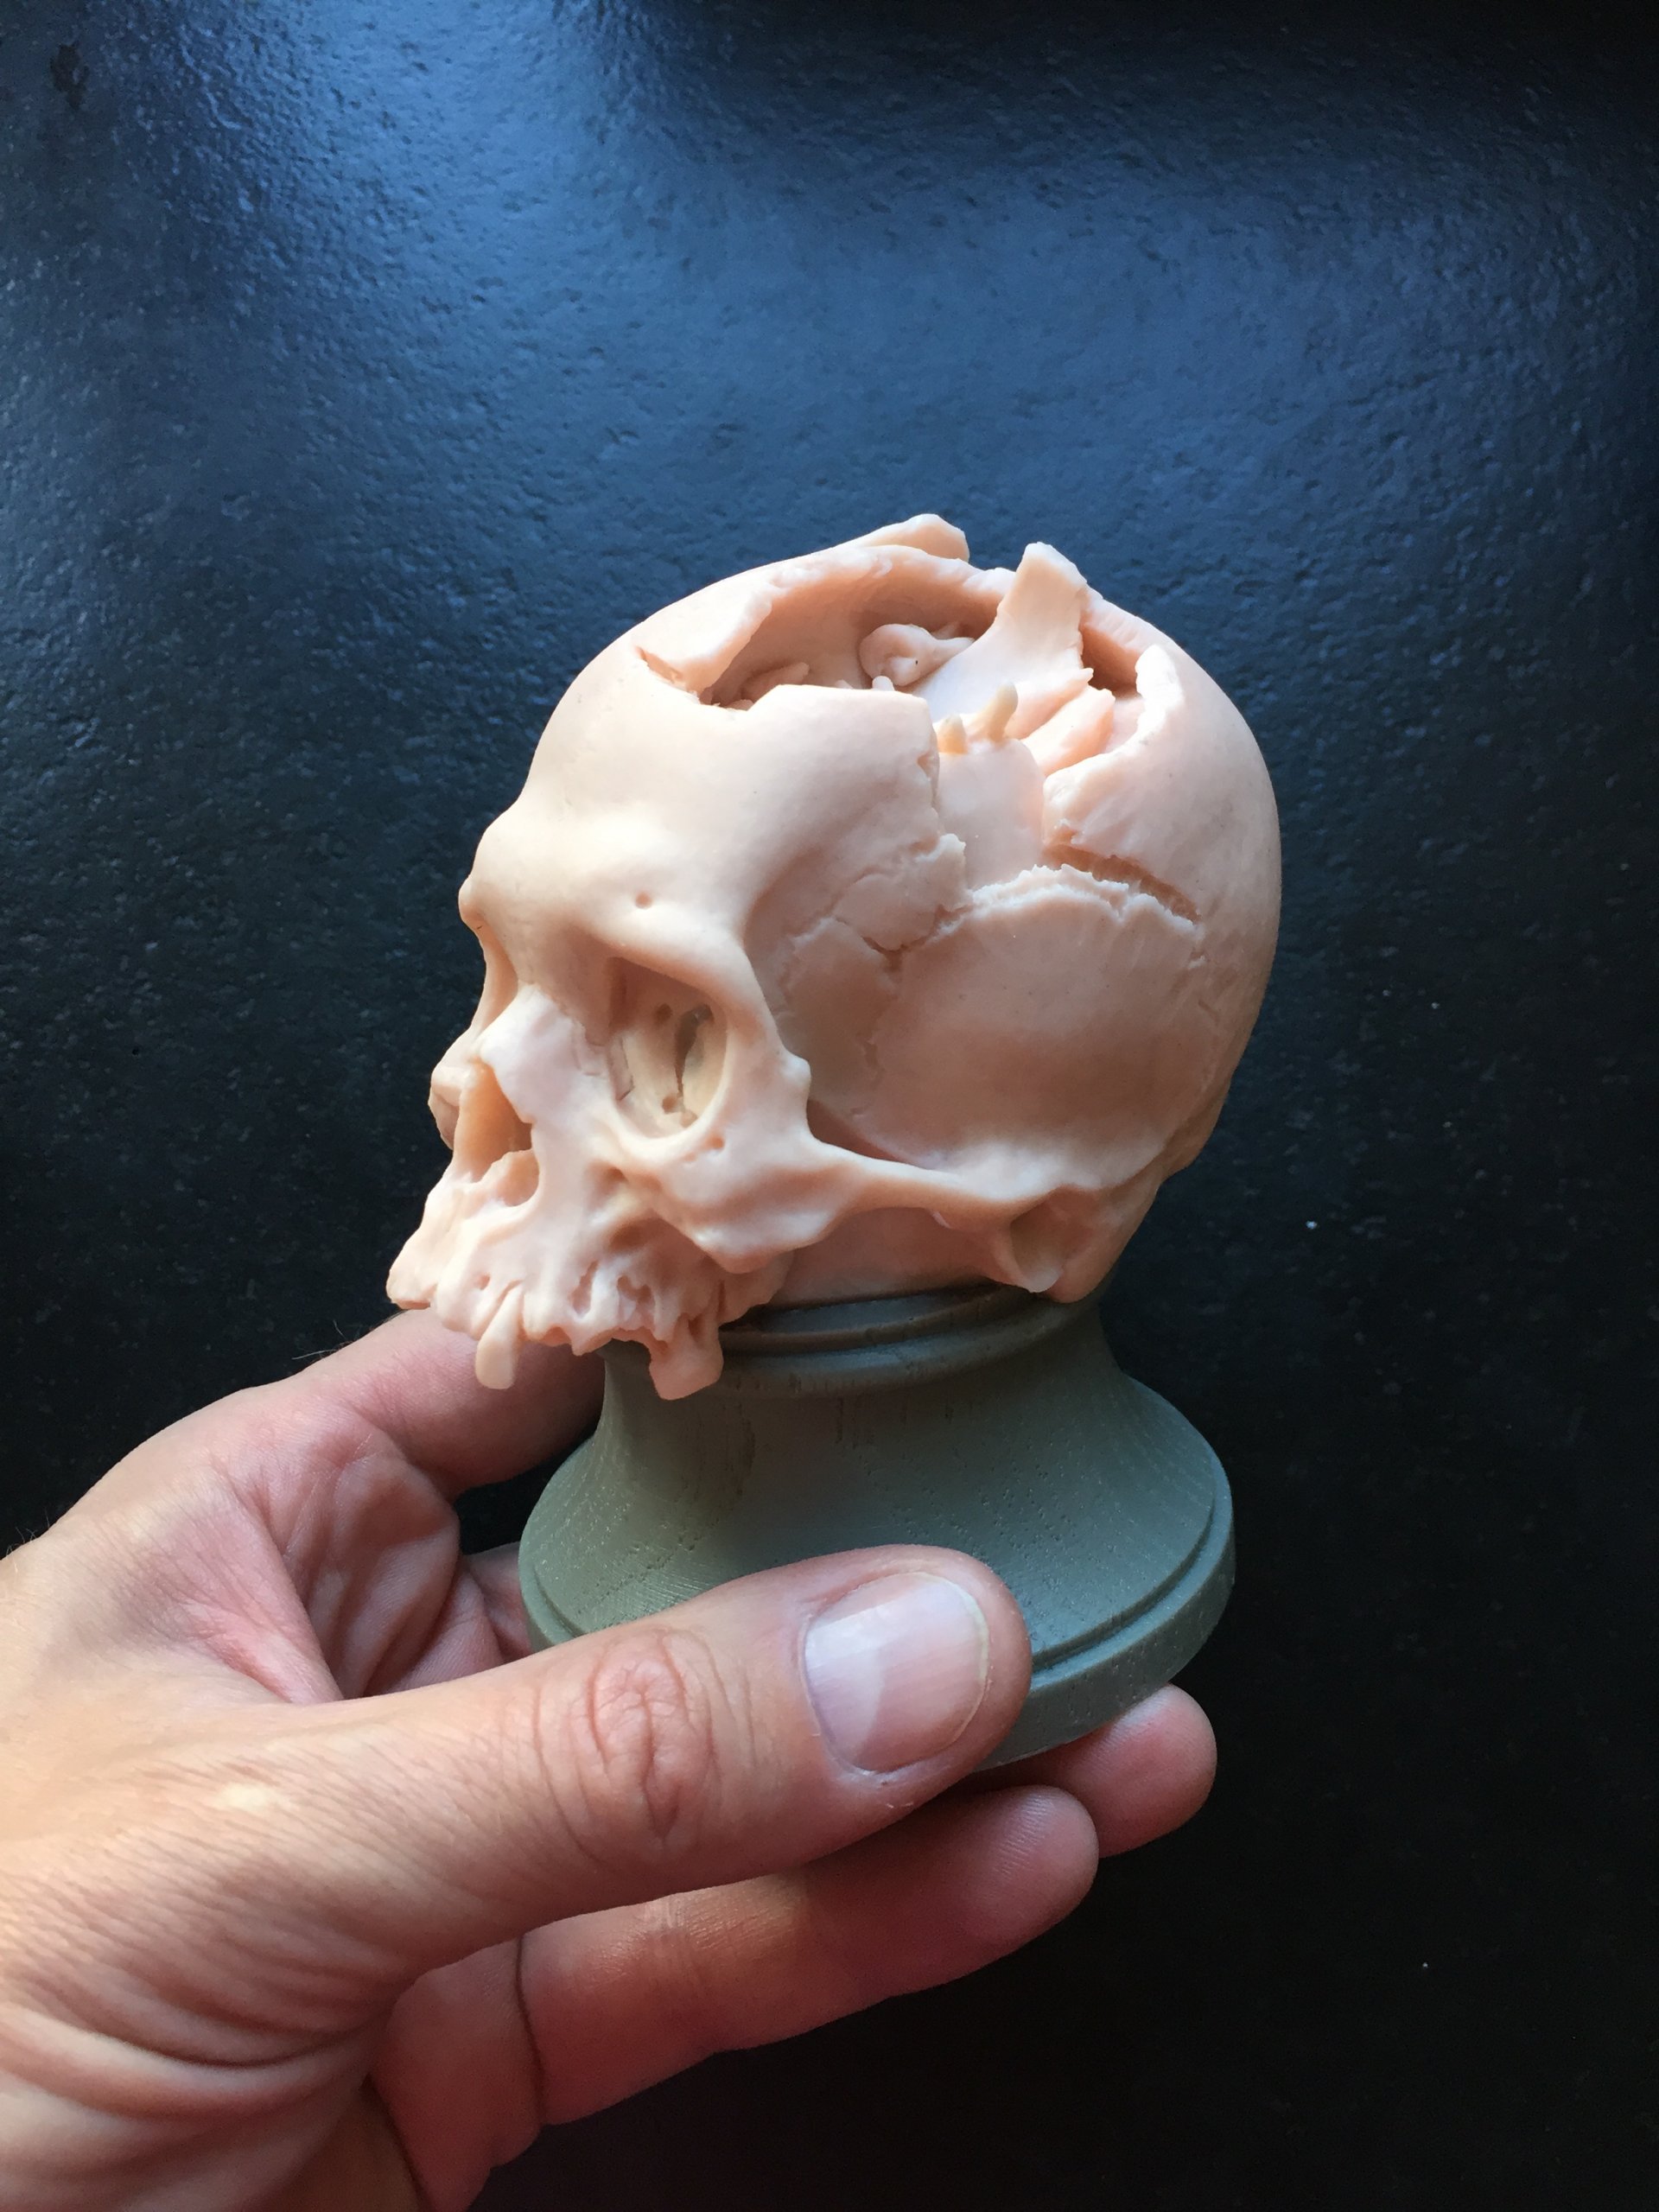
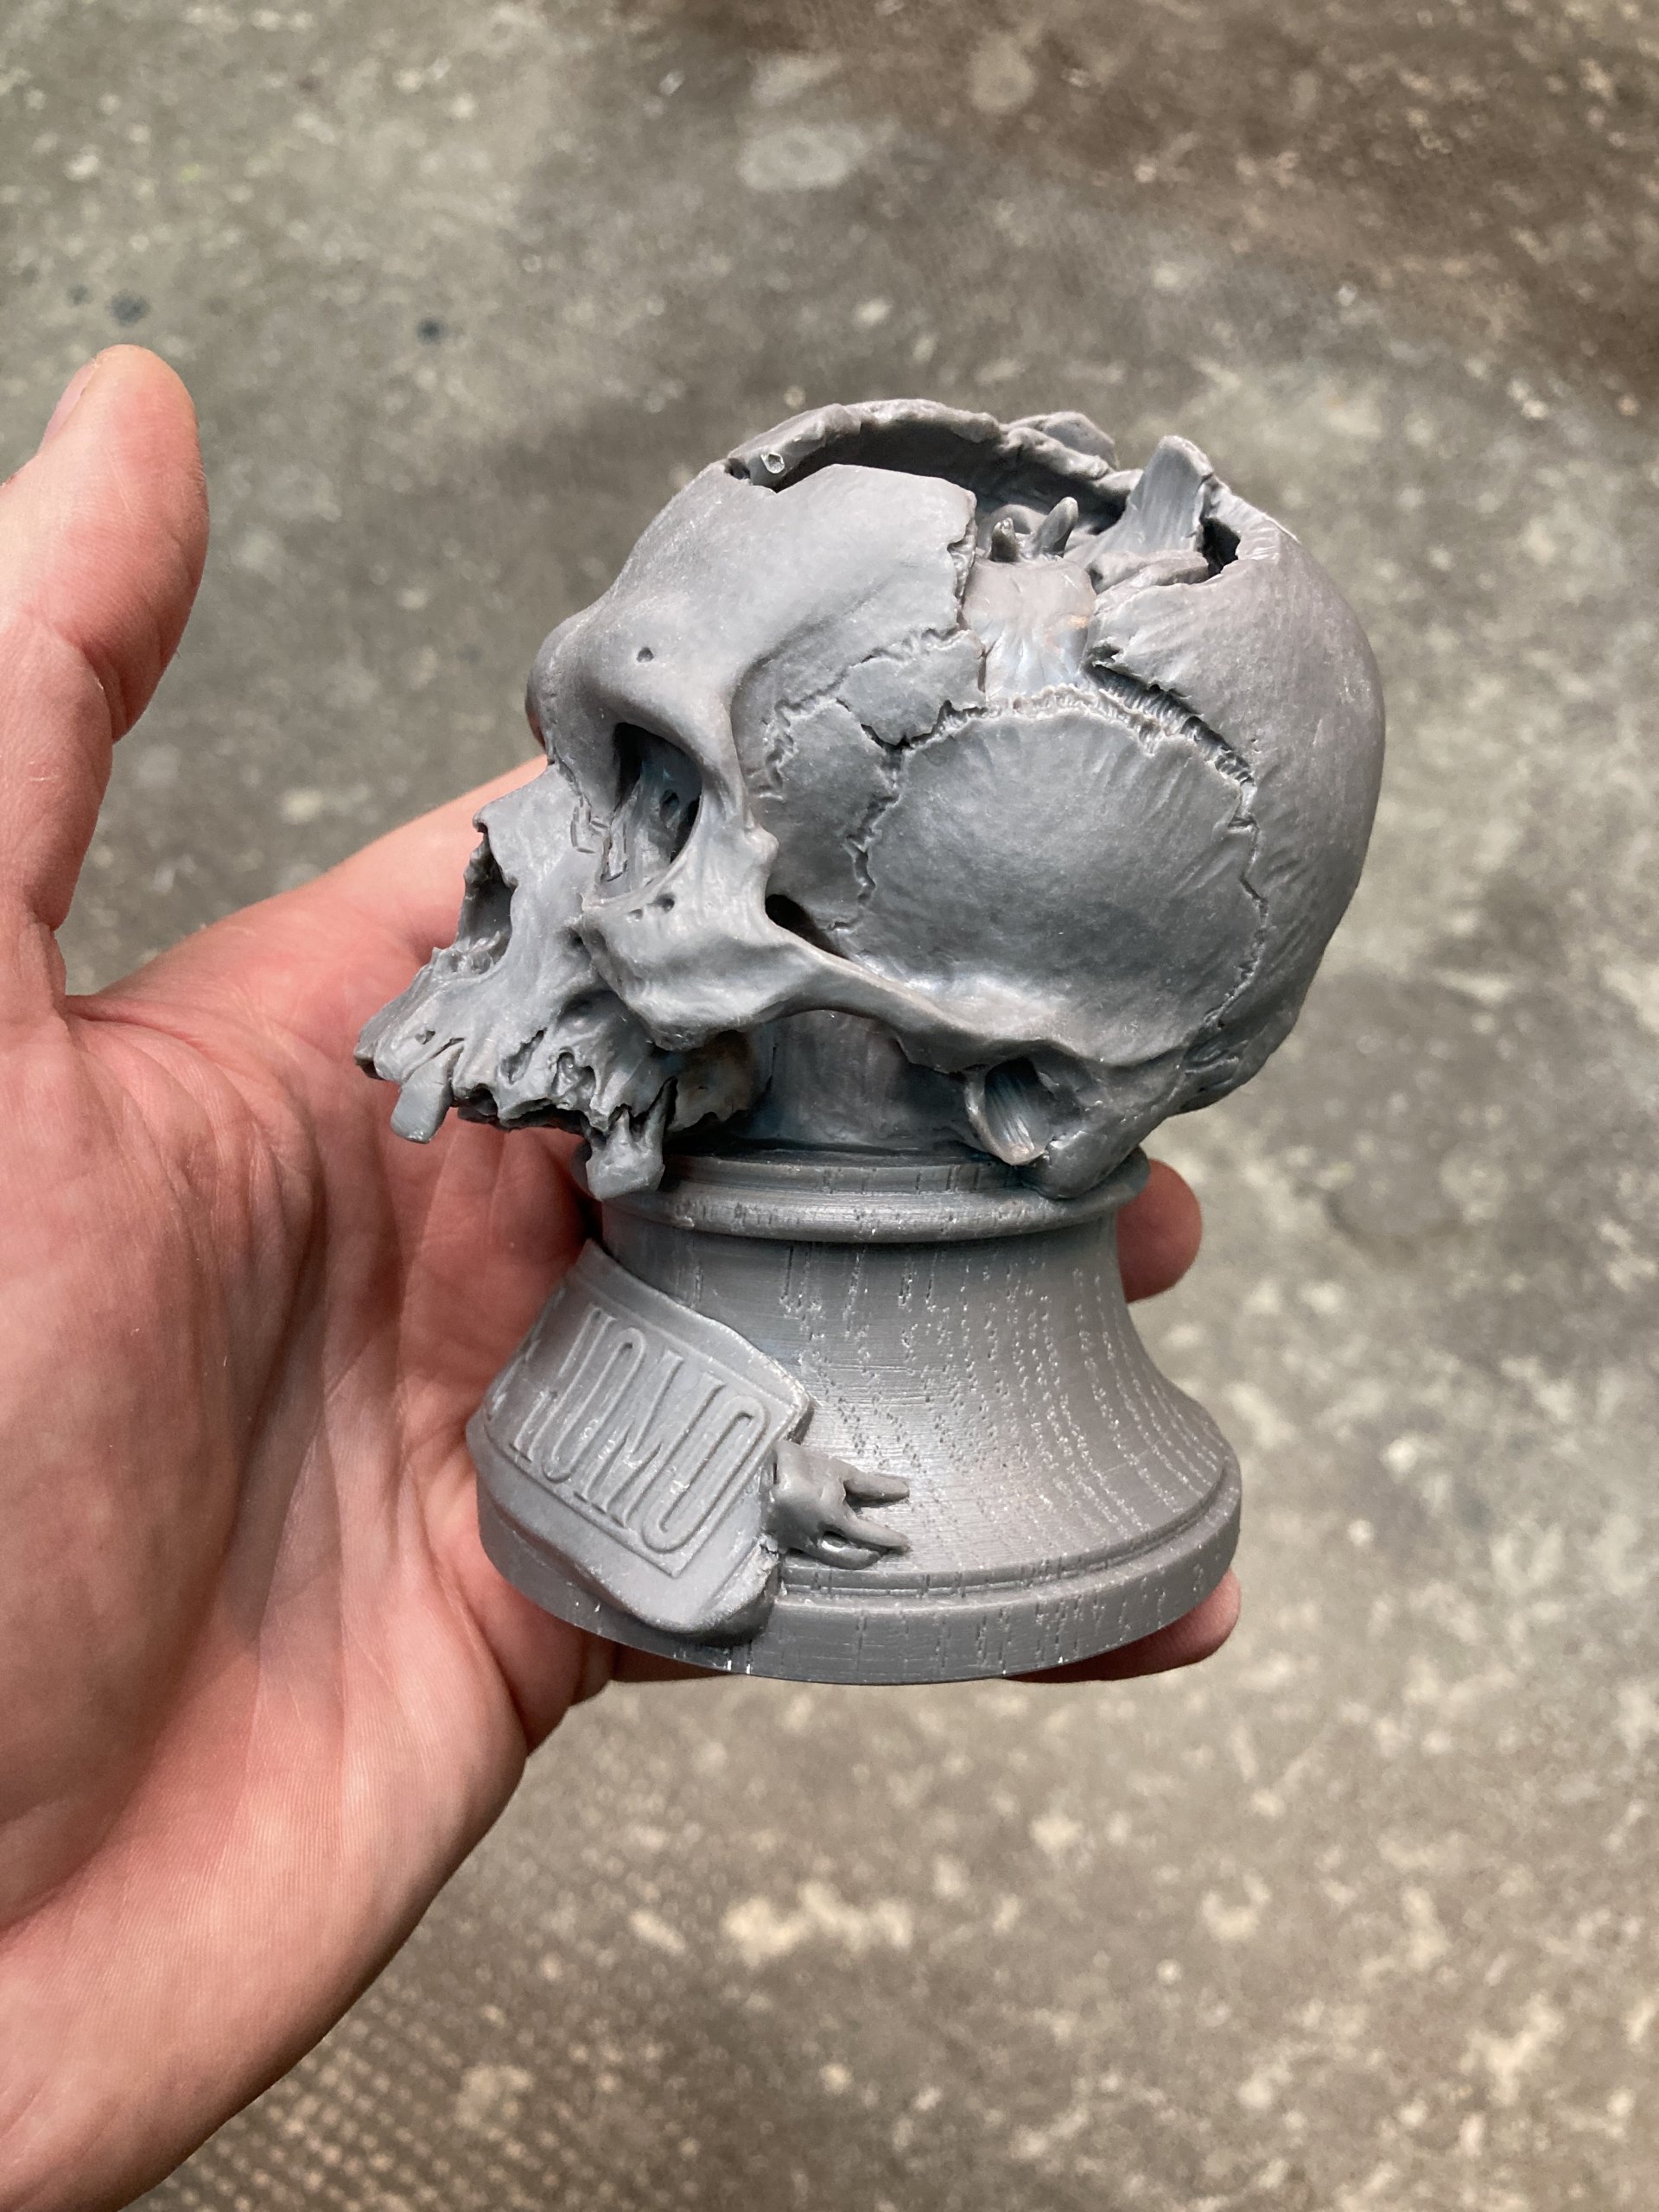
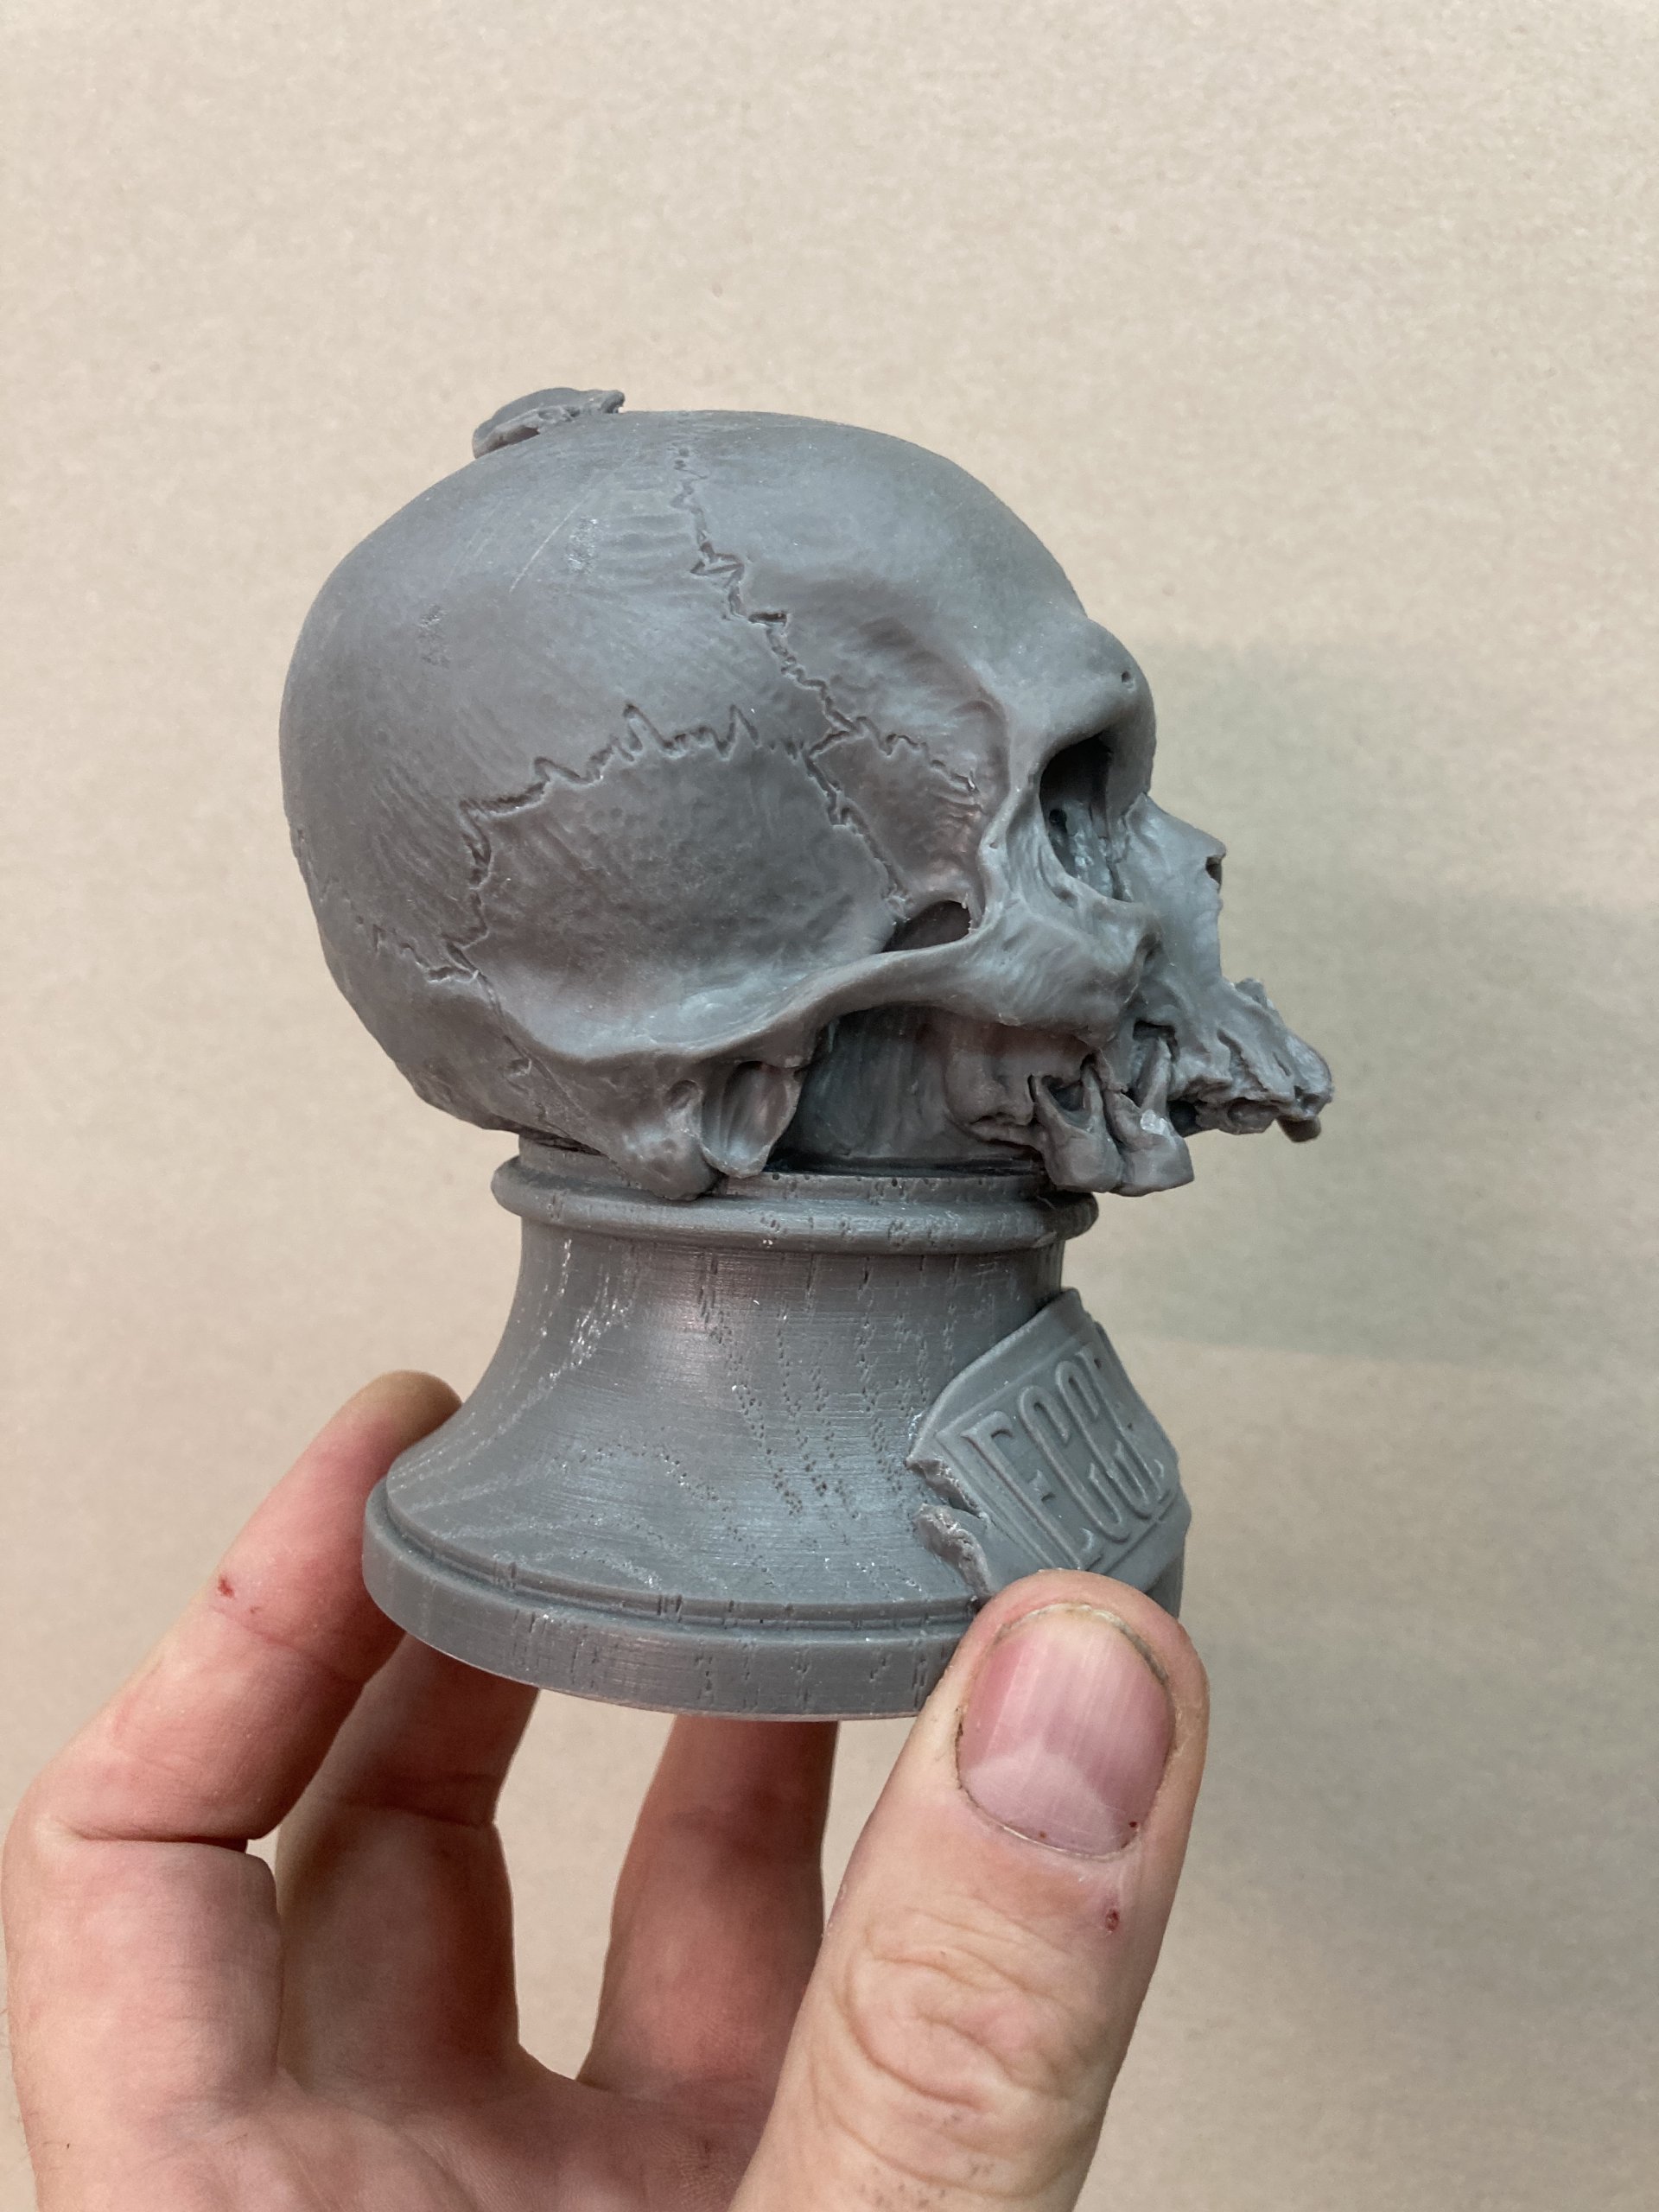
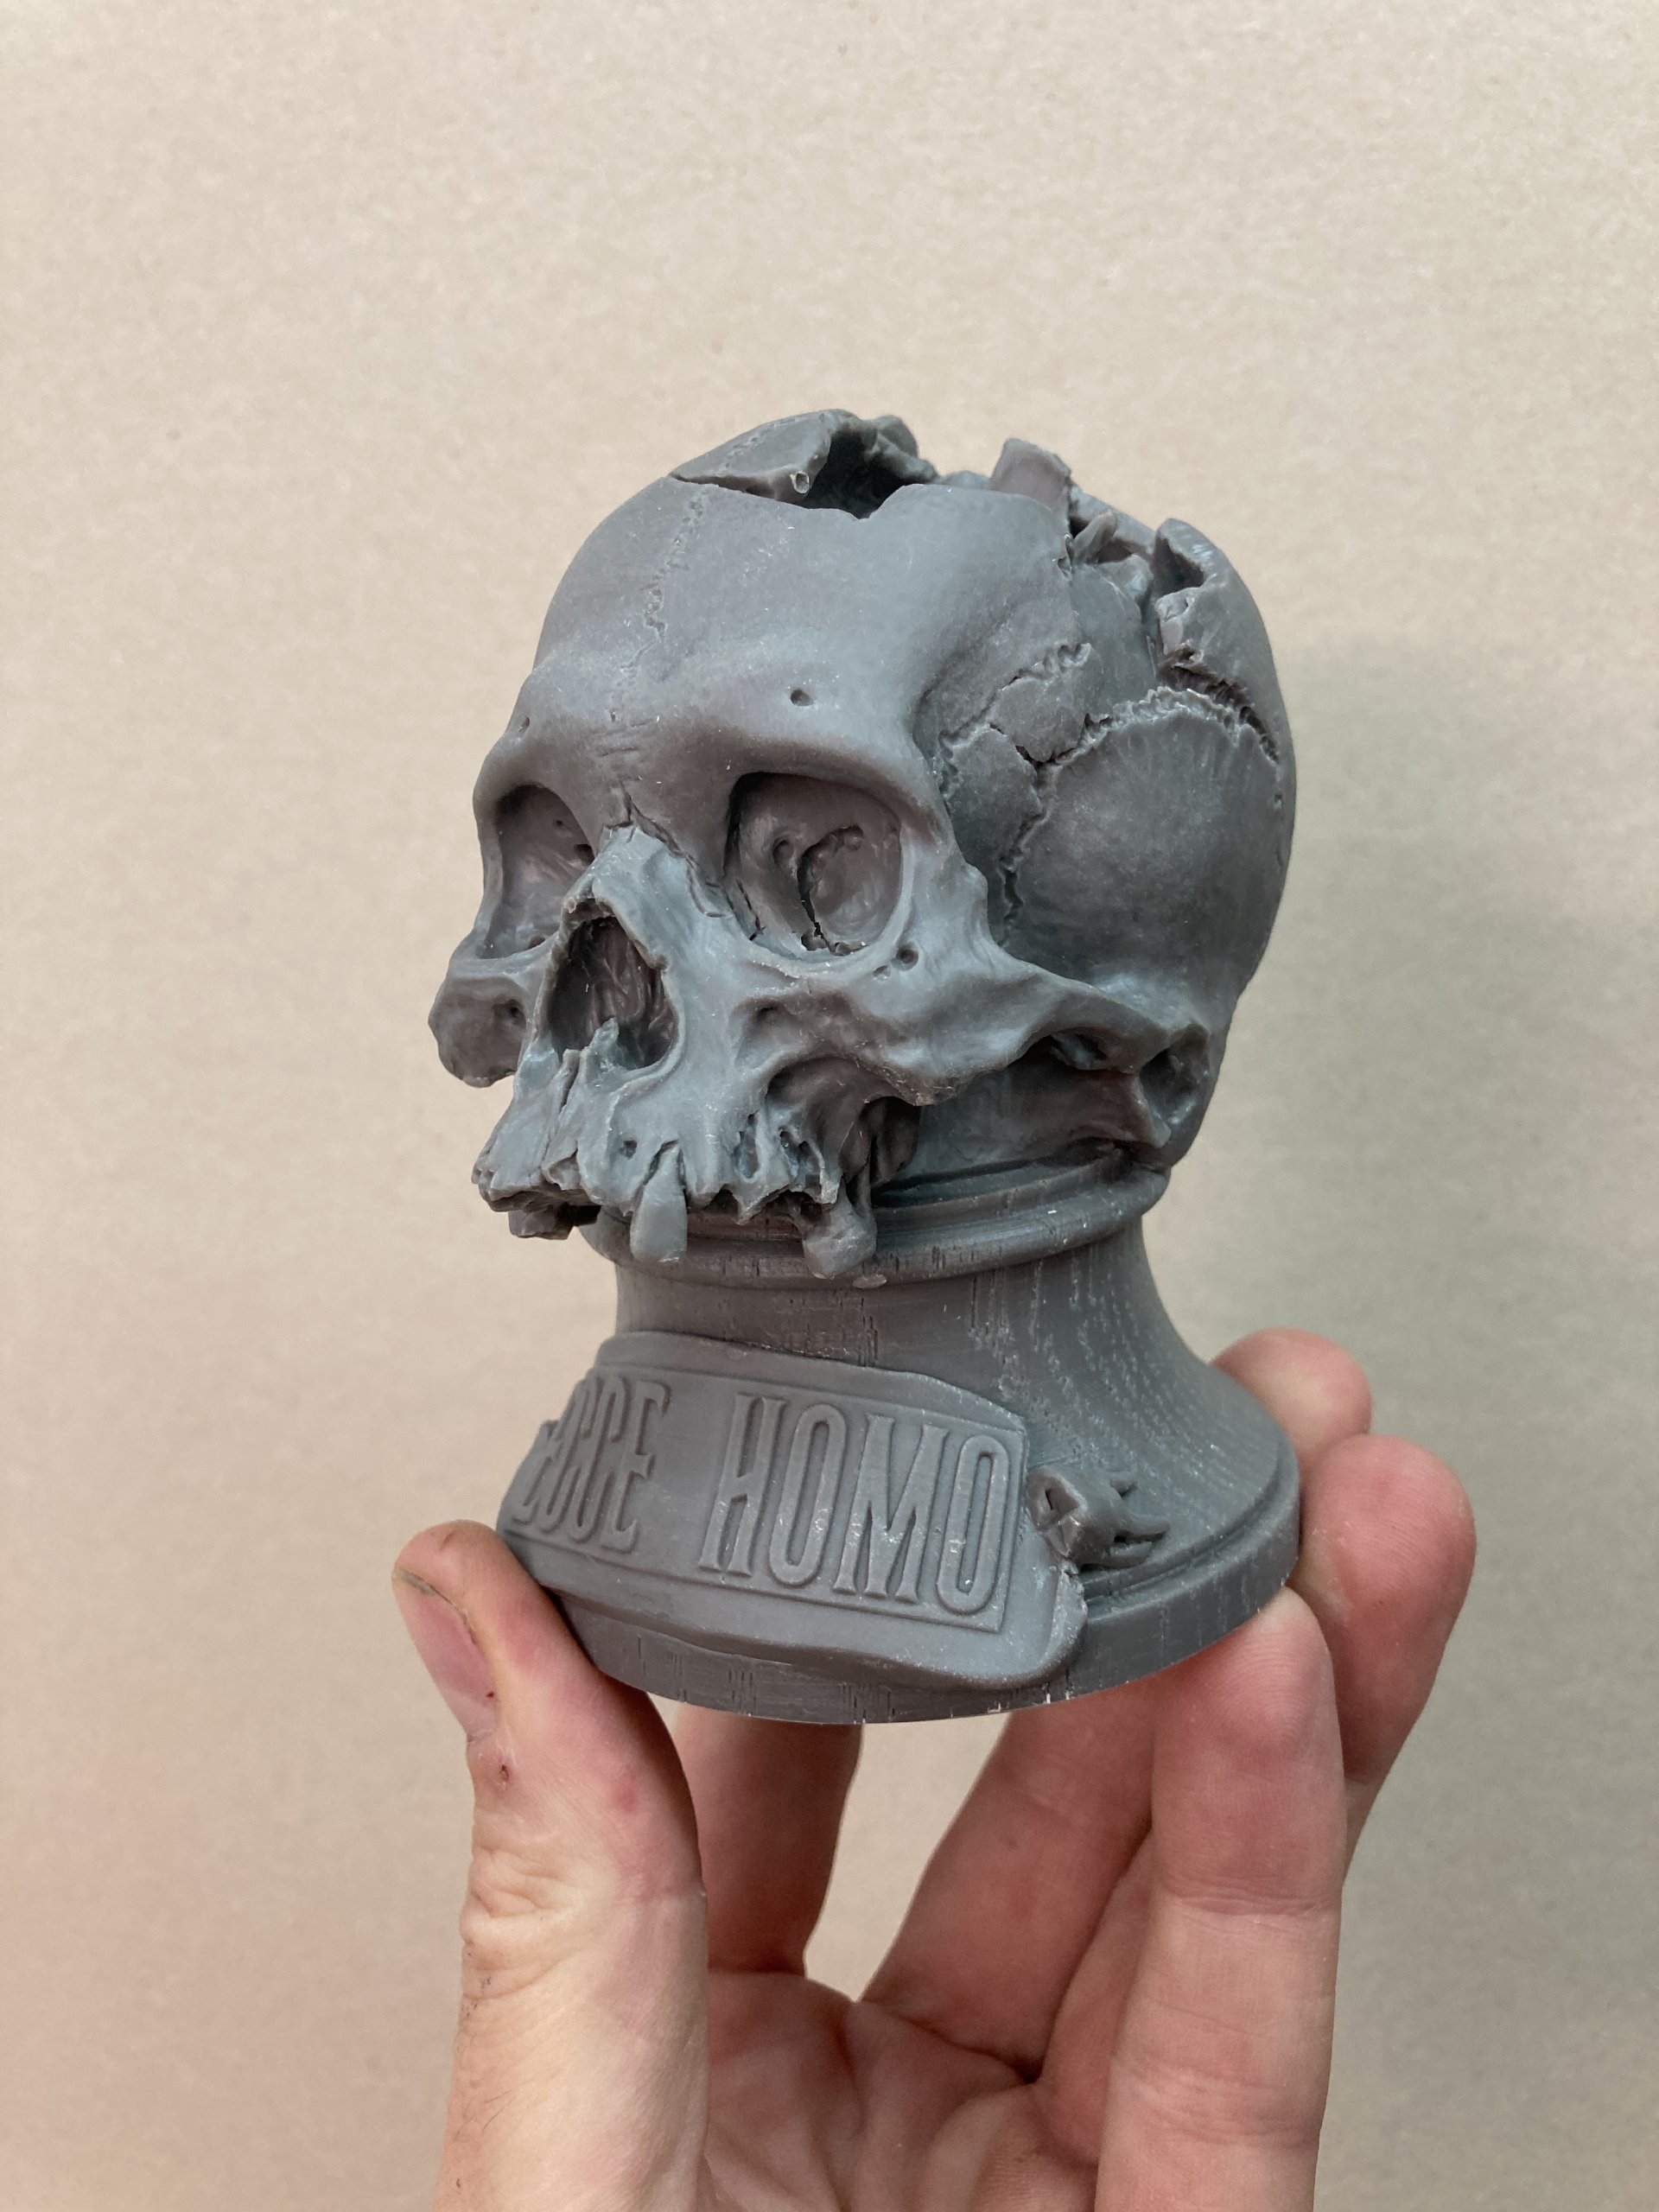
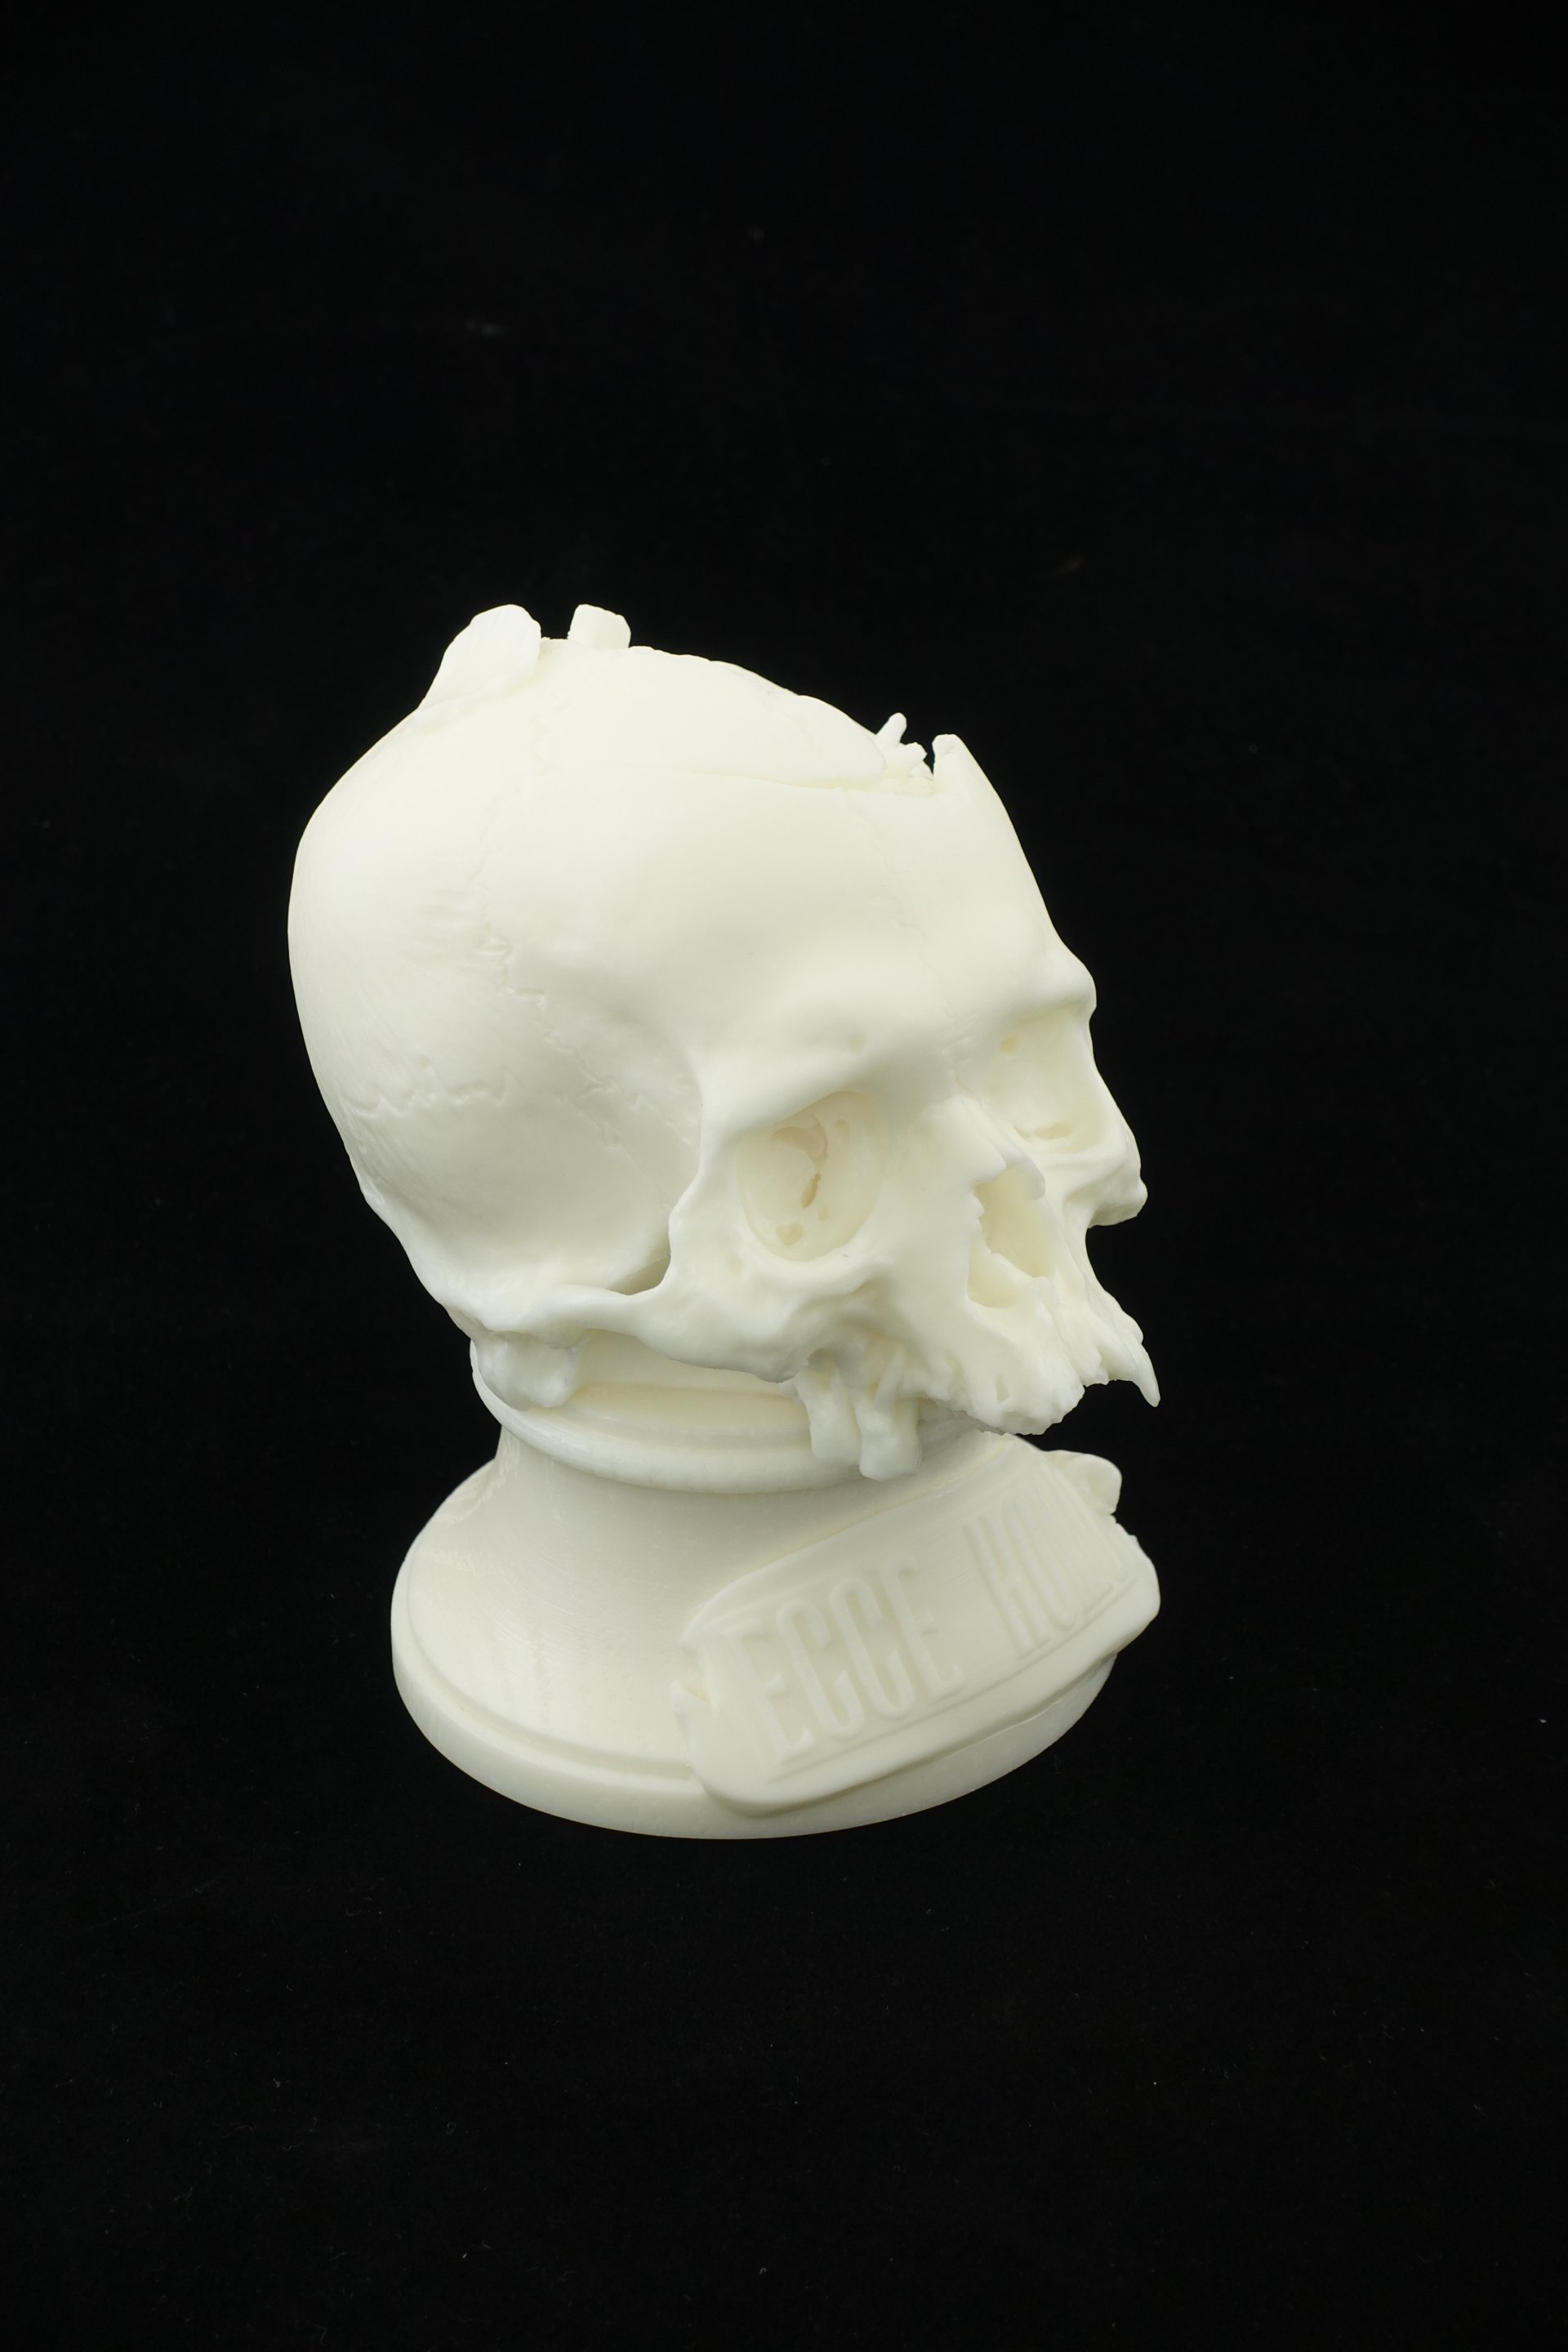
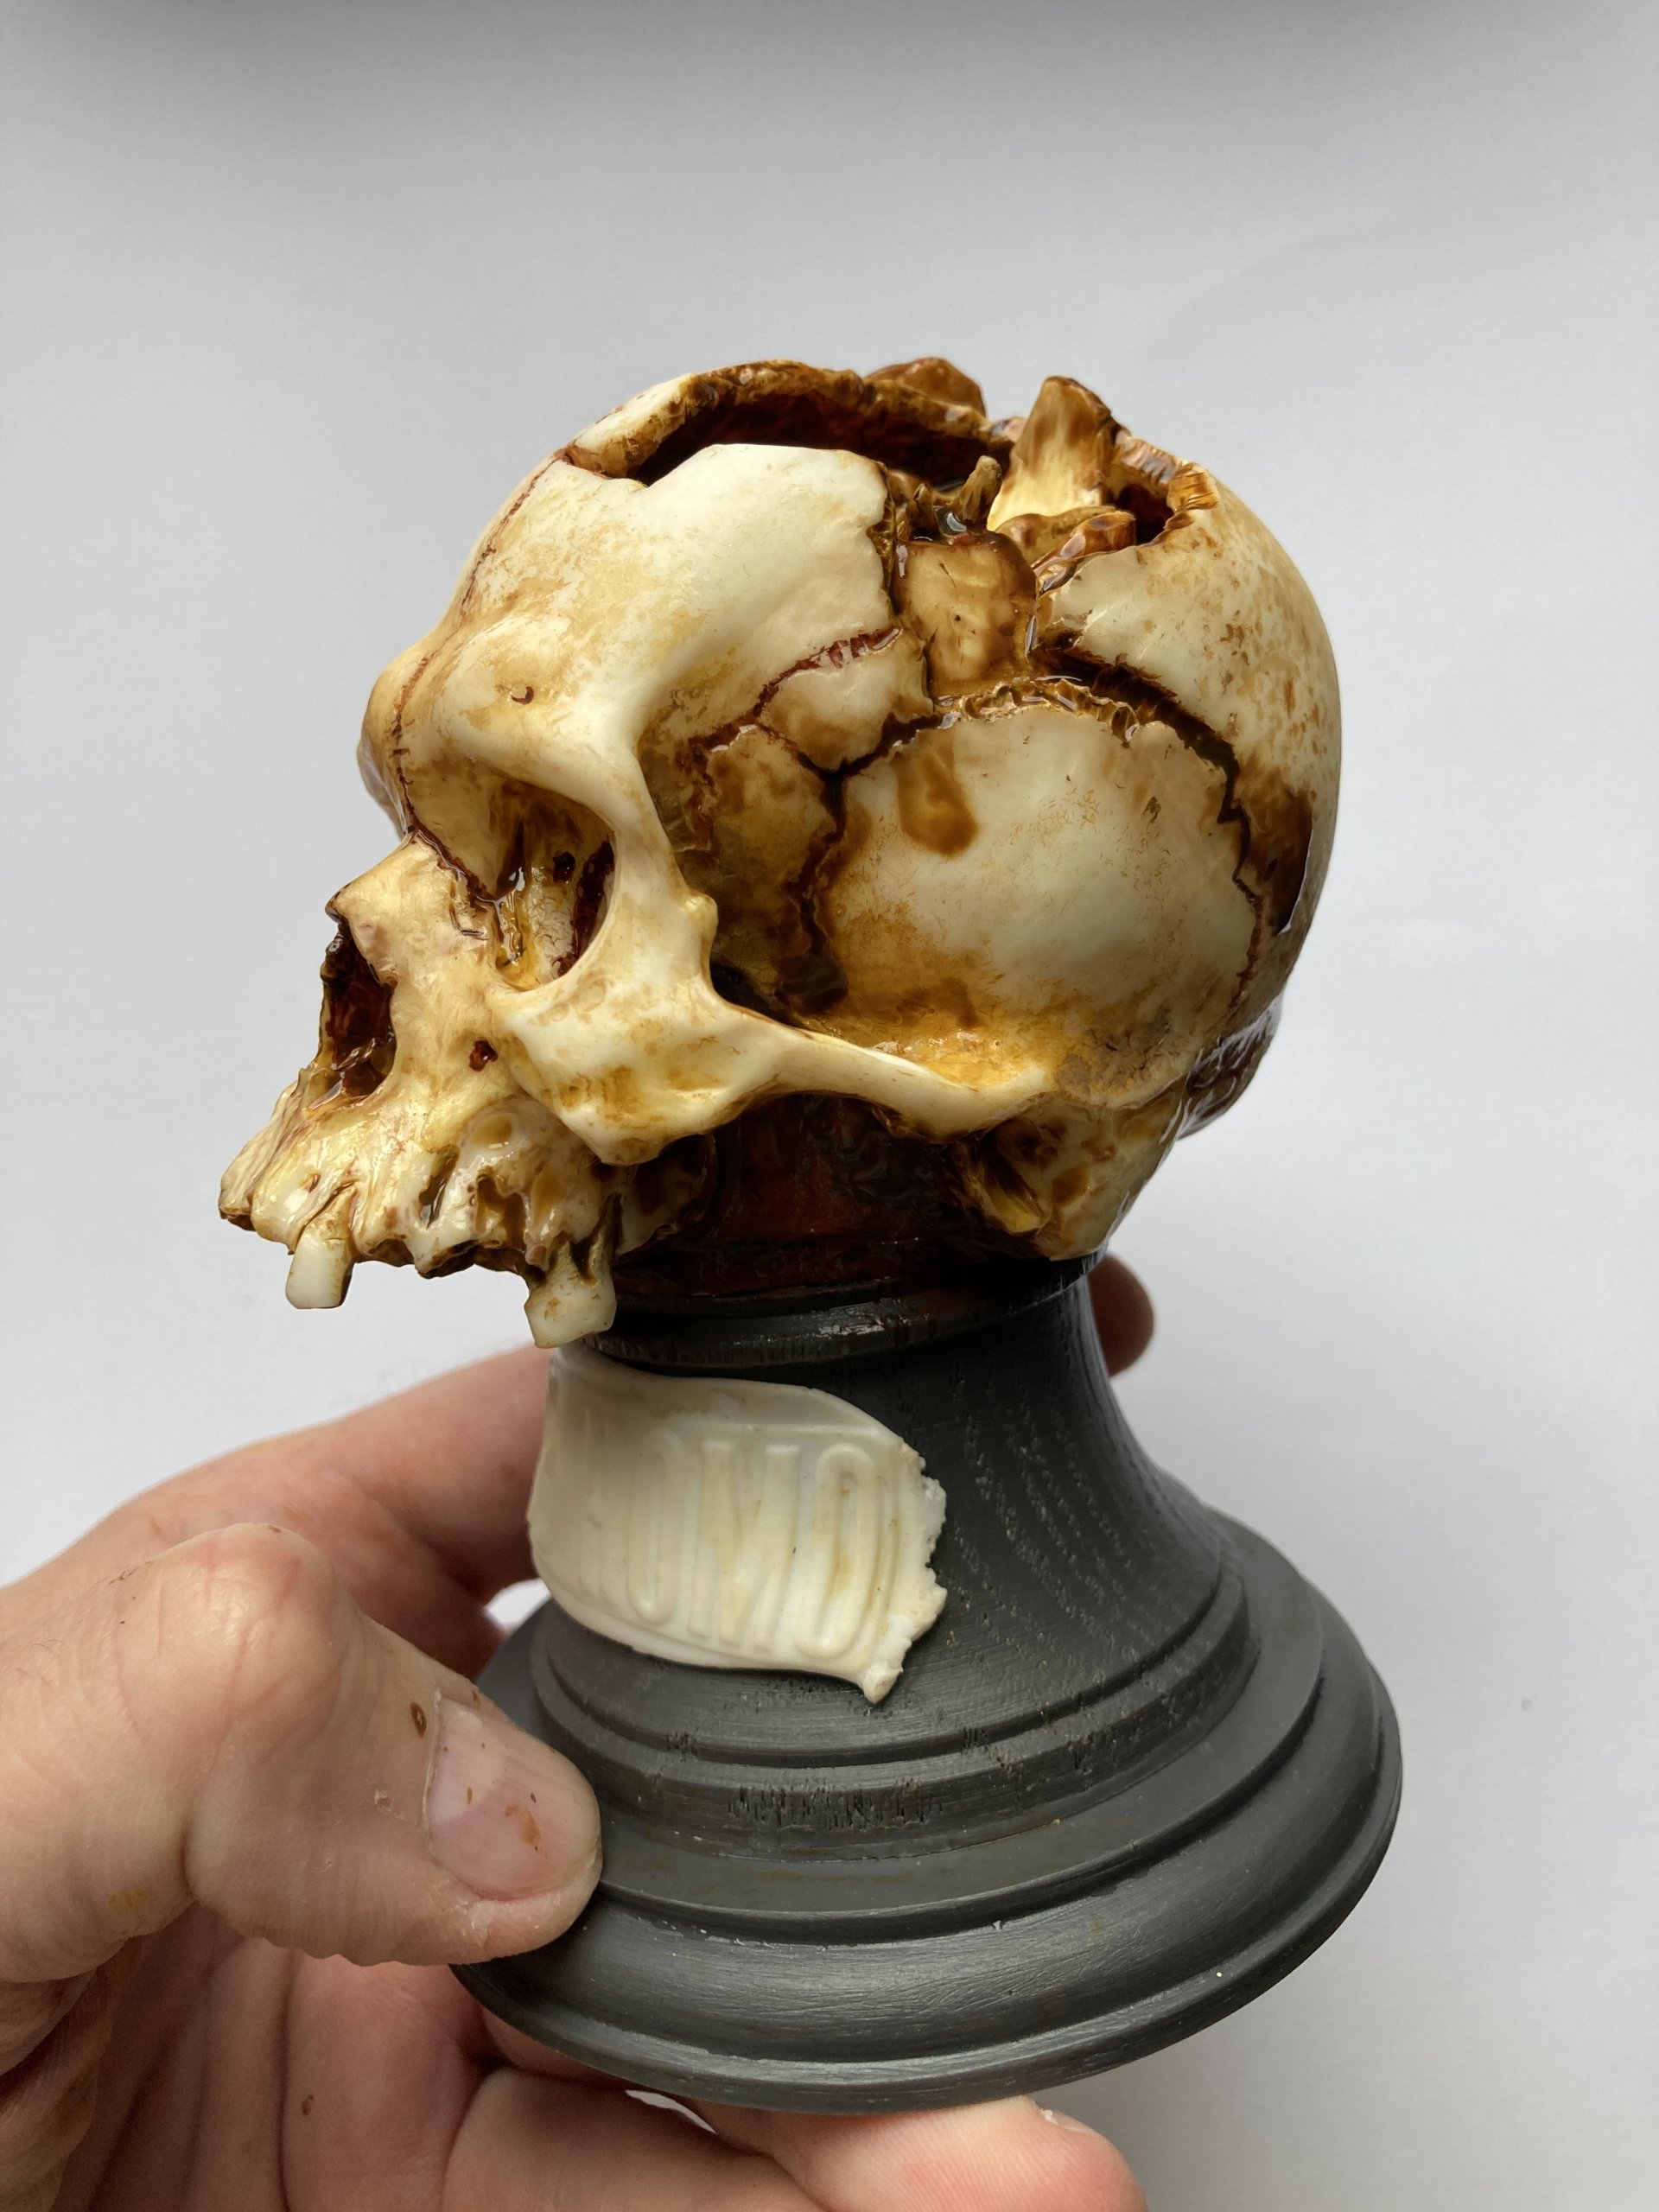
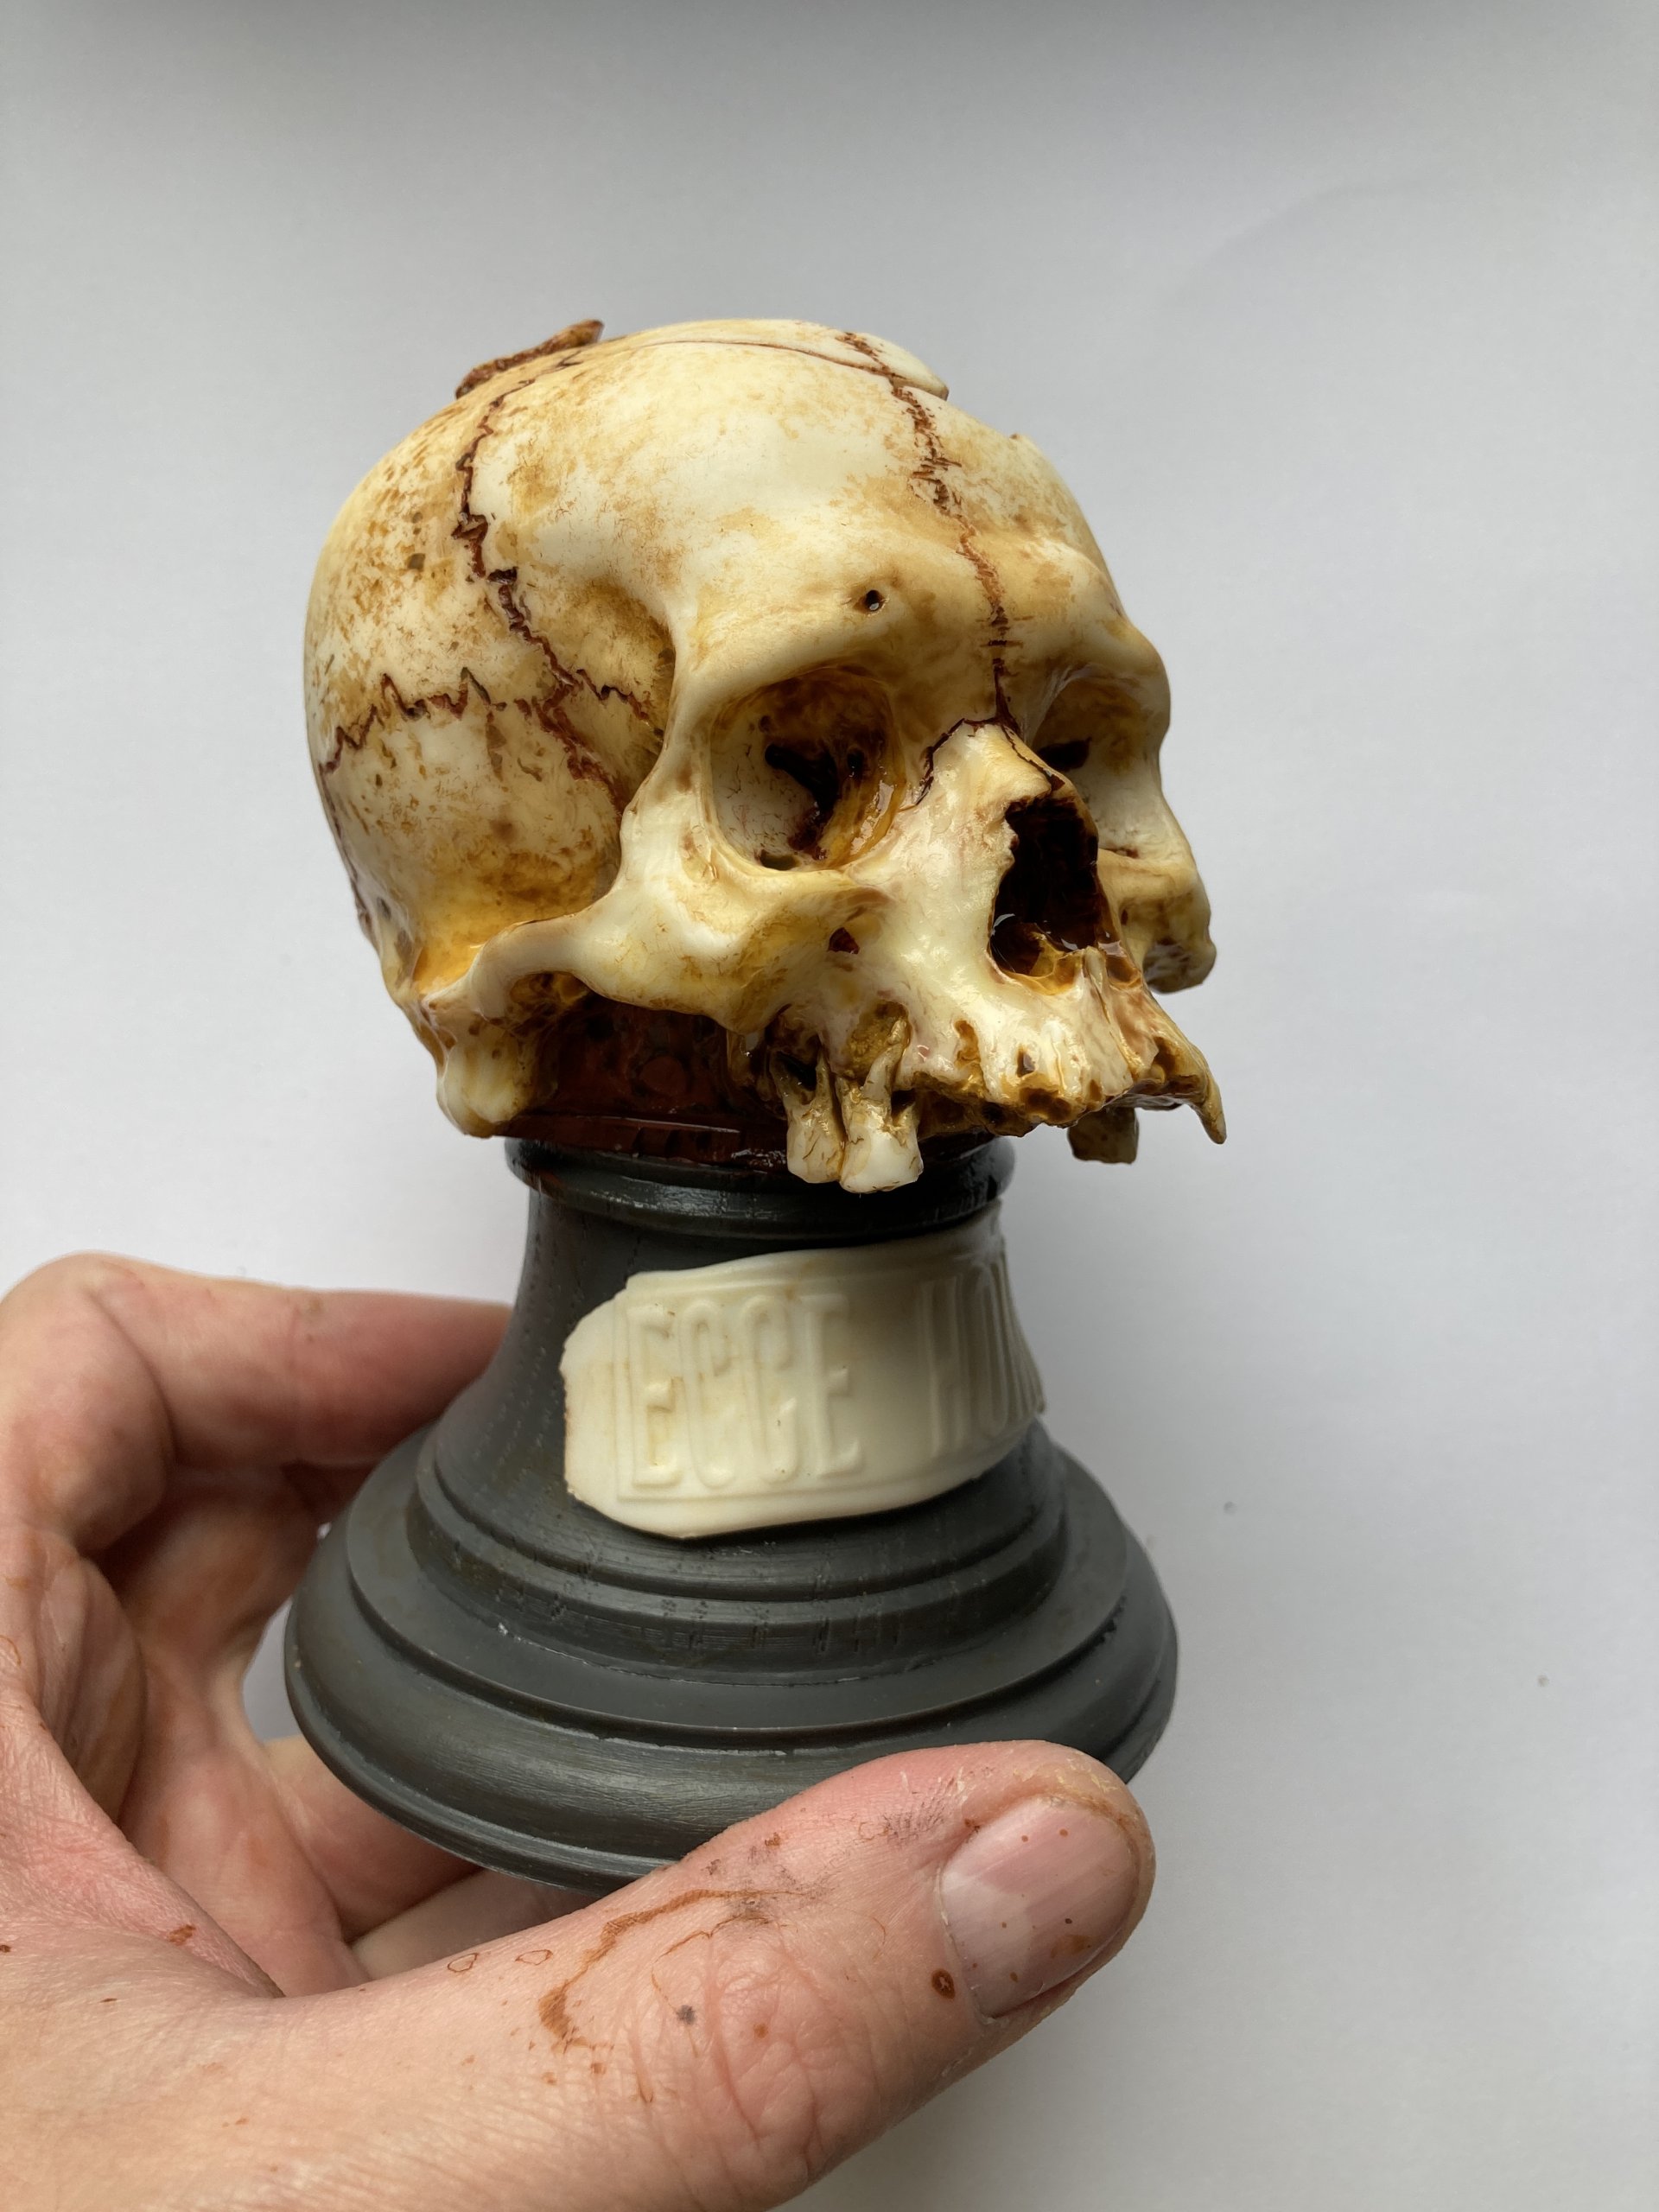
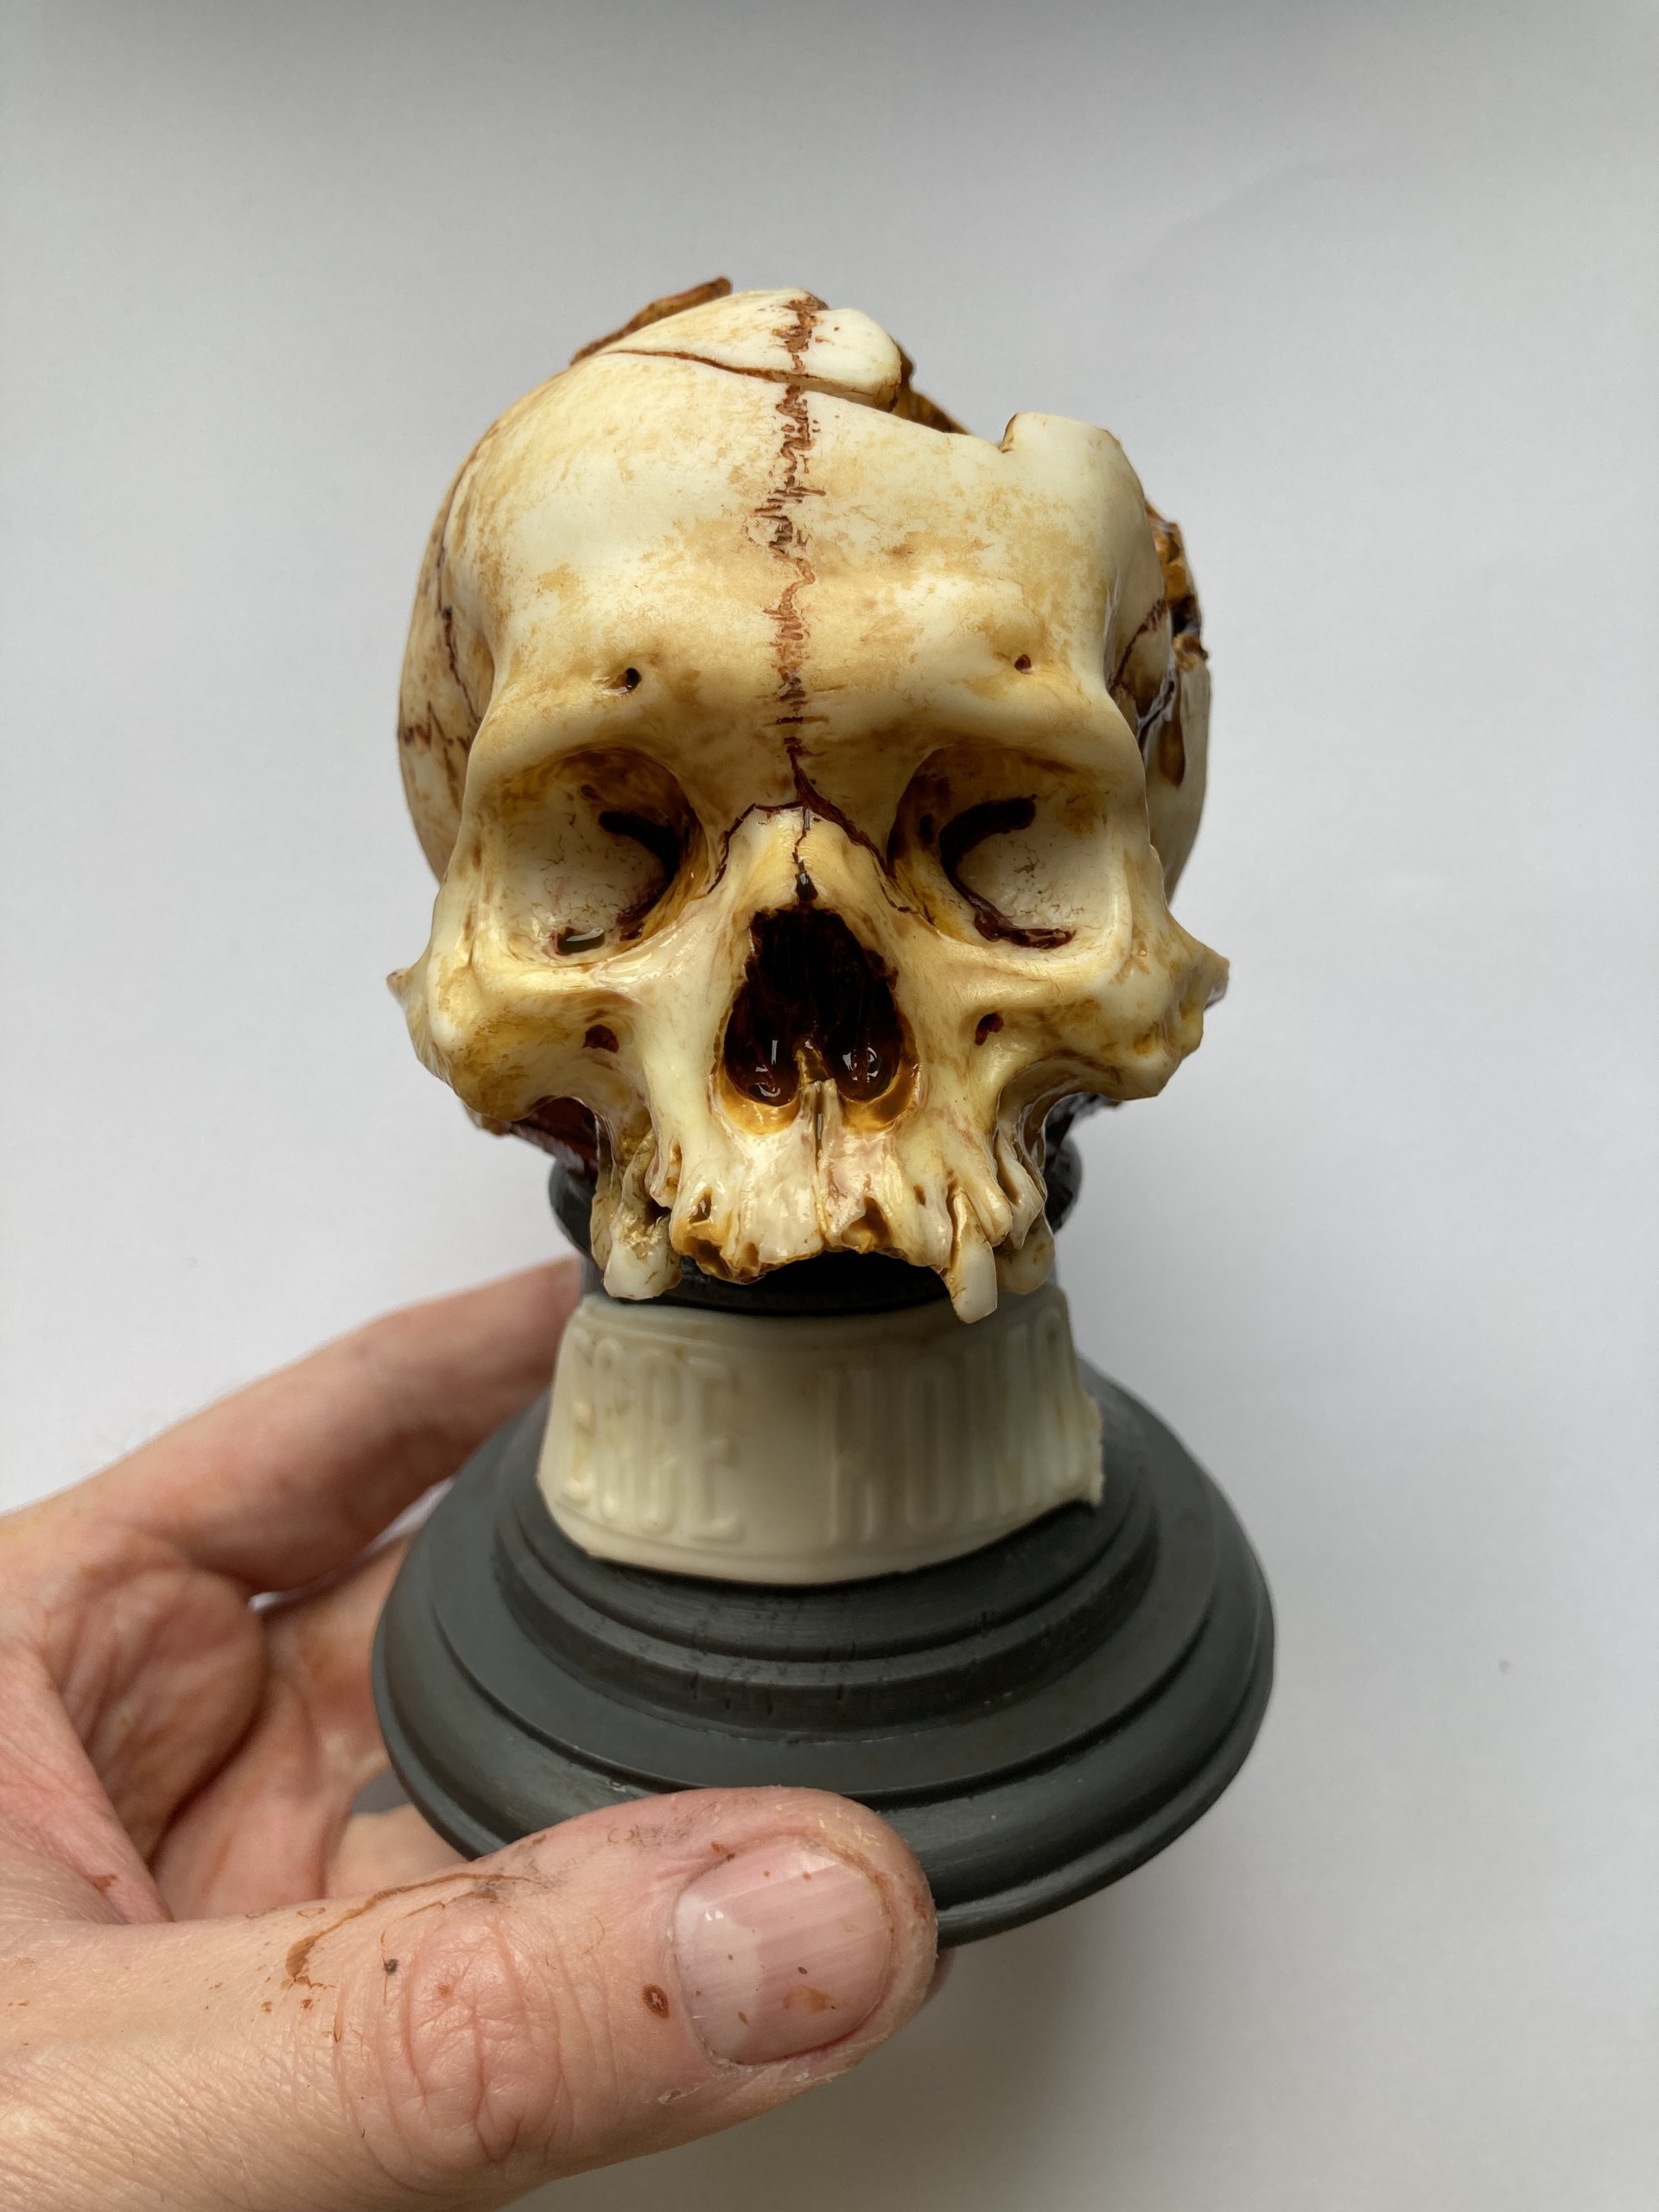
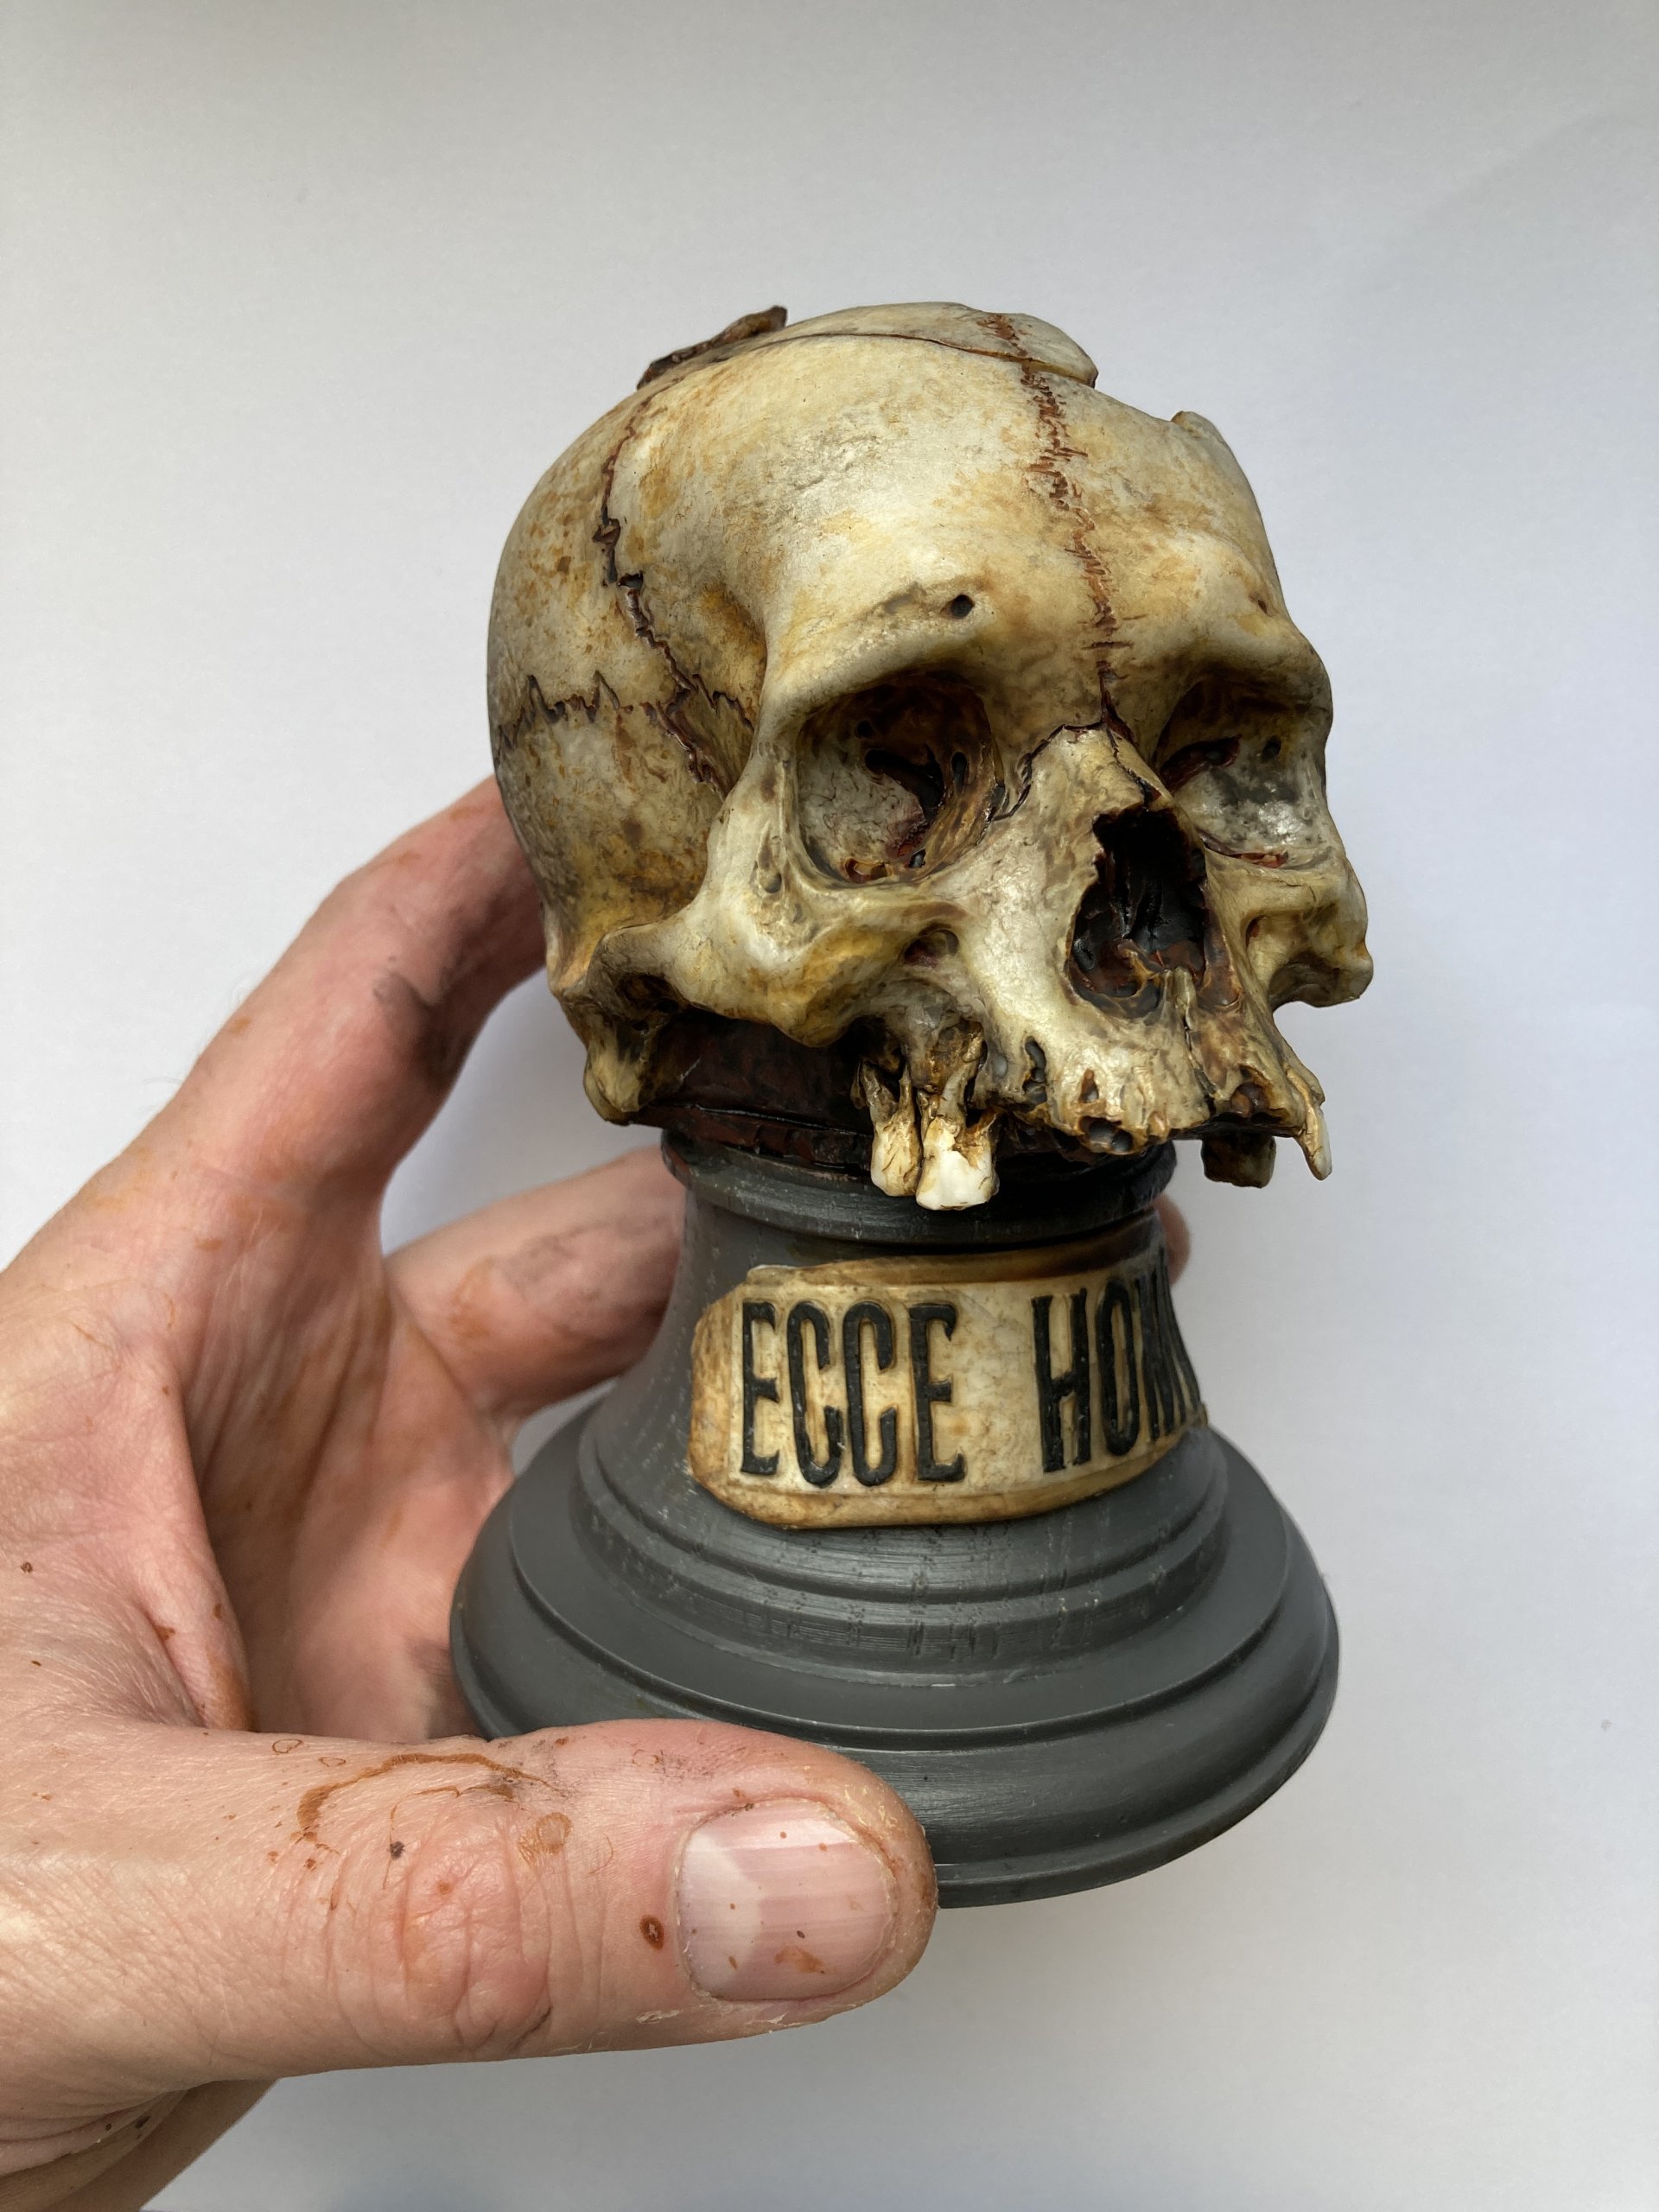
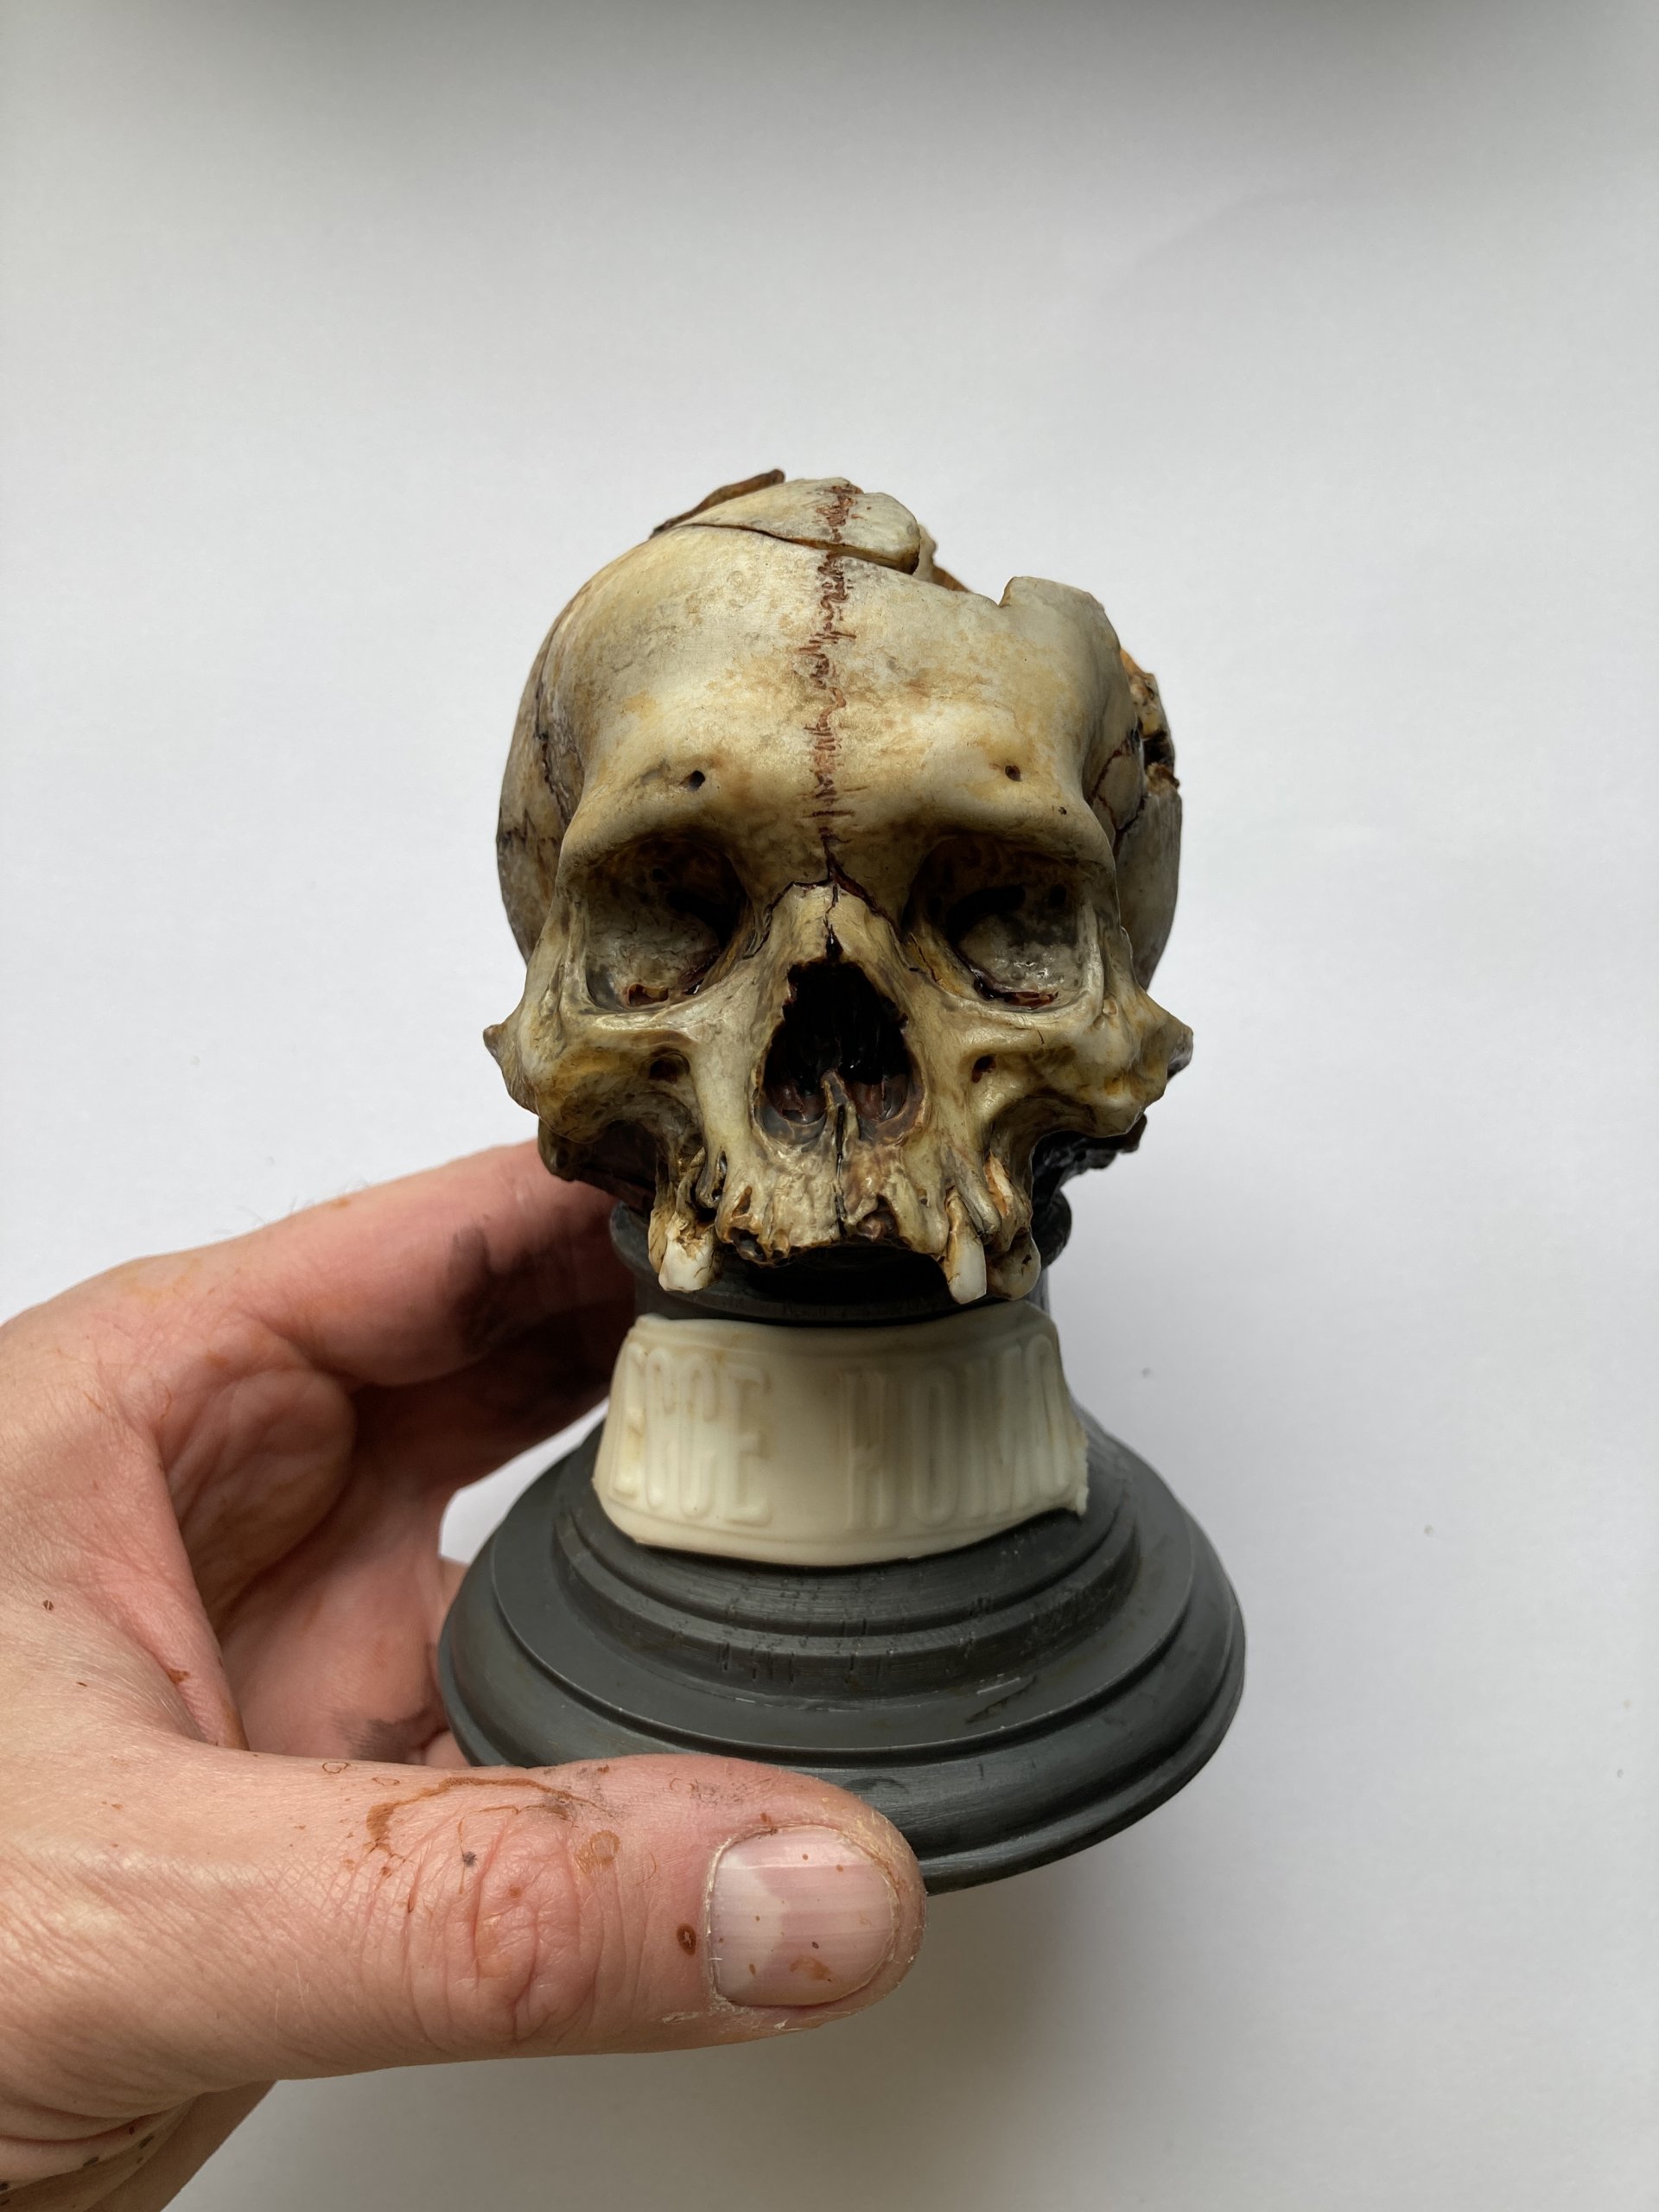
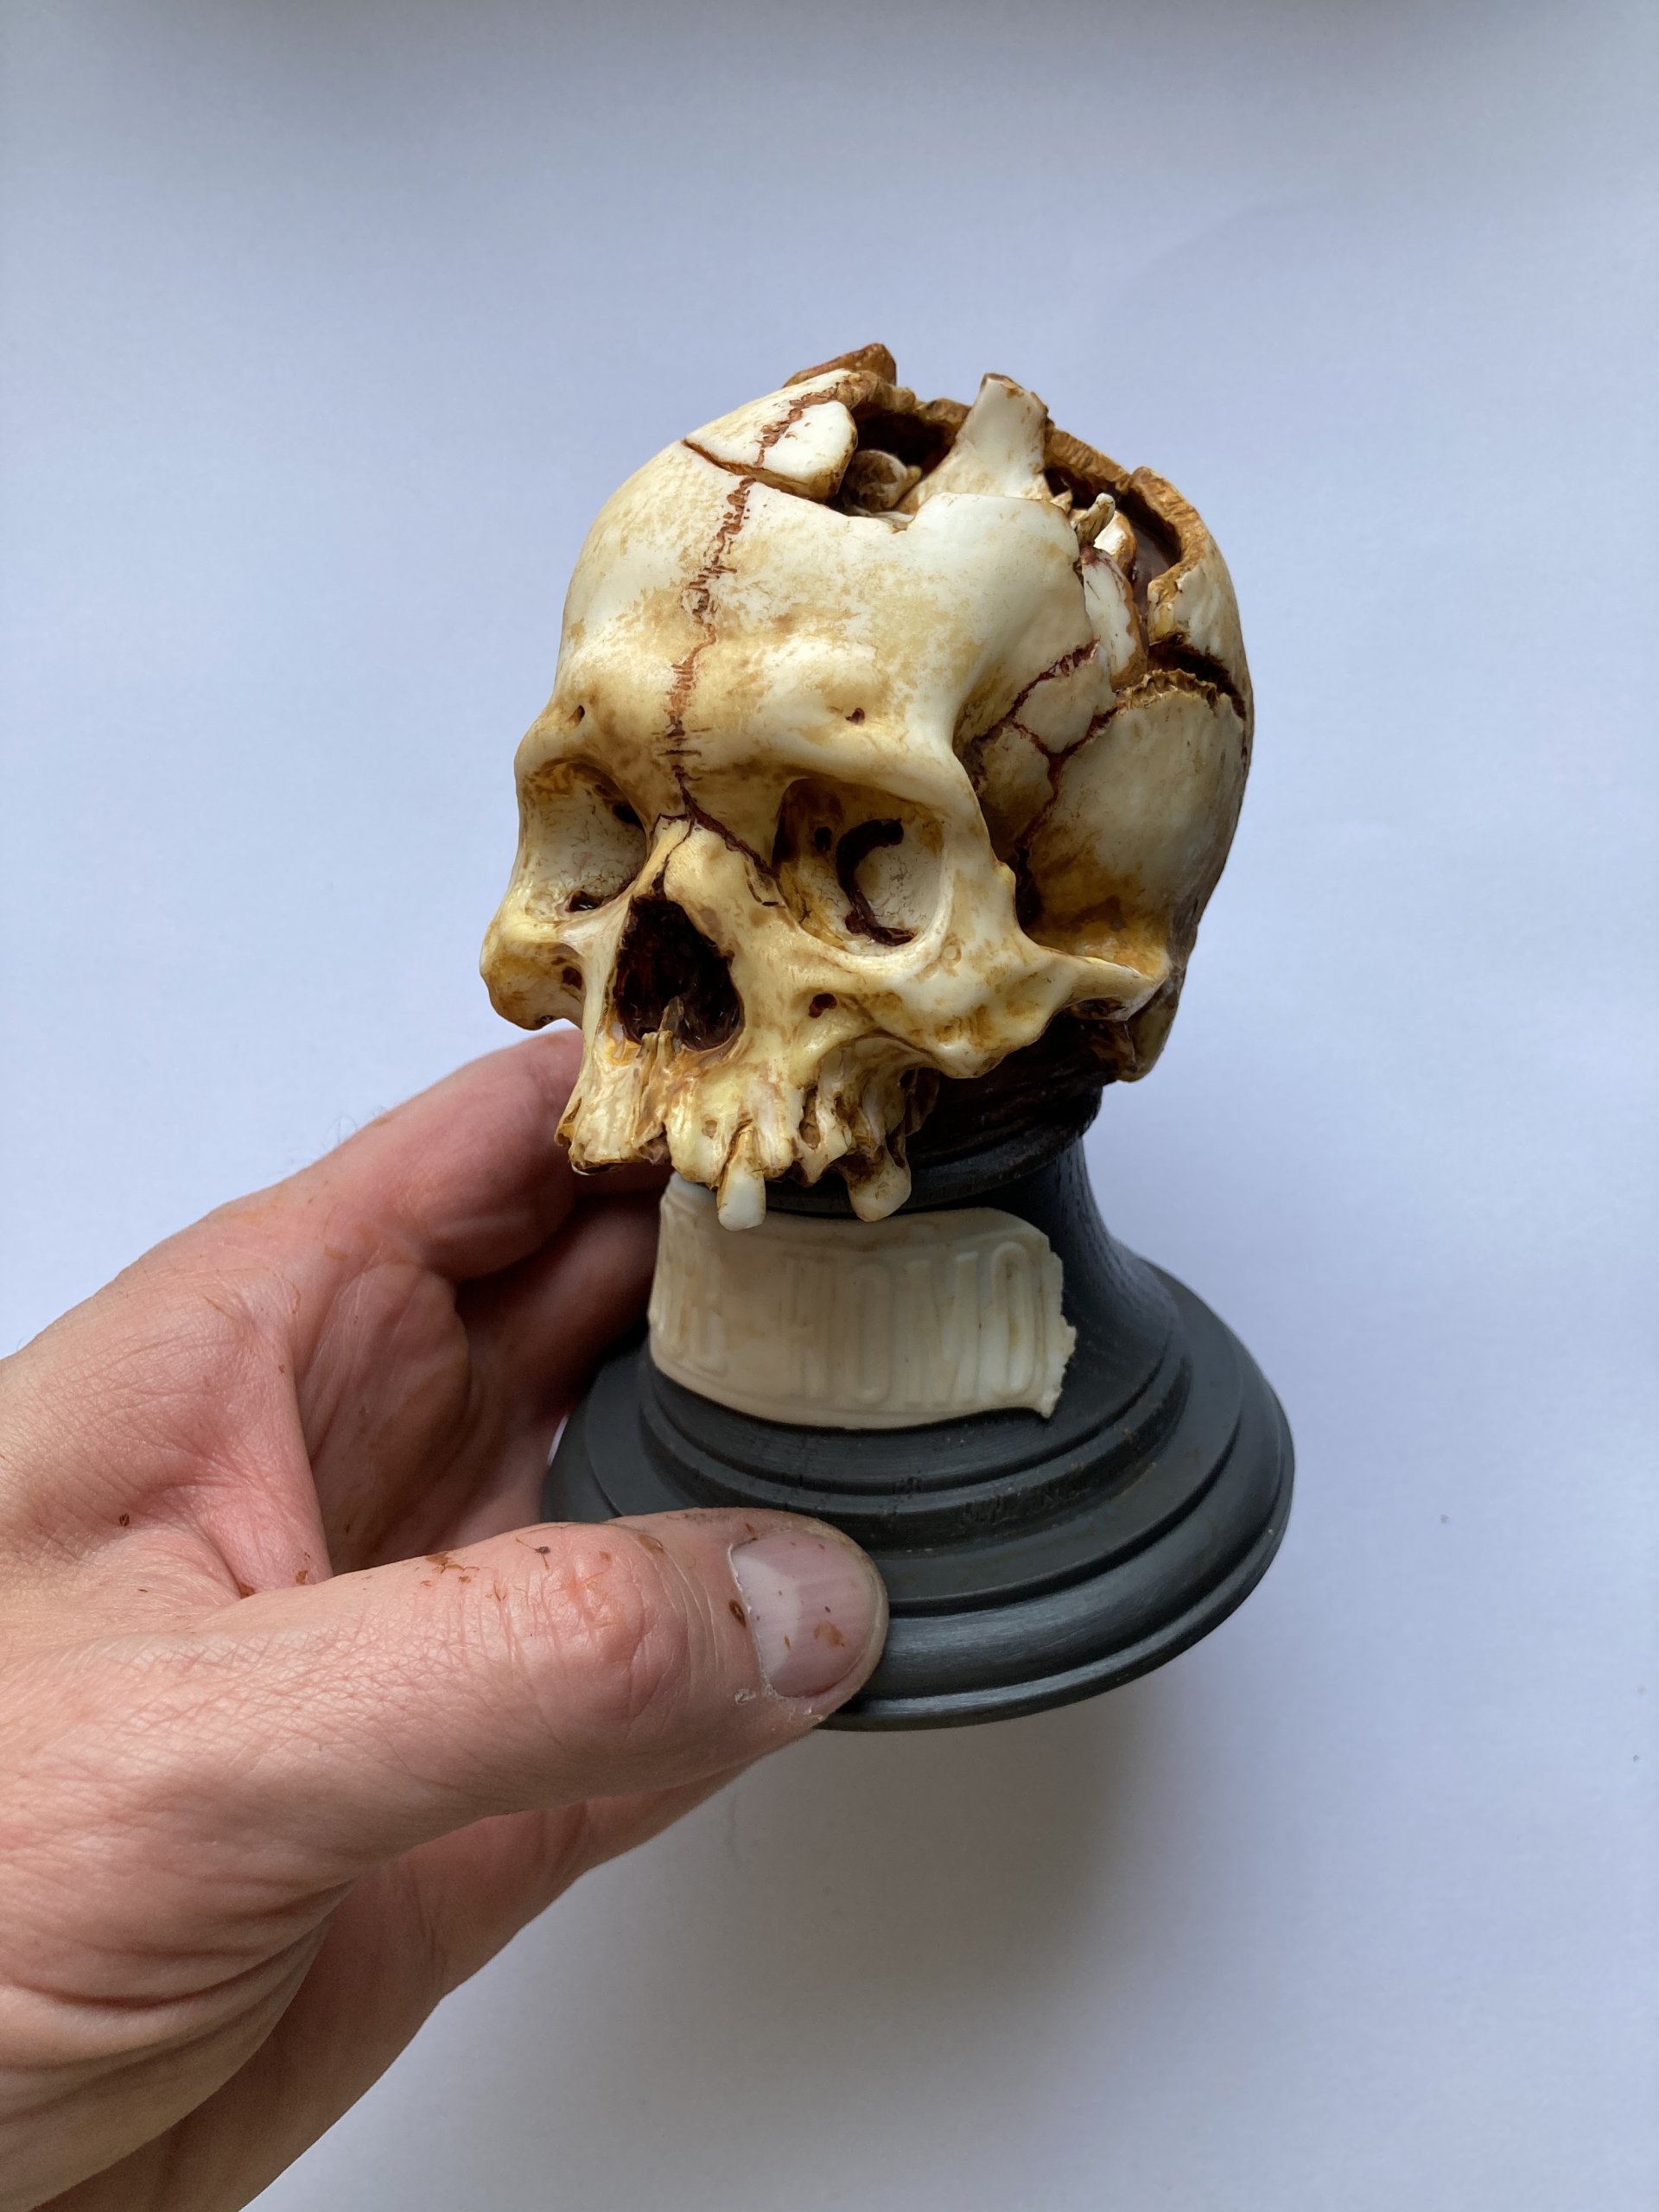
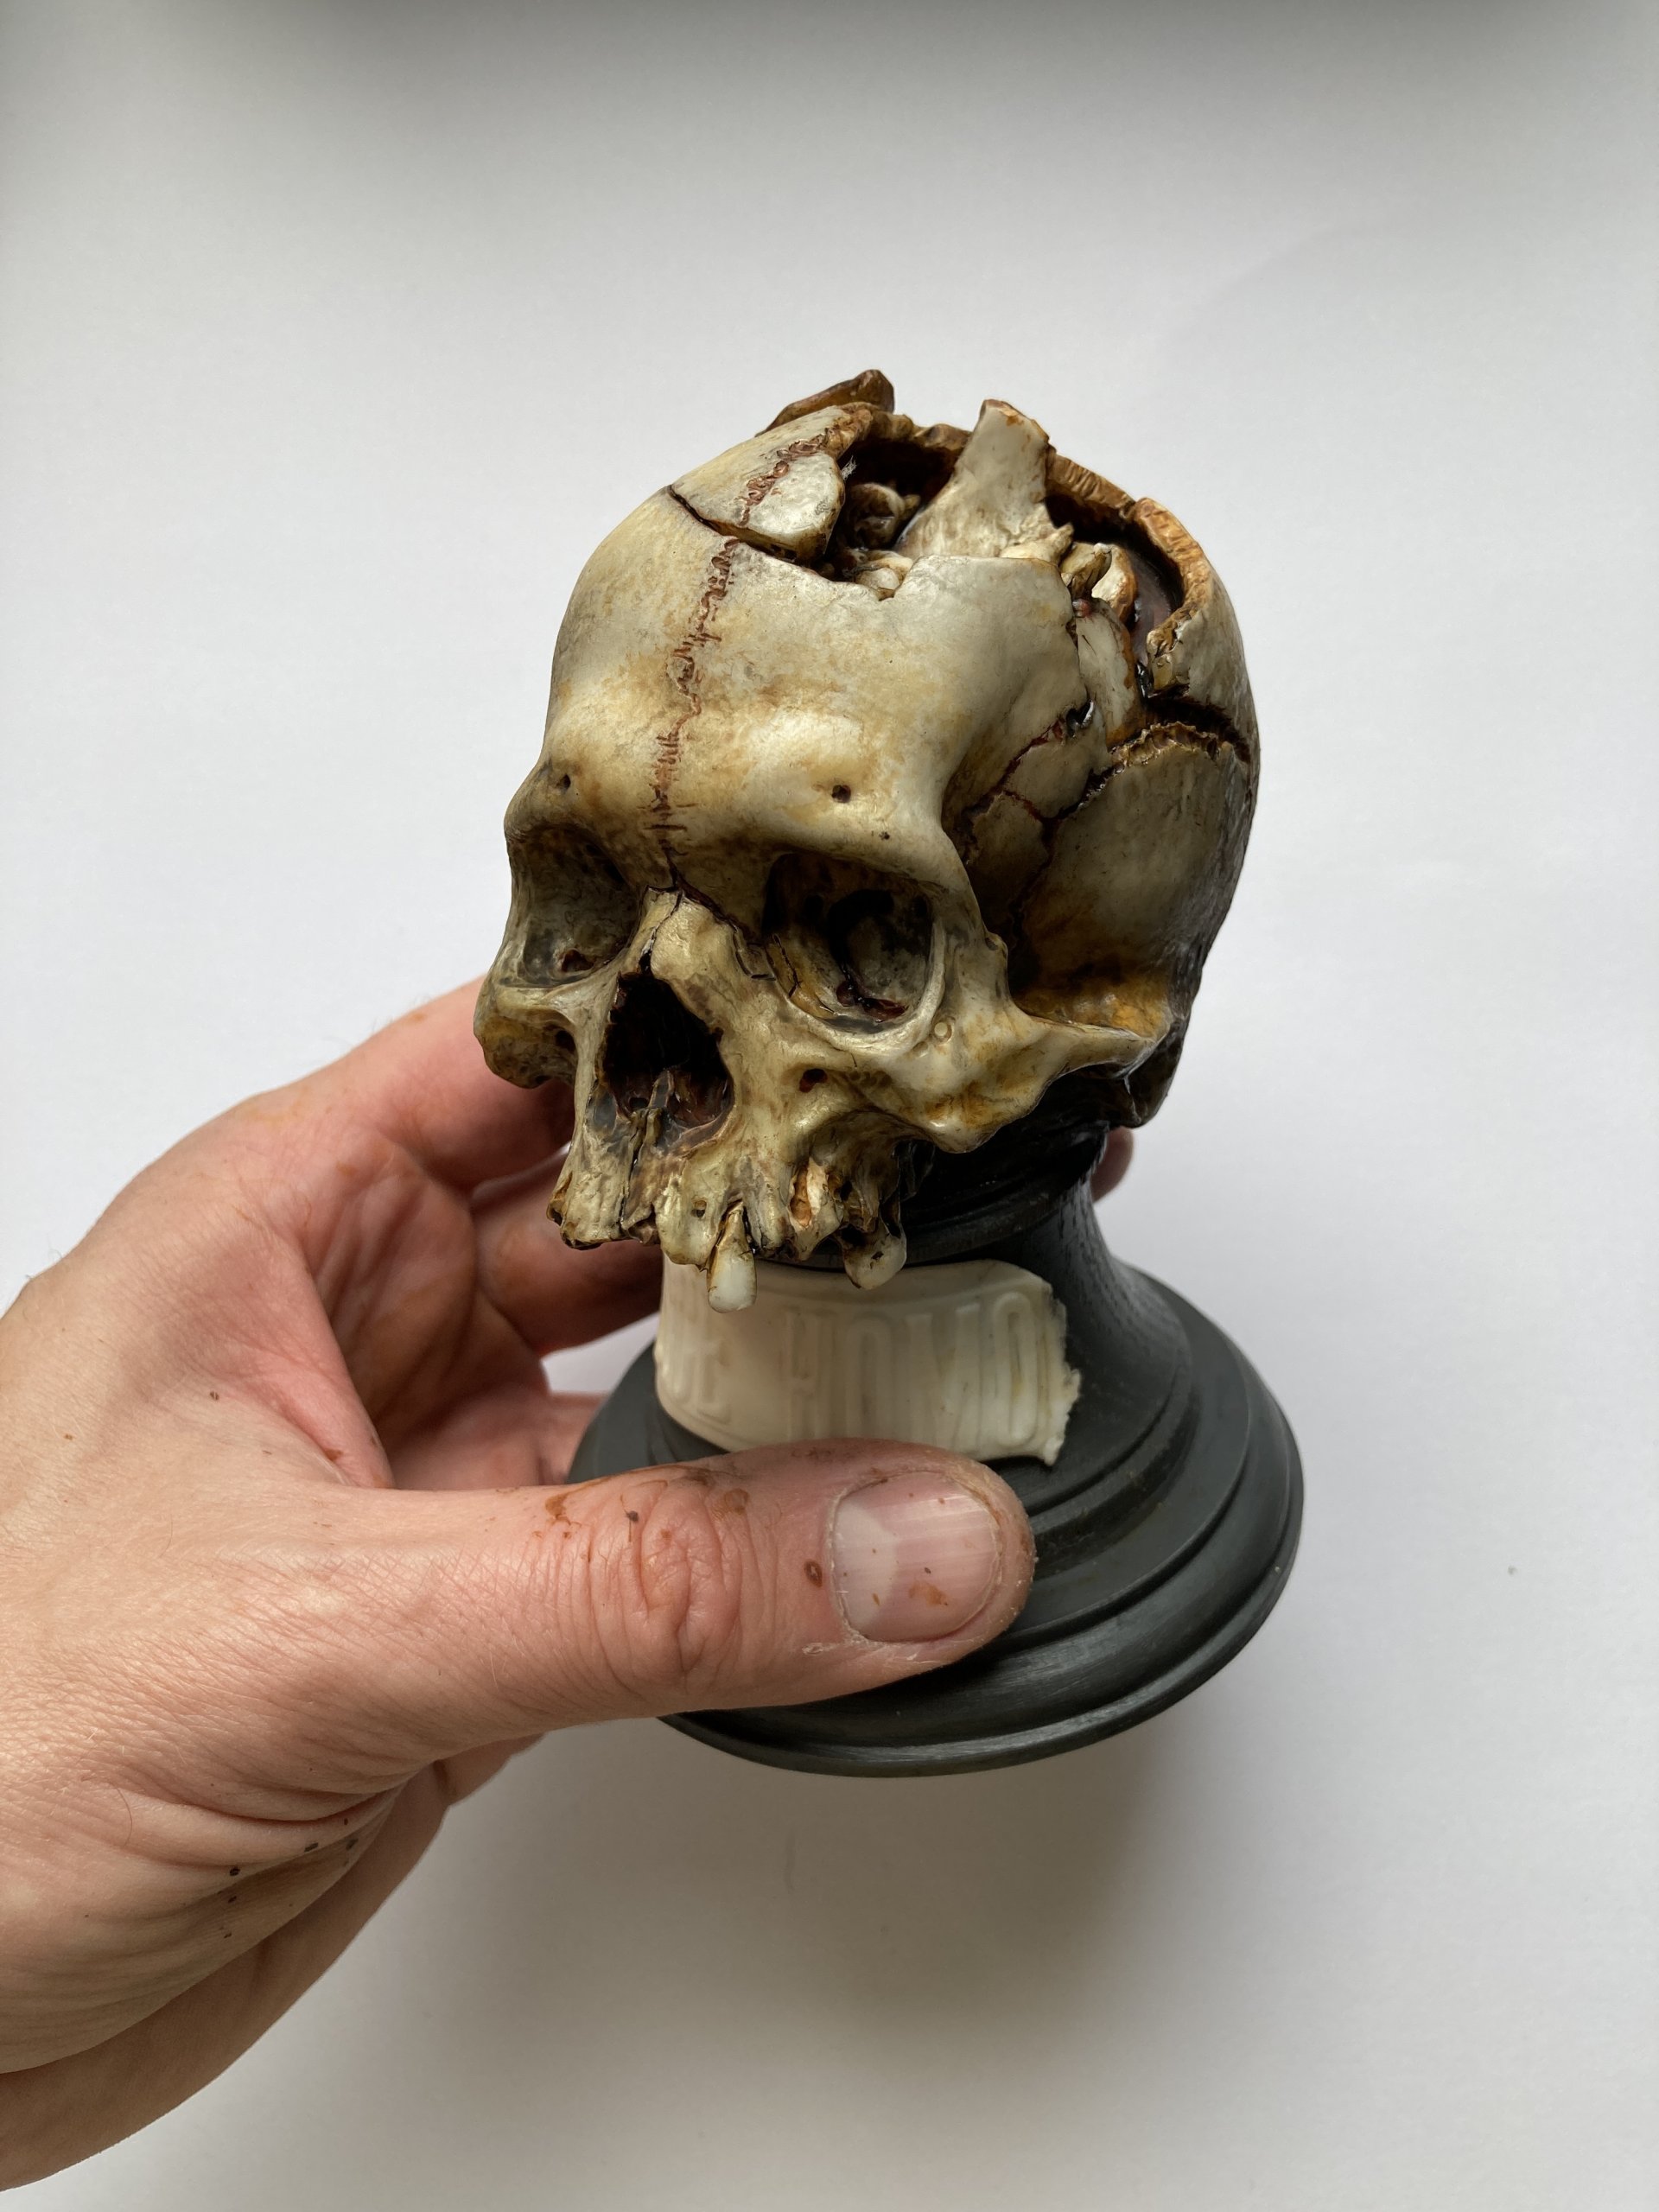
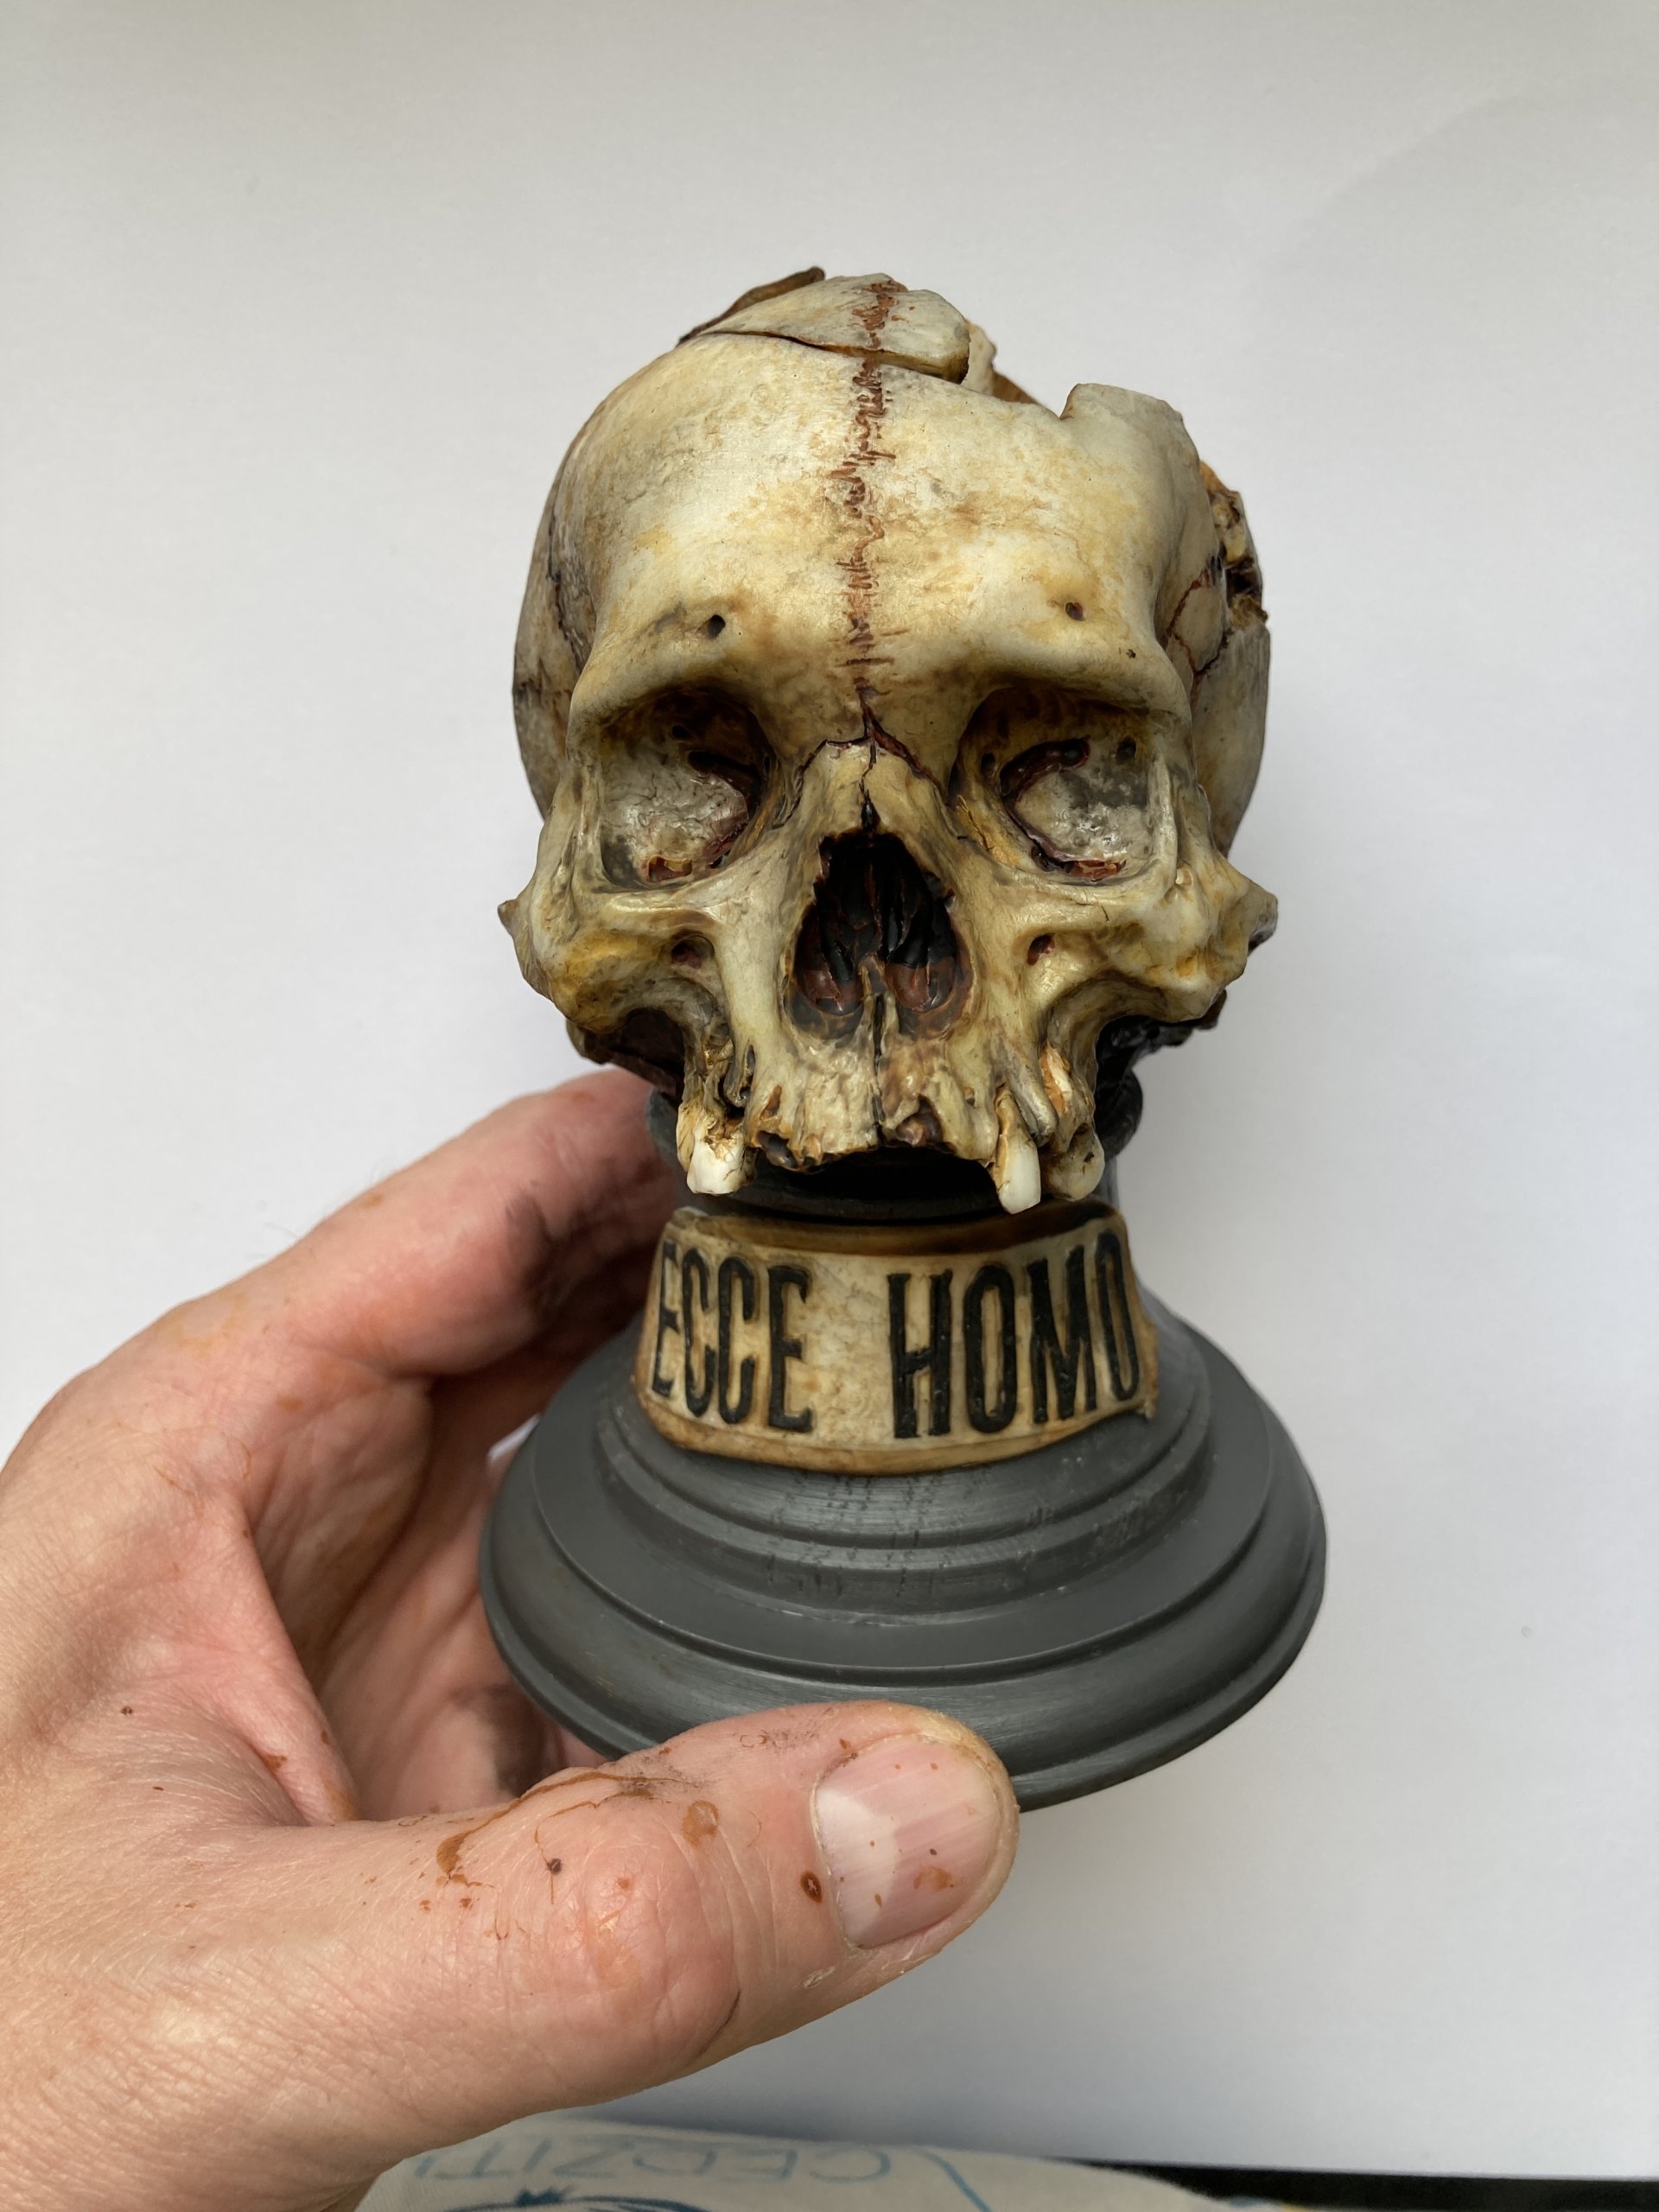
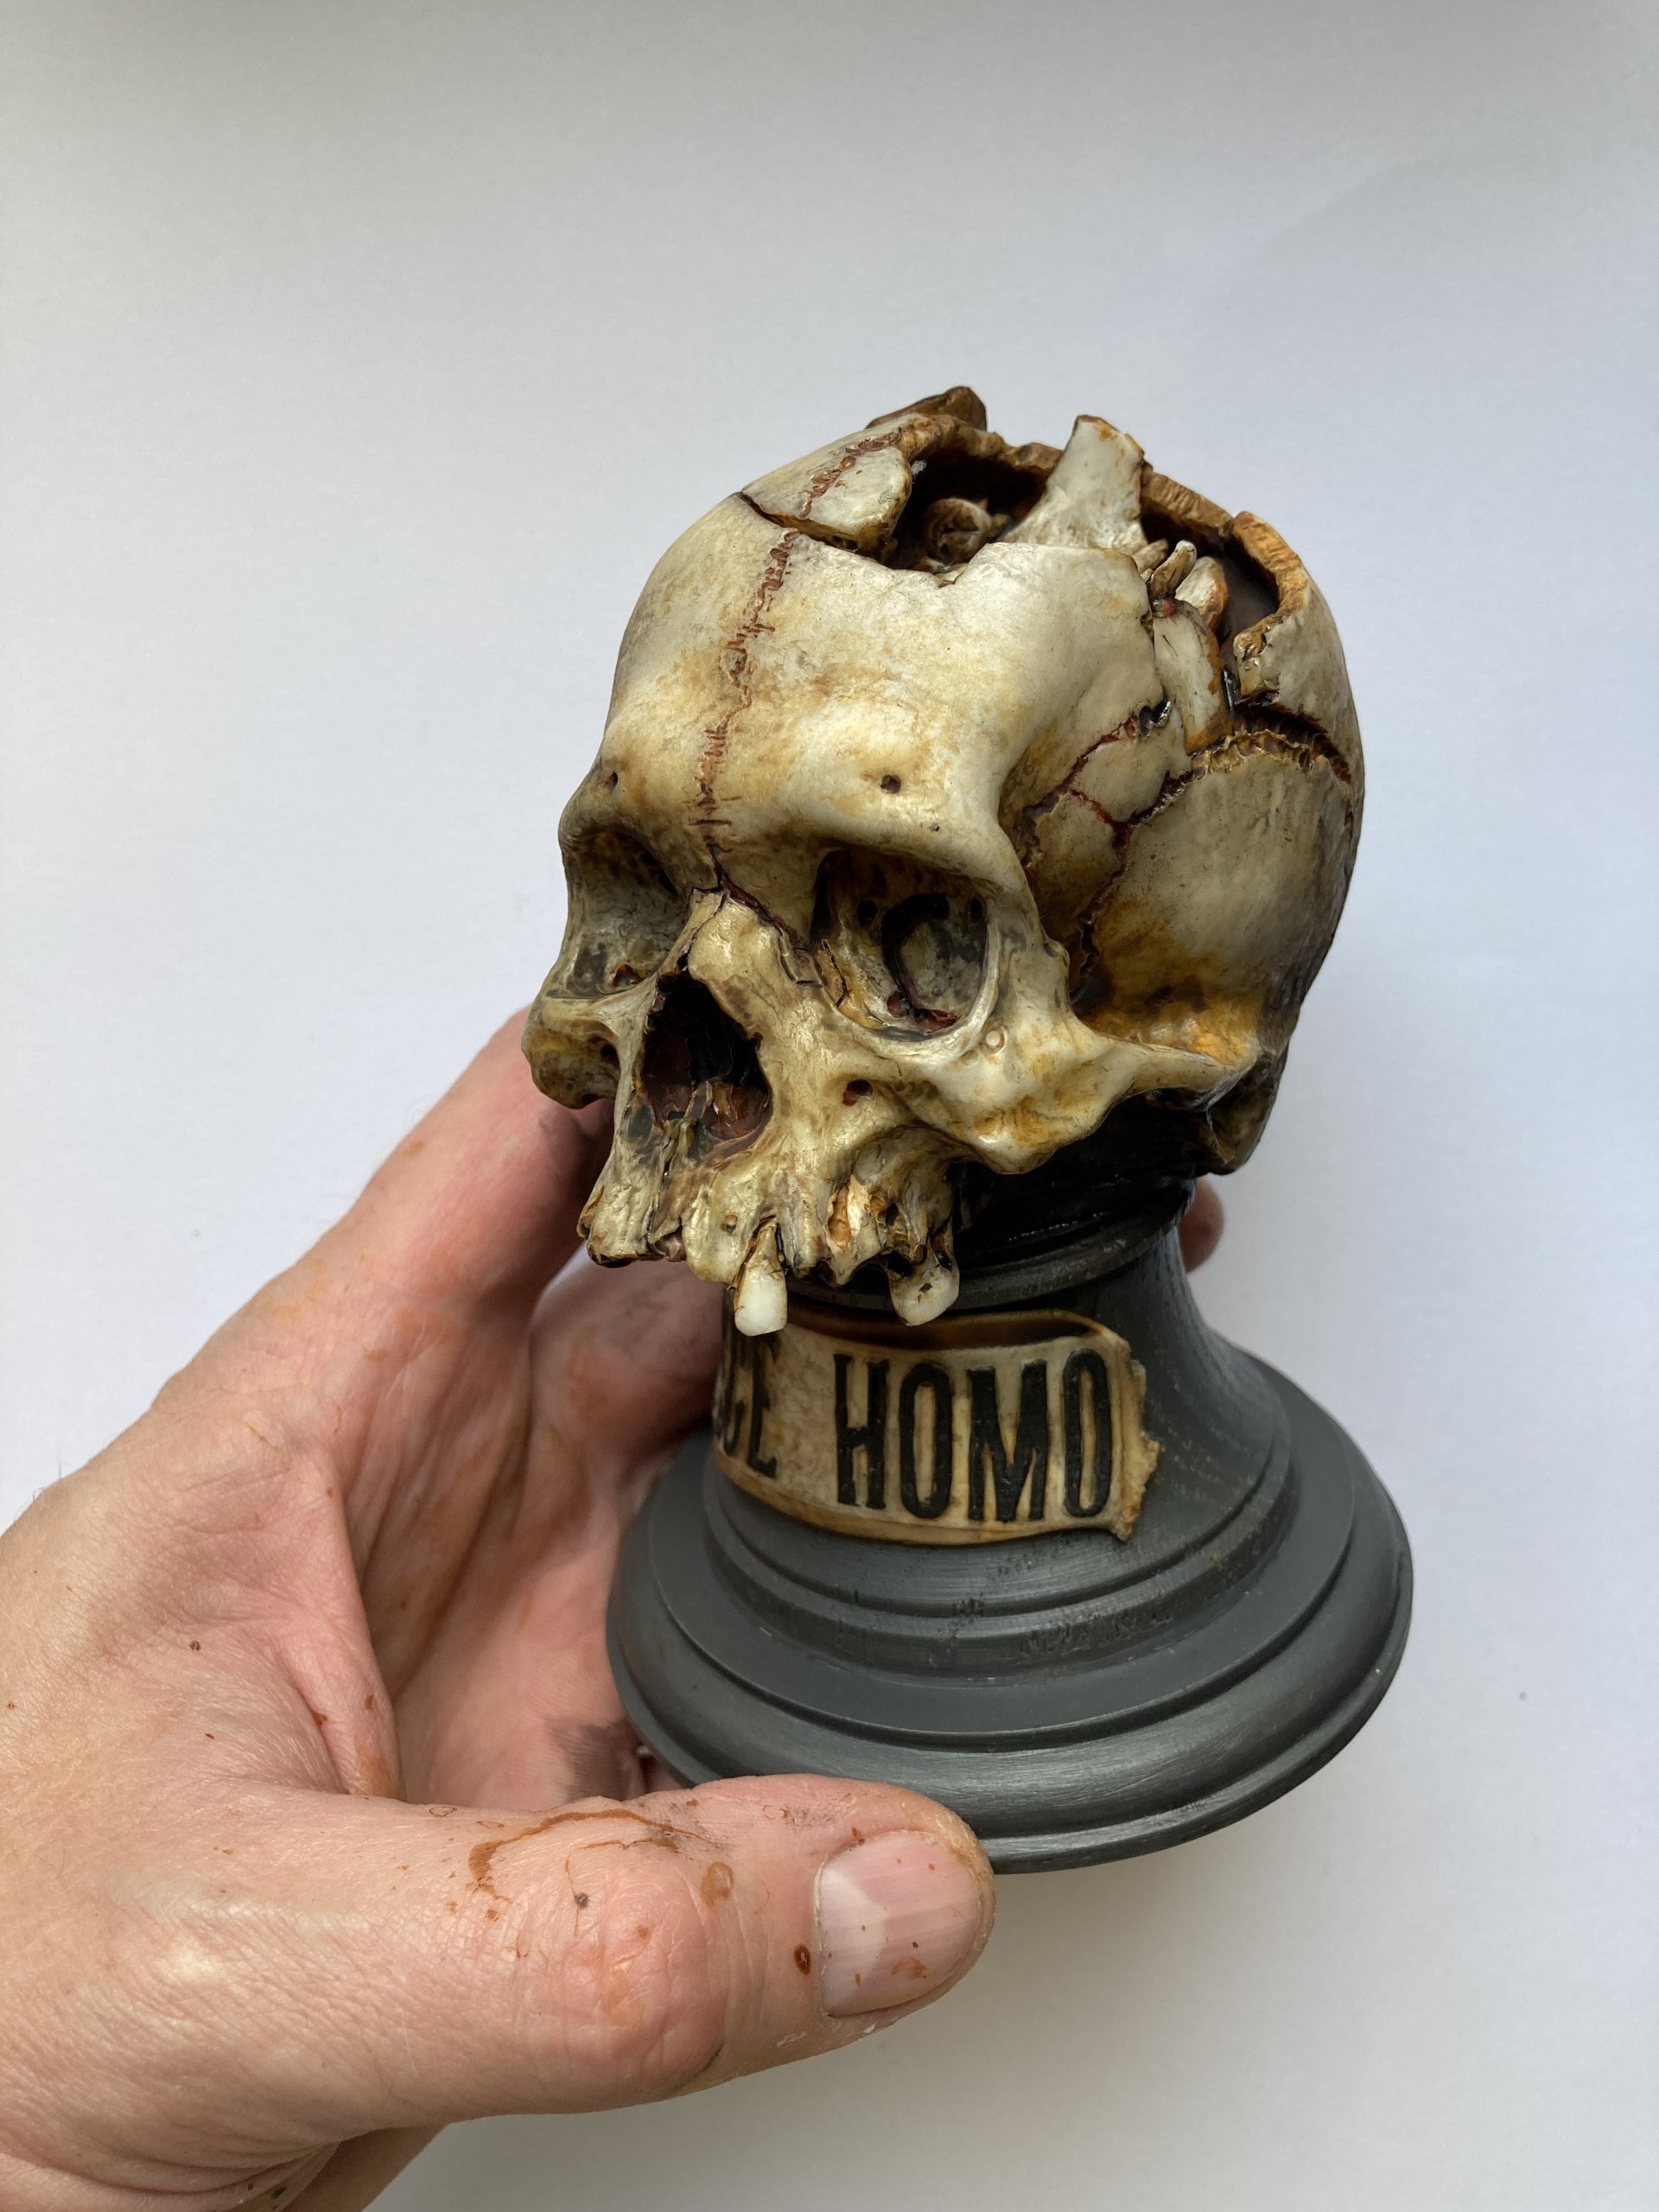
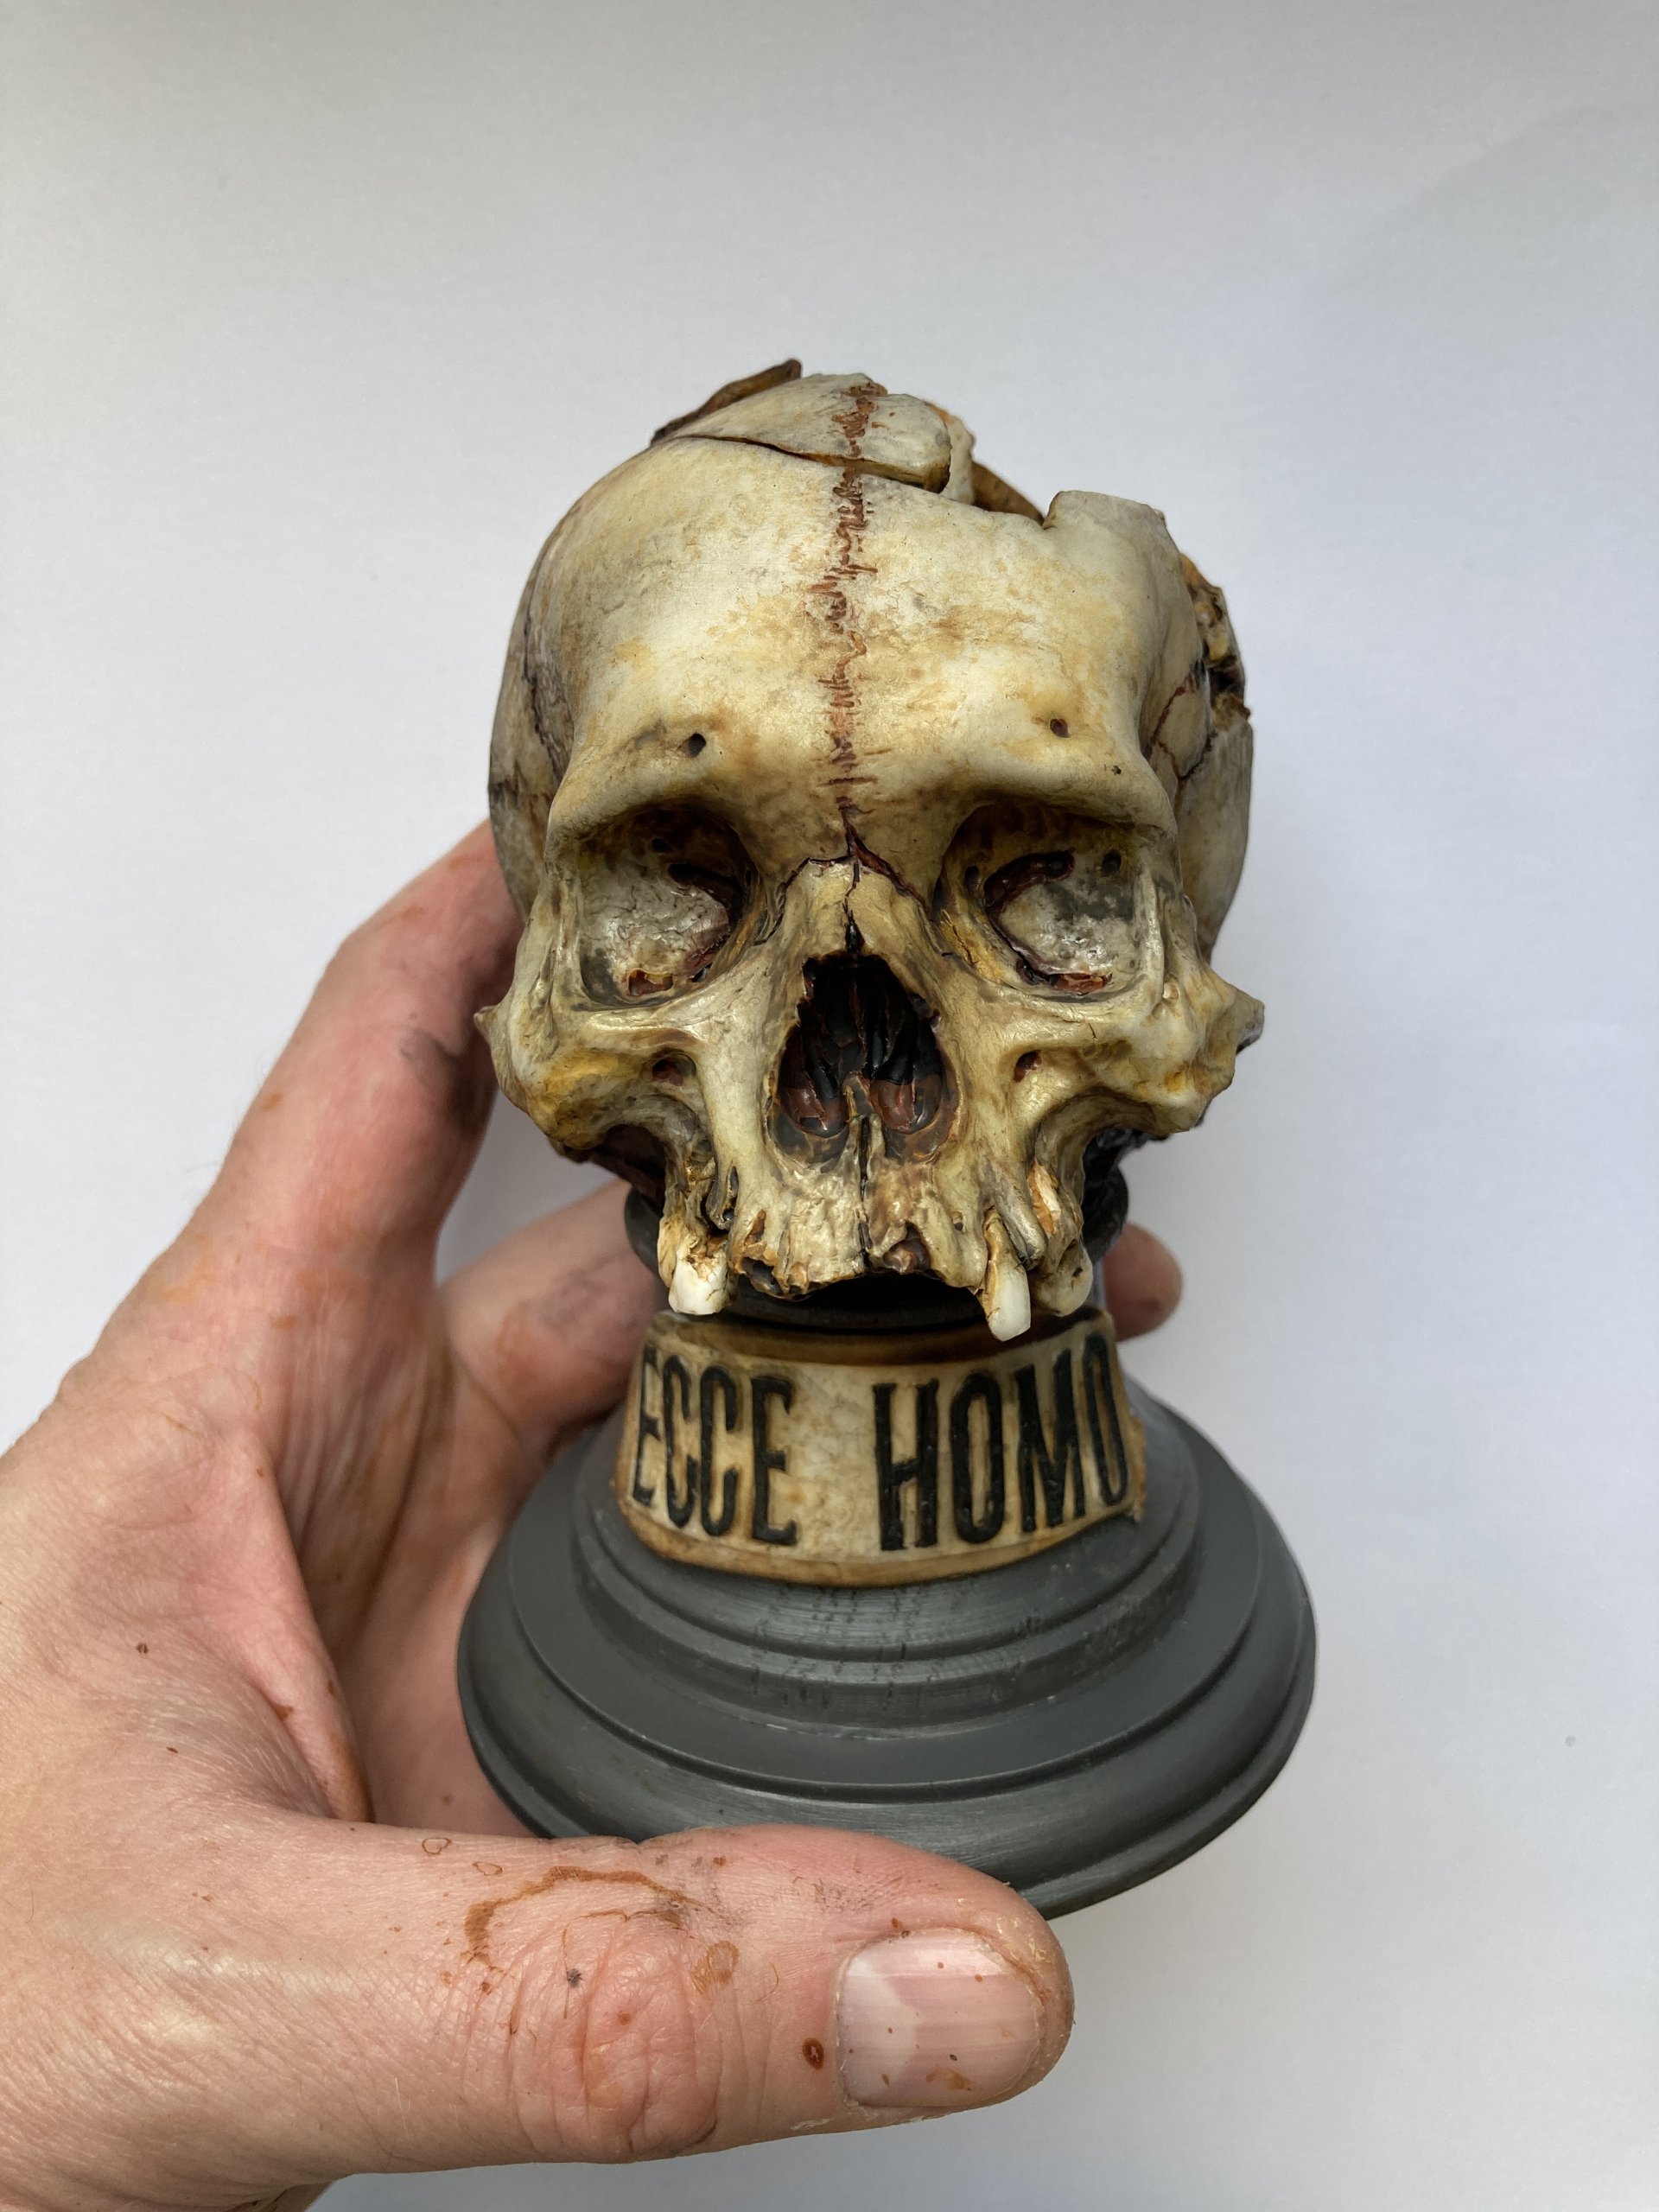
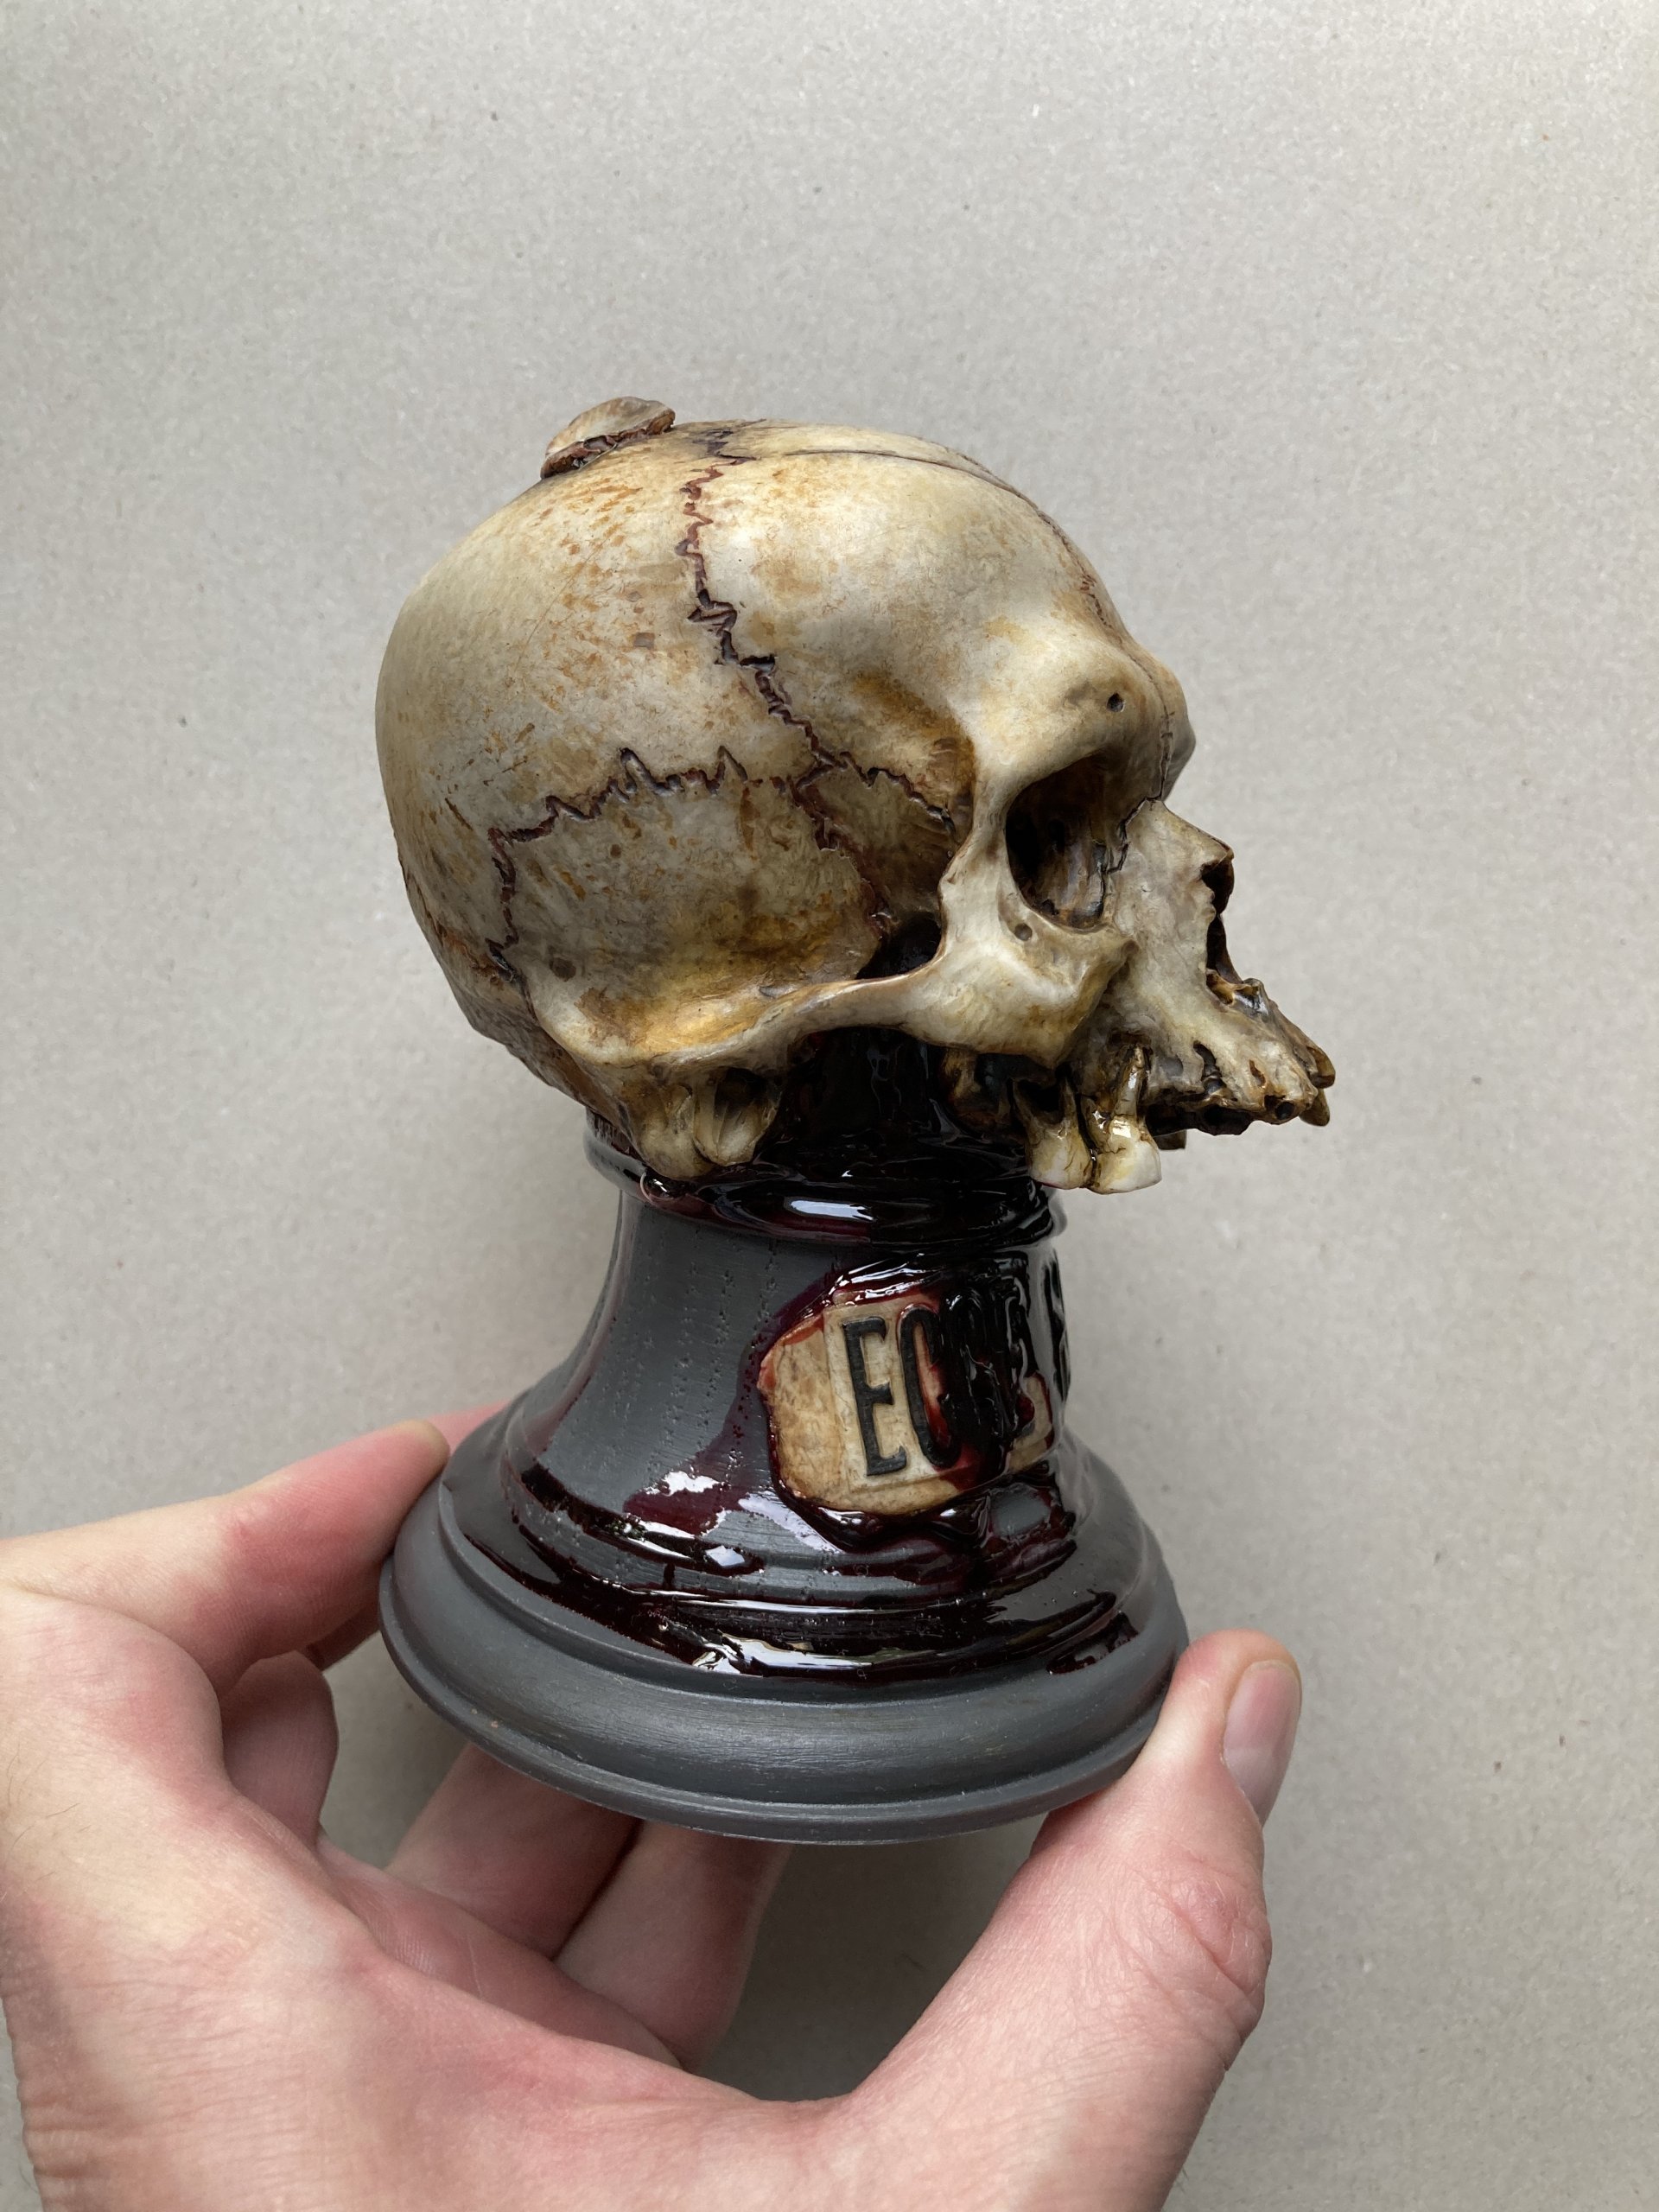
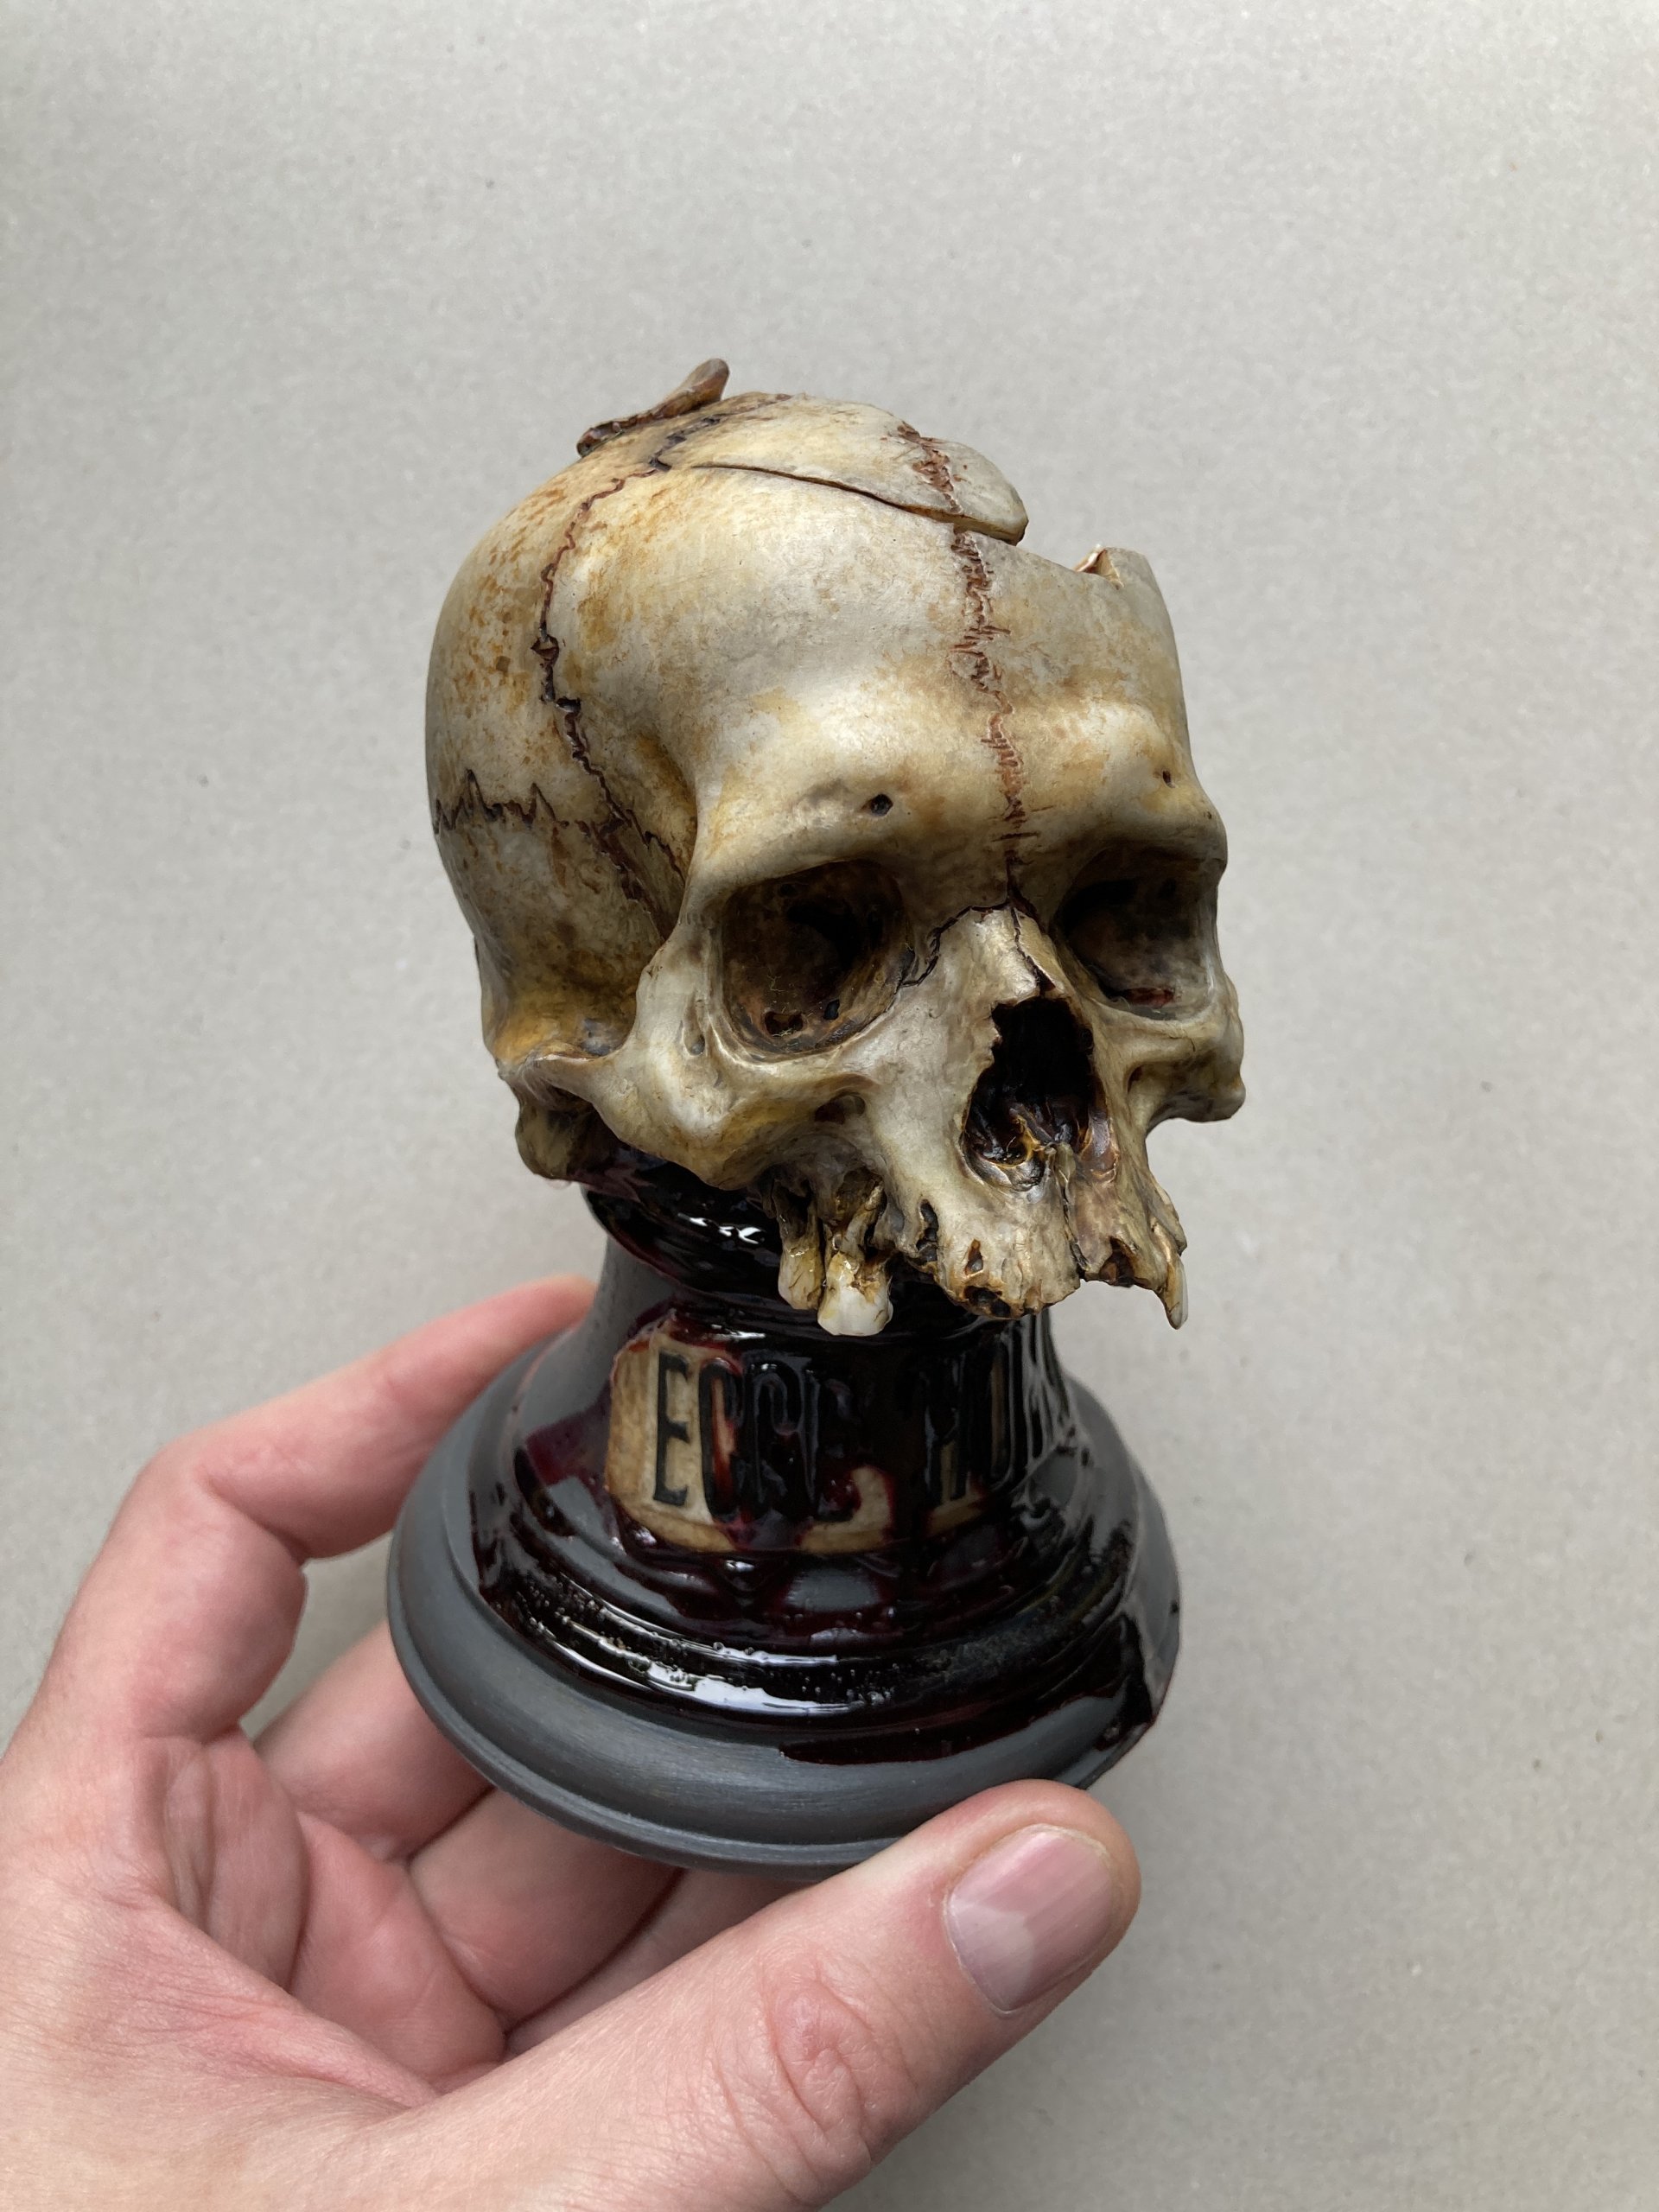
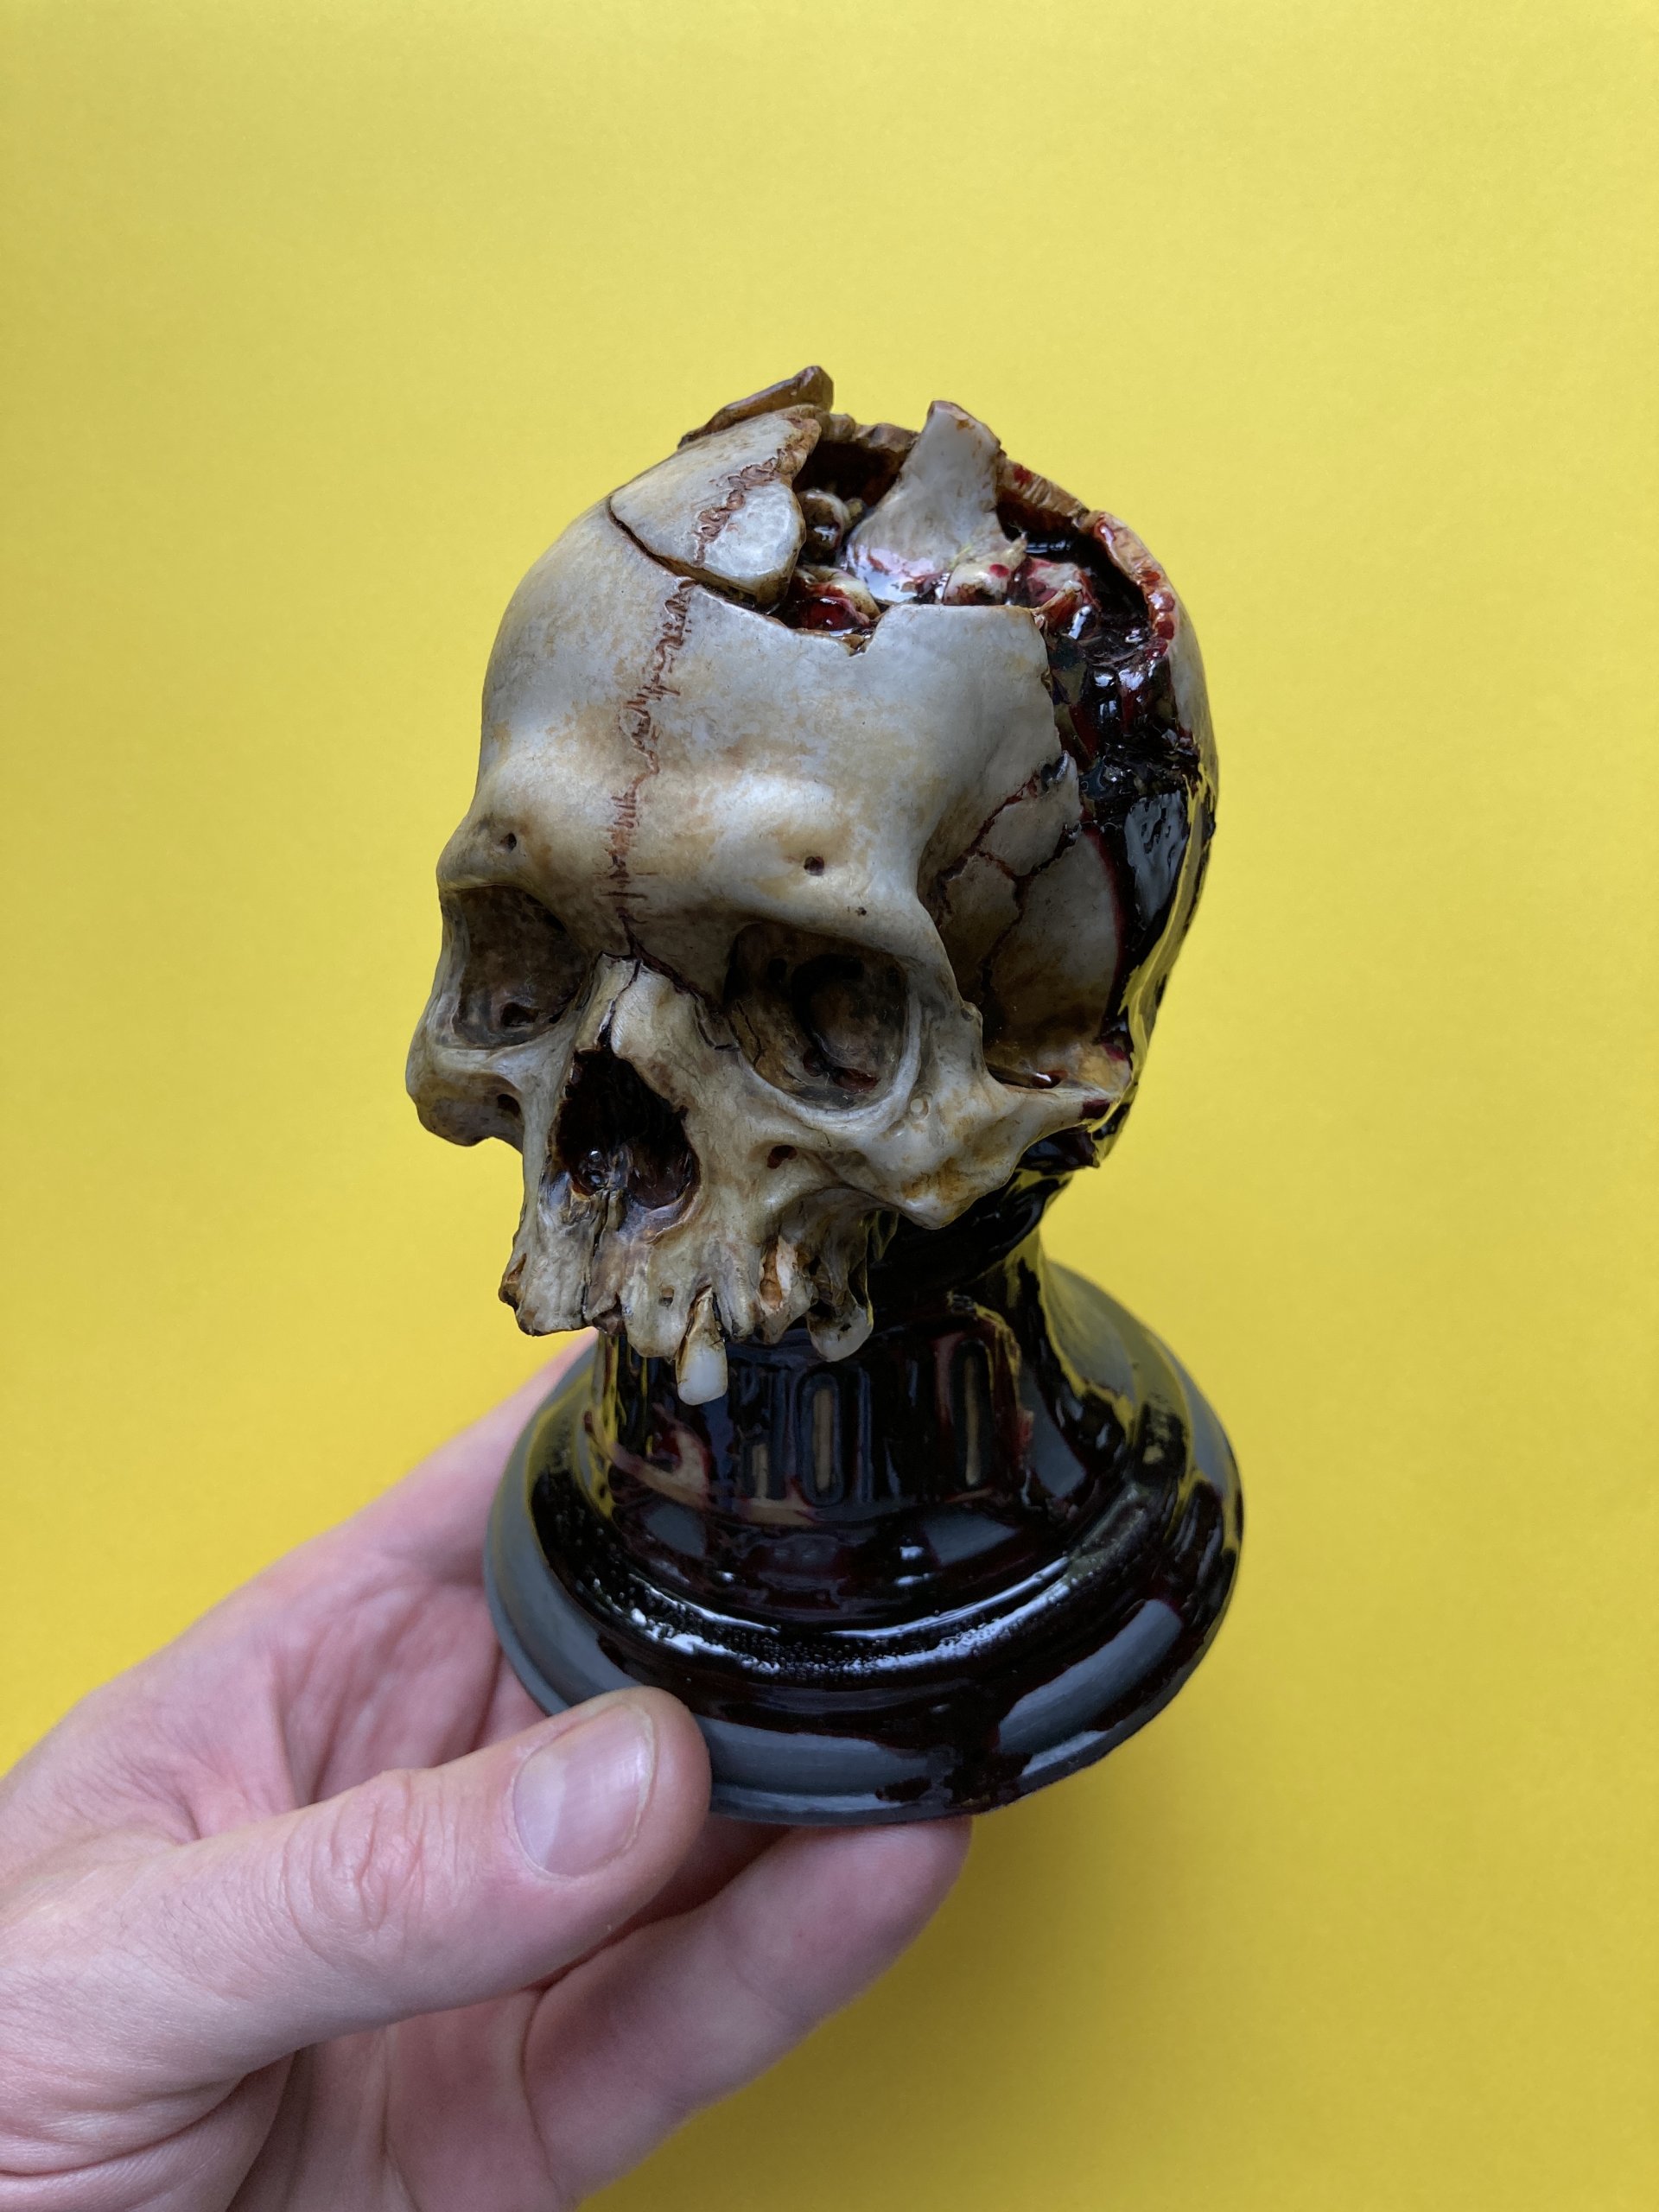
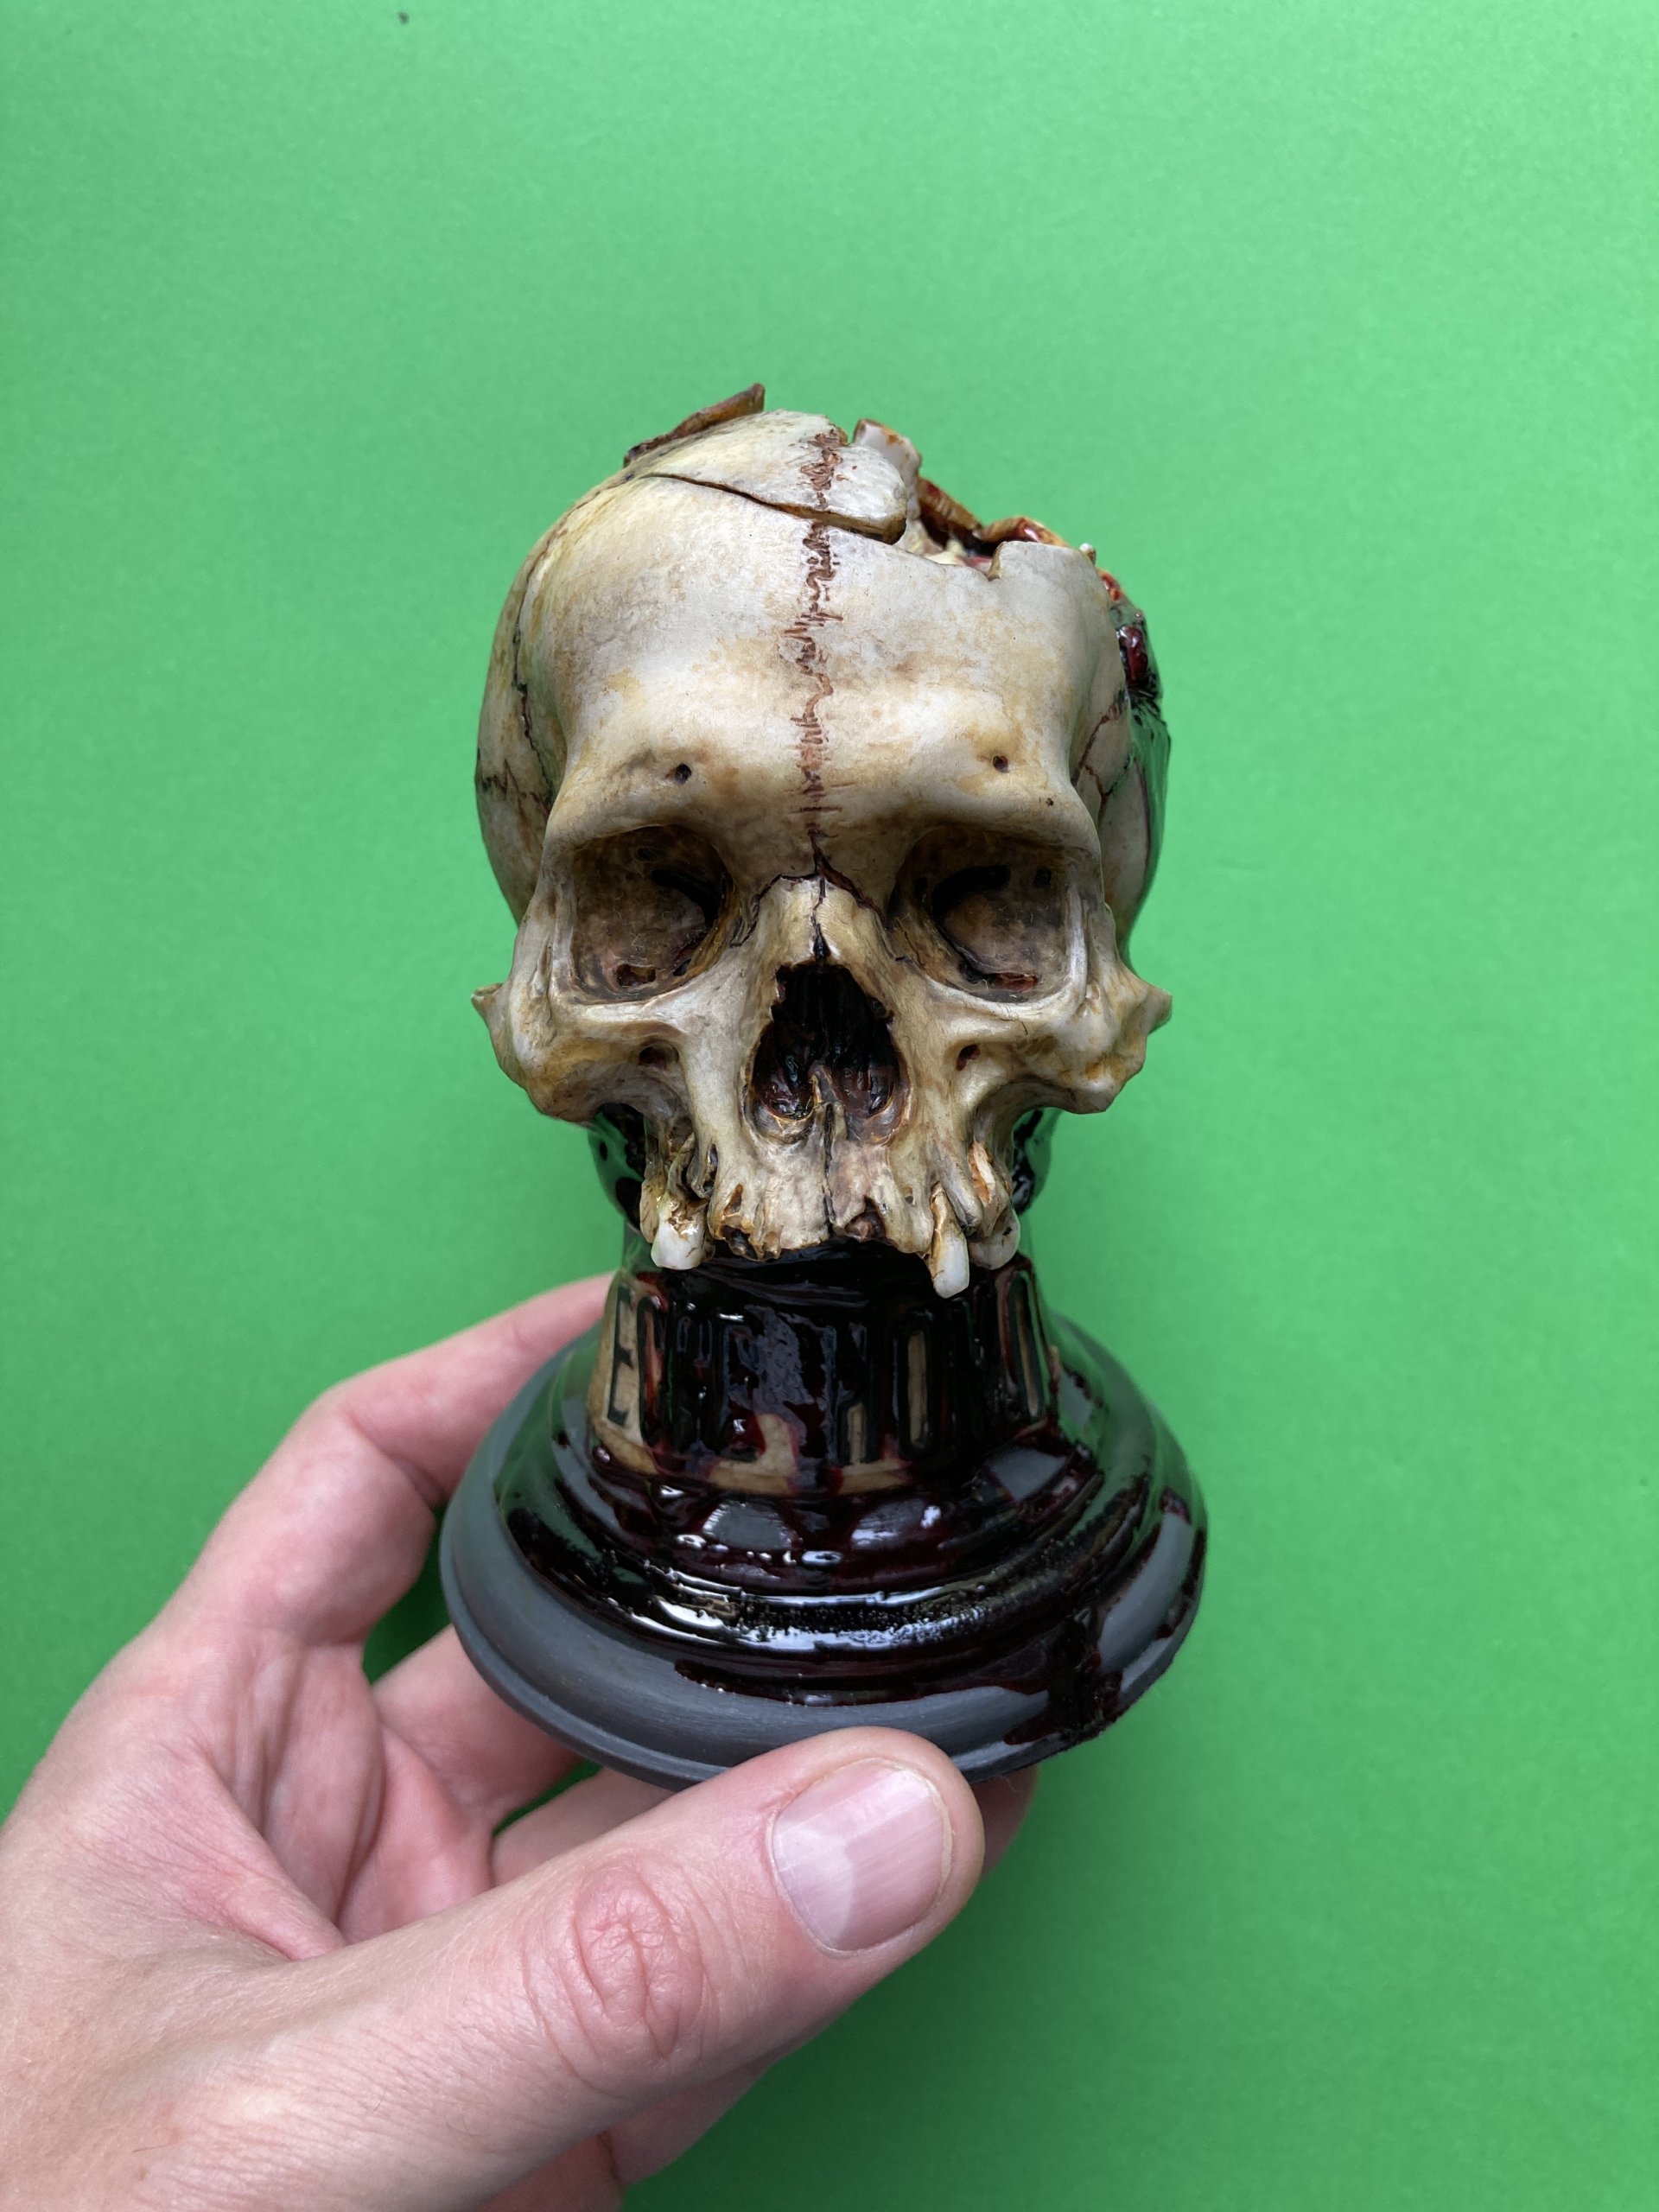
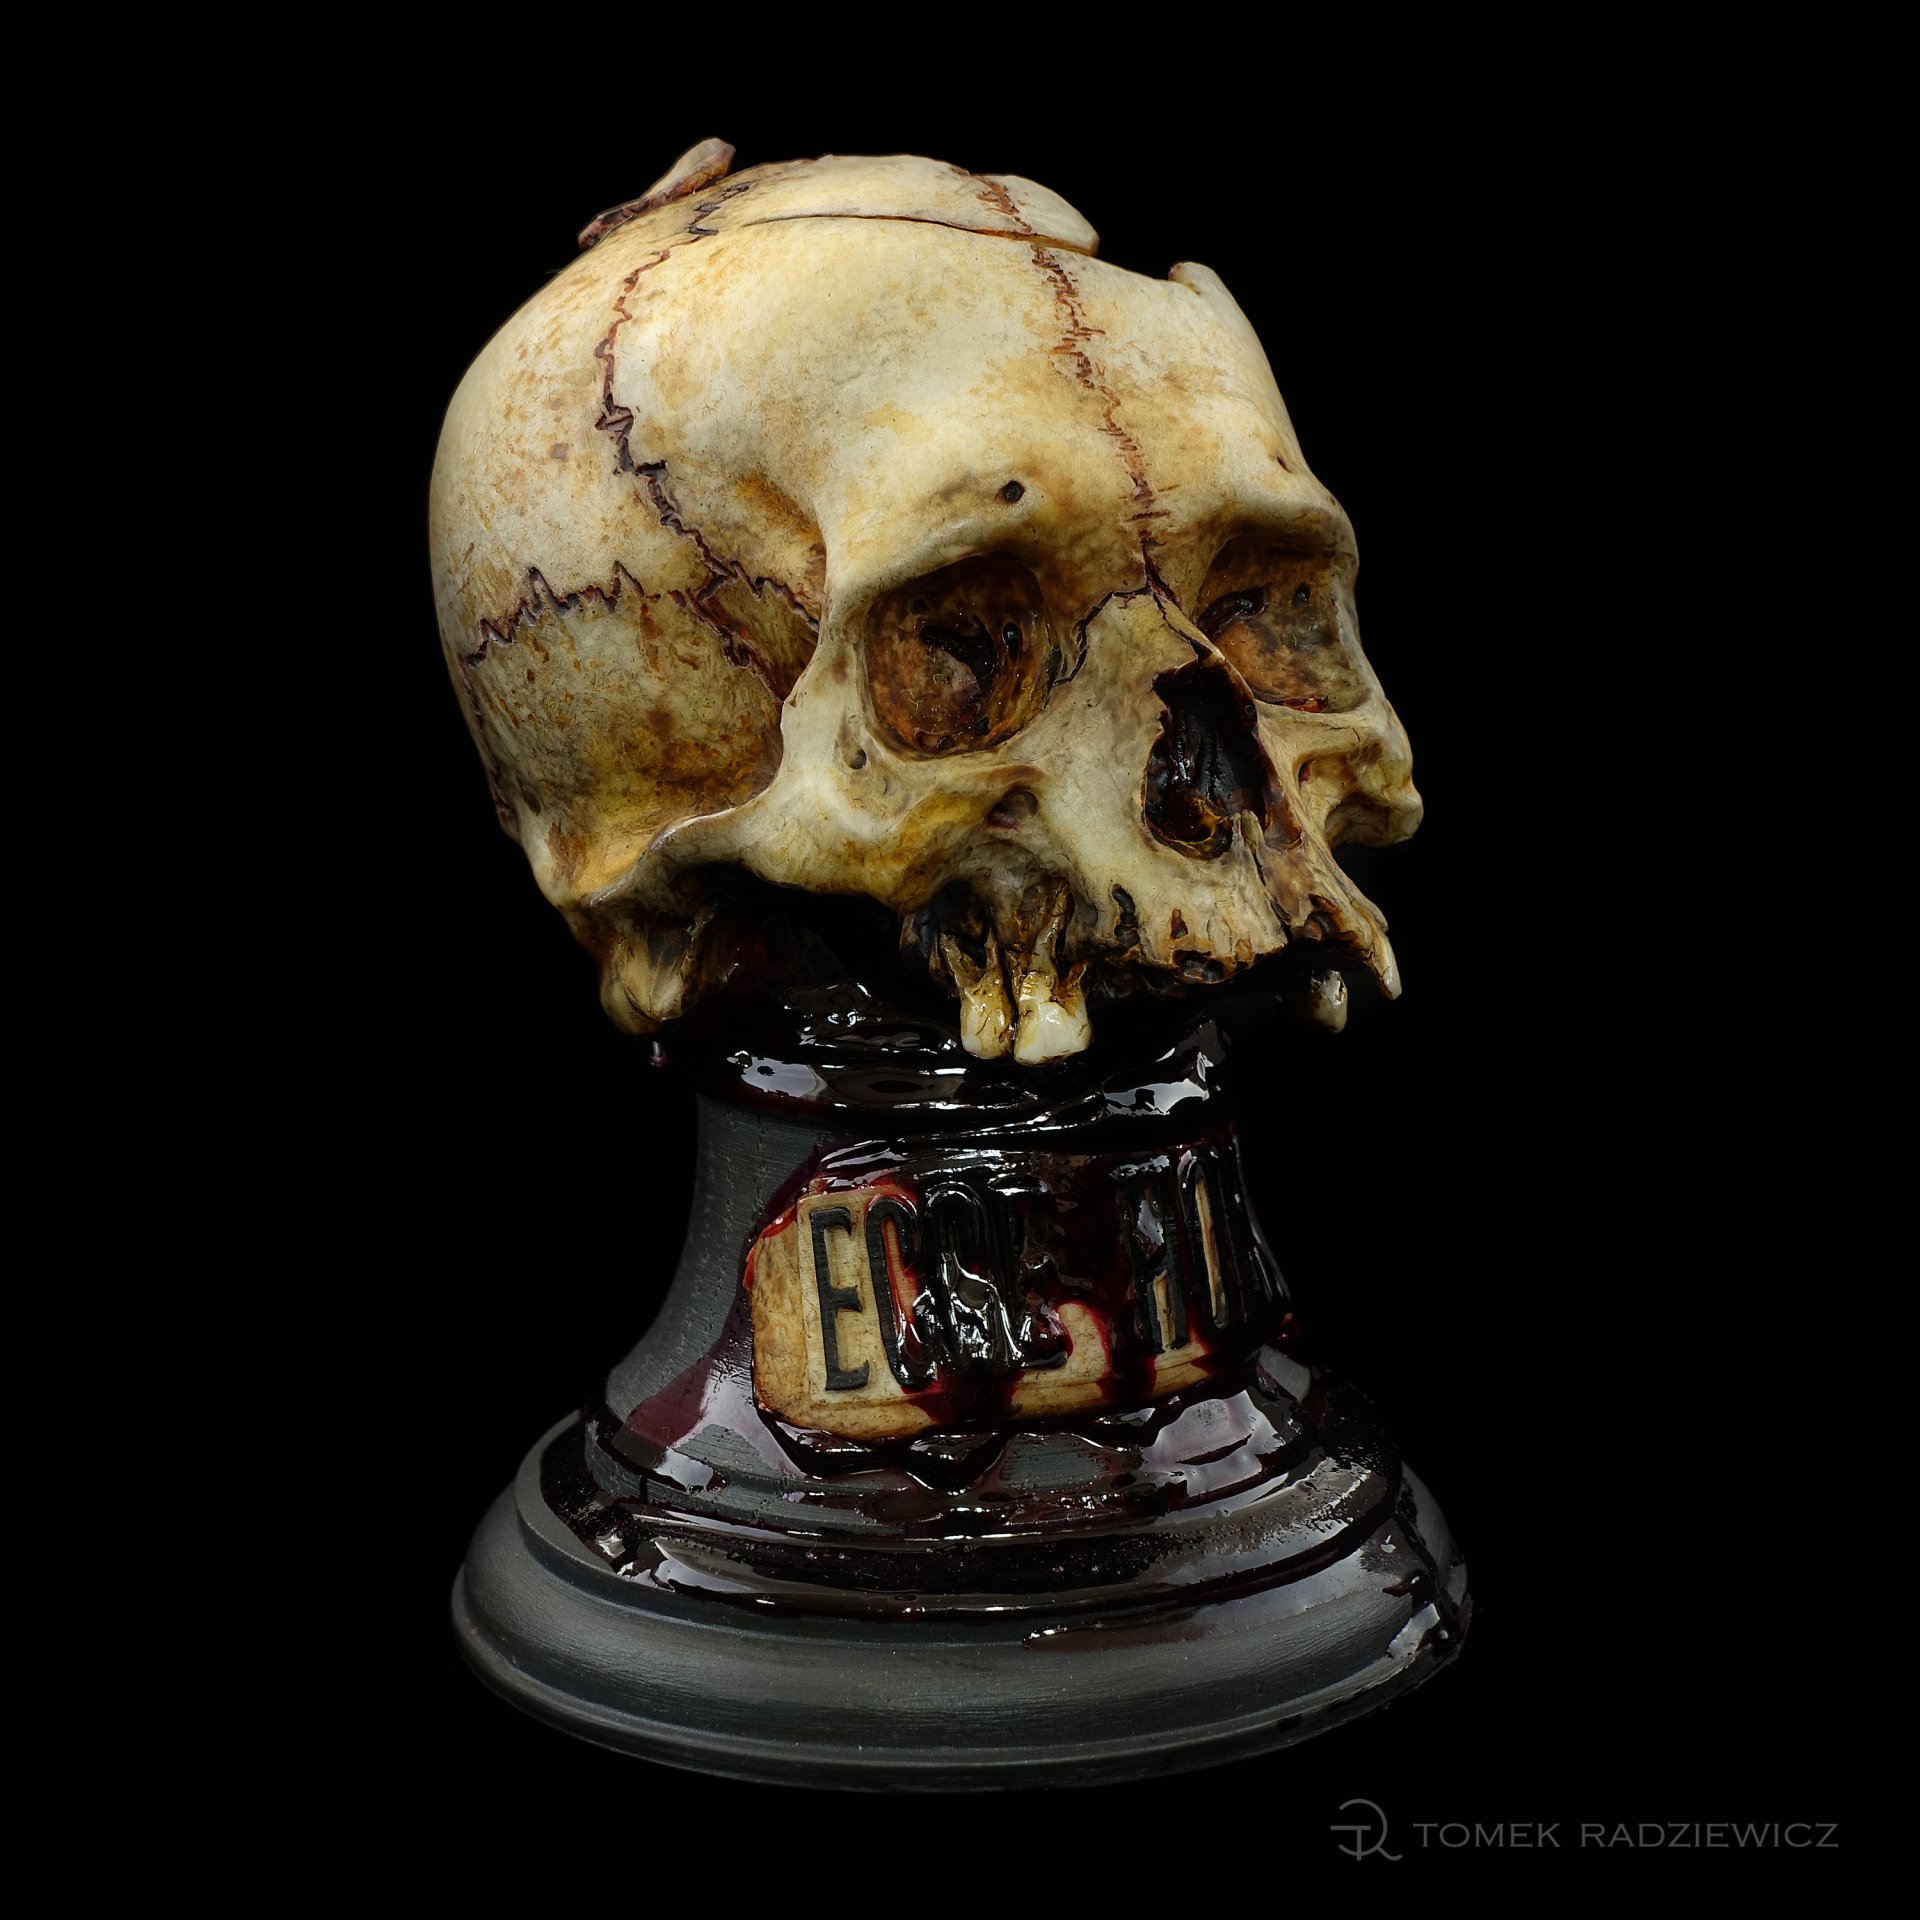
The skull I carved is not an anatomical skull. I did not want it to be an exhibit from which someone can learn anatomy - after all, this is not Doctor Tulp's Anatomy lesson. It was simply supposed to be a sculpture of a skull that tells its individual story, has its own character. Hence, I did not sculpt everything with accuracy. It lacks a lower jaw, or precision of all anatomical aspects, and I have deliberately stripped it of its teeth to emphasize the drama. I additionally emphasized this drama with expressive painting and blood. I also inserted the cracks, and in the place of the brain, inserted the victim's teeth. This treatment gives it a unique expression and underling even more horror and seriousness of what is behind the word ECCE HOMO. For defiance, I called her the Tooth Fairy.
MAKING A SILICONE FORM
To make a silicone mold, I used condensation silicone with a setting time of 6 hours. Silicone has a Shore hardness scale of 25. As with my other small sculptures, I used the simplest technique and poured the skull into a cube of silicone, which was cut with a wavy move to extract the original. A cut in the shape of a wavy line is done to allow the mold to be reassembled precisely so that an exact copy of the next sculpture can be made. For cutting I usually use a small narrow scalpel. The process is definitely technical, but it is necessary when I want to make a copy of a sculpture of my fans.
CASTING THE SKULL RESIN IN A SILICONE FORM
At this stage, work is already based on schemes, proven materials and technology. To cast the sculpture, I used a polyurethane resin with a working time of 5-6 minutes and a total demoulding time of 25 minutes. This is the optimal working time in my conditions. It allows me to master the resin preparation and placing the mold in the pressure chamber. Due to the fact that gravity casting does not give 100% accuracy of the casting, the sculpture was placed in a pressure chamber to eliminate small air bubbles. Thanks to this, the casting comes out very precisely. I placed the silicone mold filled with resin in the pressure chamber for 20- 25 minutes and pulled out the silicone sculpture.
PAINTING
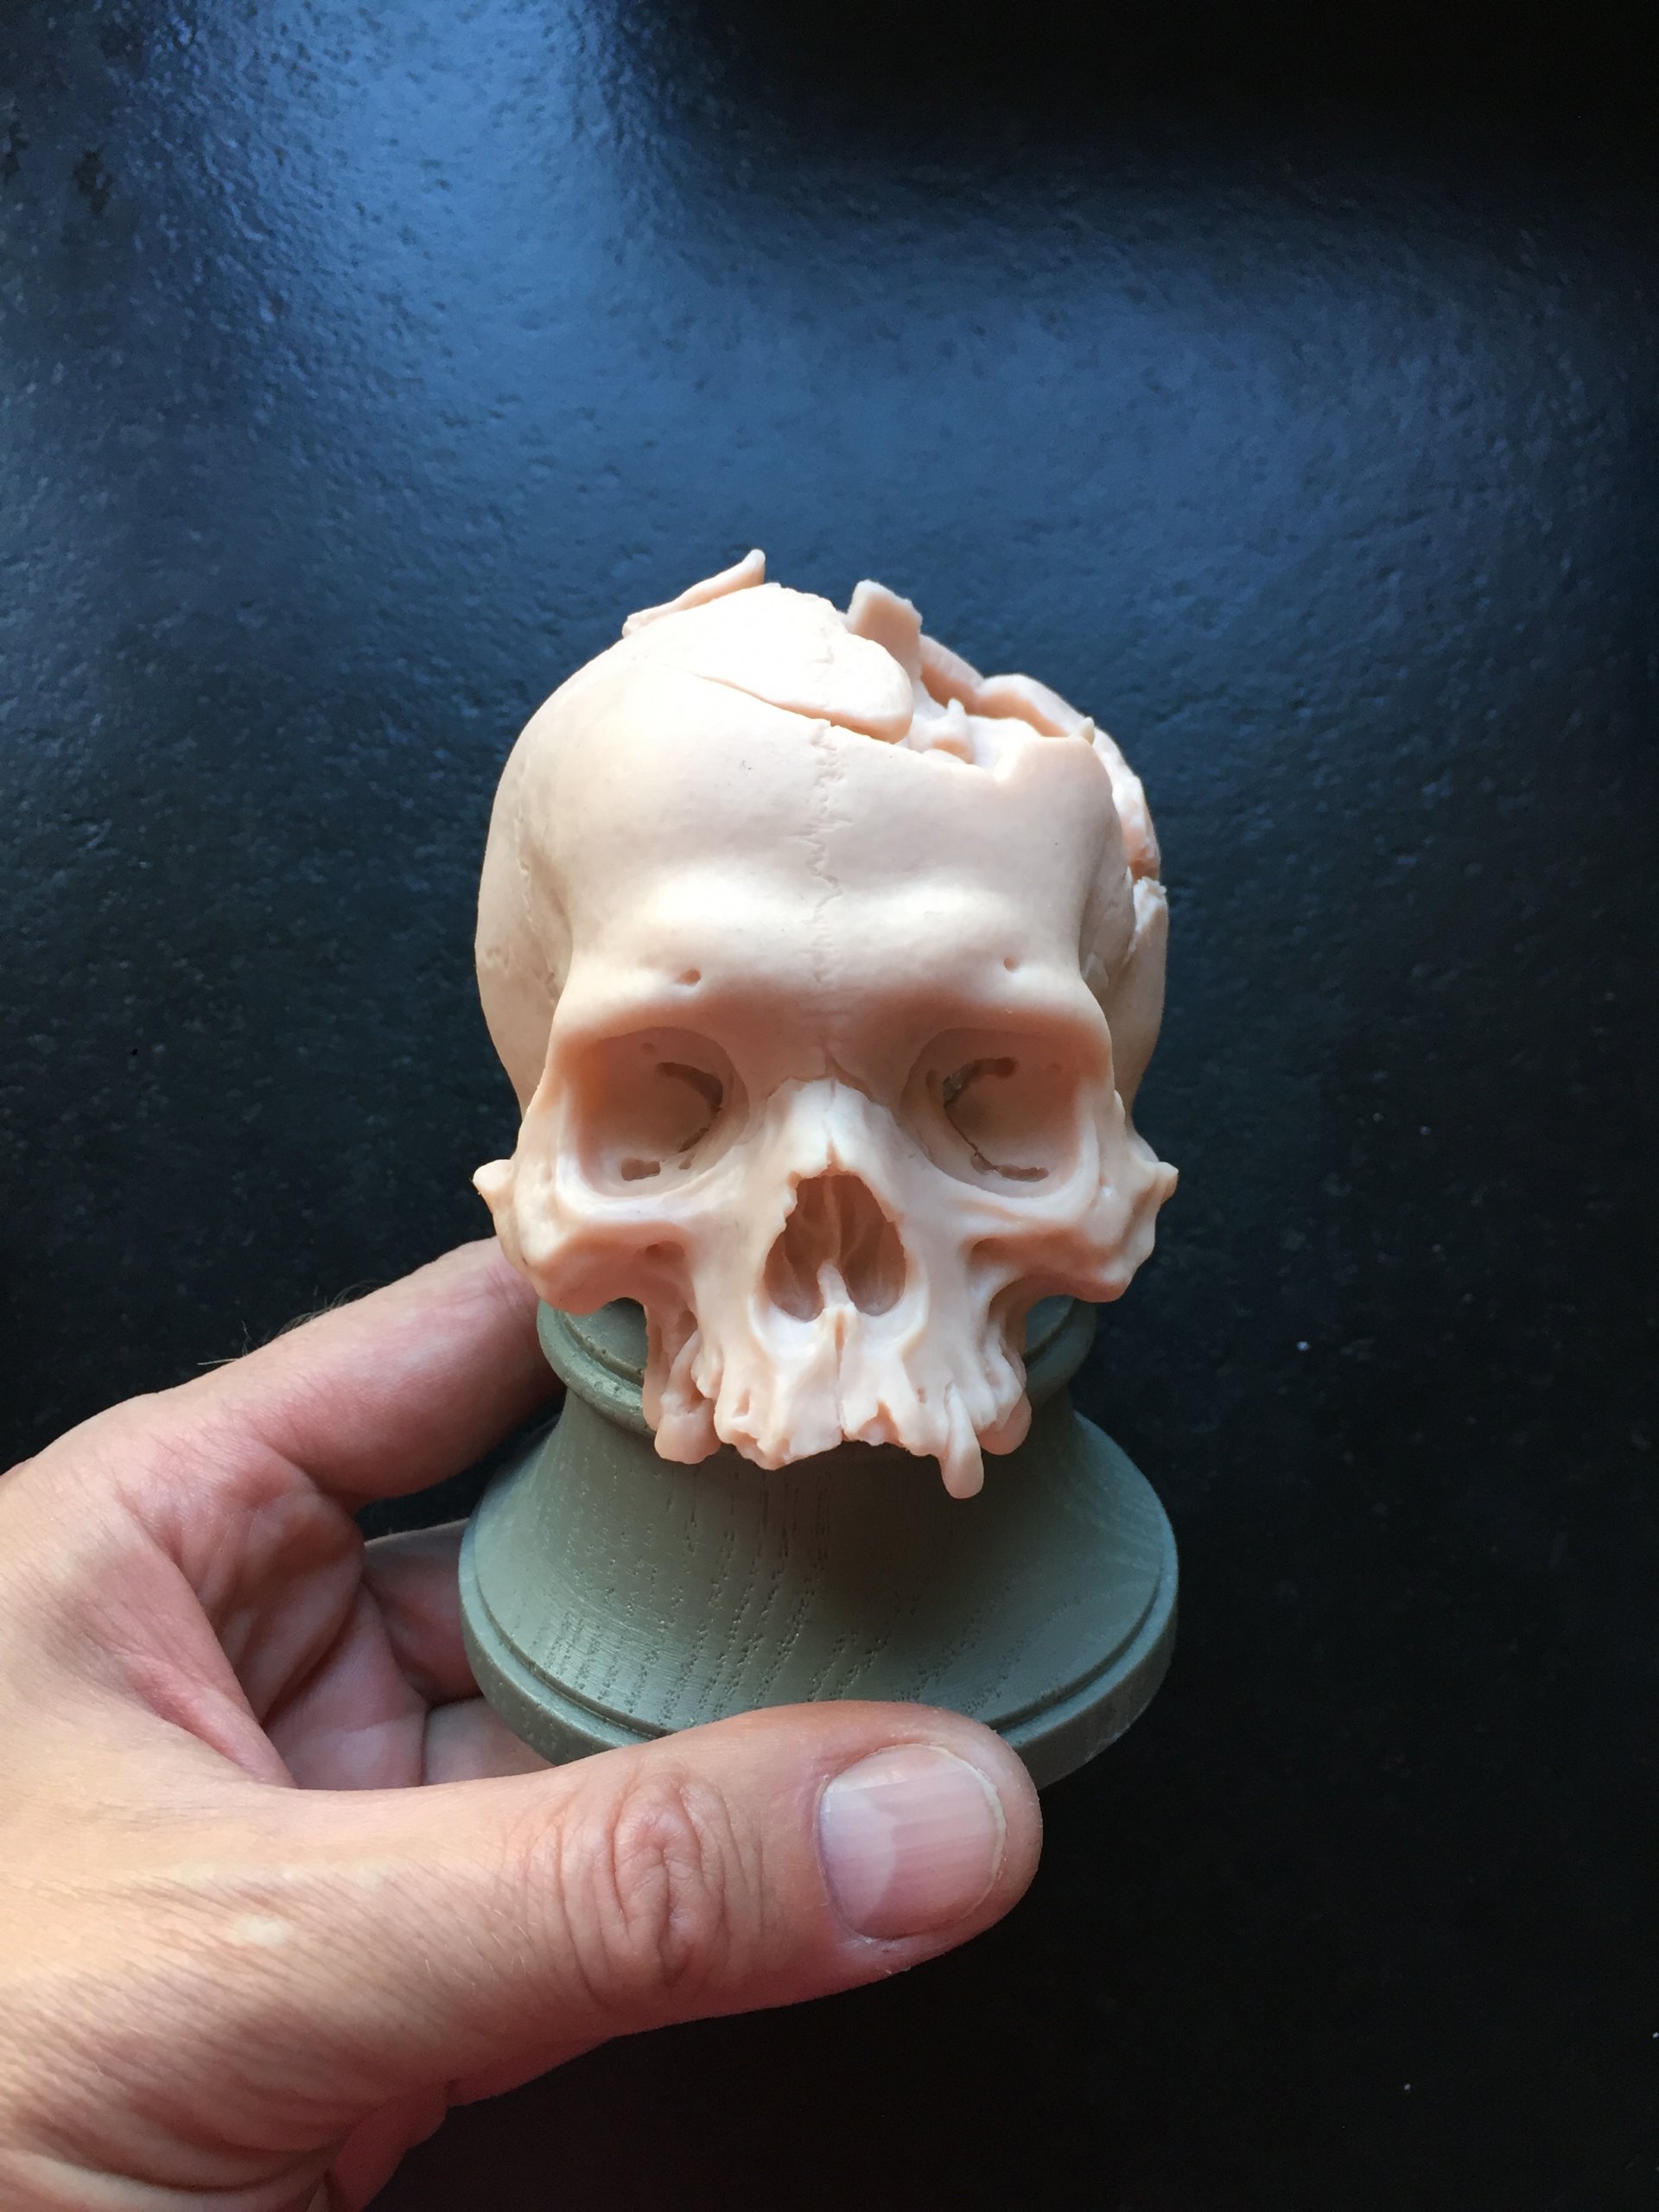
The light-colored base was ideal for bringing out the depth of the colors of the sculpture while painting several layers of glaze. As there are many ways to paint, I decided to paint Tooth Fairy in a simple realistic way using basic tools and acrylic paints. From the beginning, I assumed that the edition of skulls and the portrait of Tooth Fairy would be painted with acrylics using brushes and moat techniques. The laser technique allowed me to get a depth effect that can't be achieved by a covering painting. This technique consists in applying several layers of paint in such a way that each of them does not completely cover the previously applied one. Thanks to this, you can see the individual layers up close and the colors intertwine in places stronger and sometimes weaker. This interpenetration of well-matched colors was supposed to give the impression of painting depth to the sculpture, and the sculpture itself looks more credible and interesting.
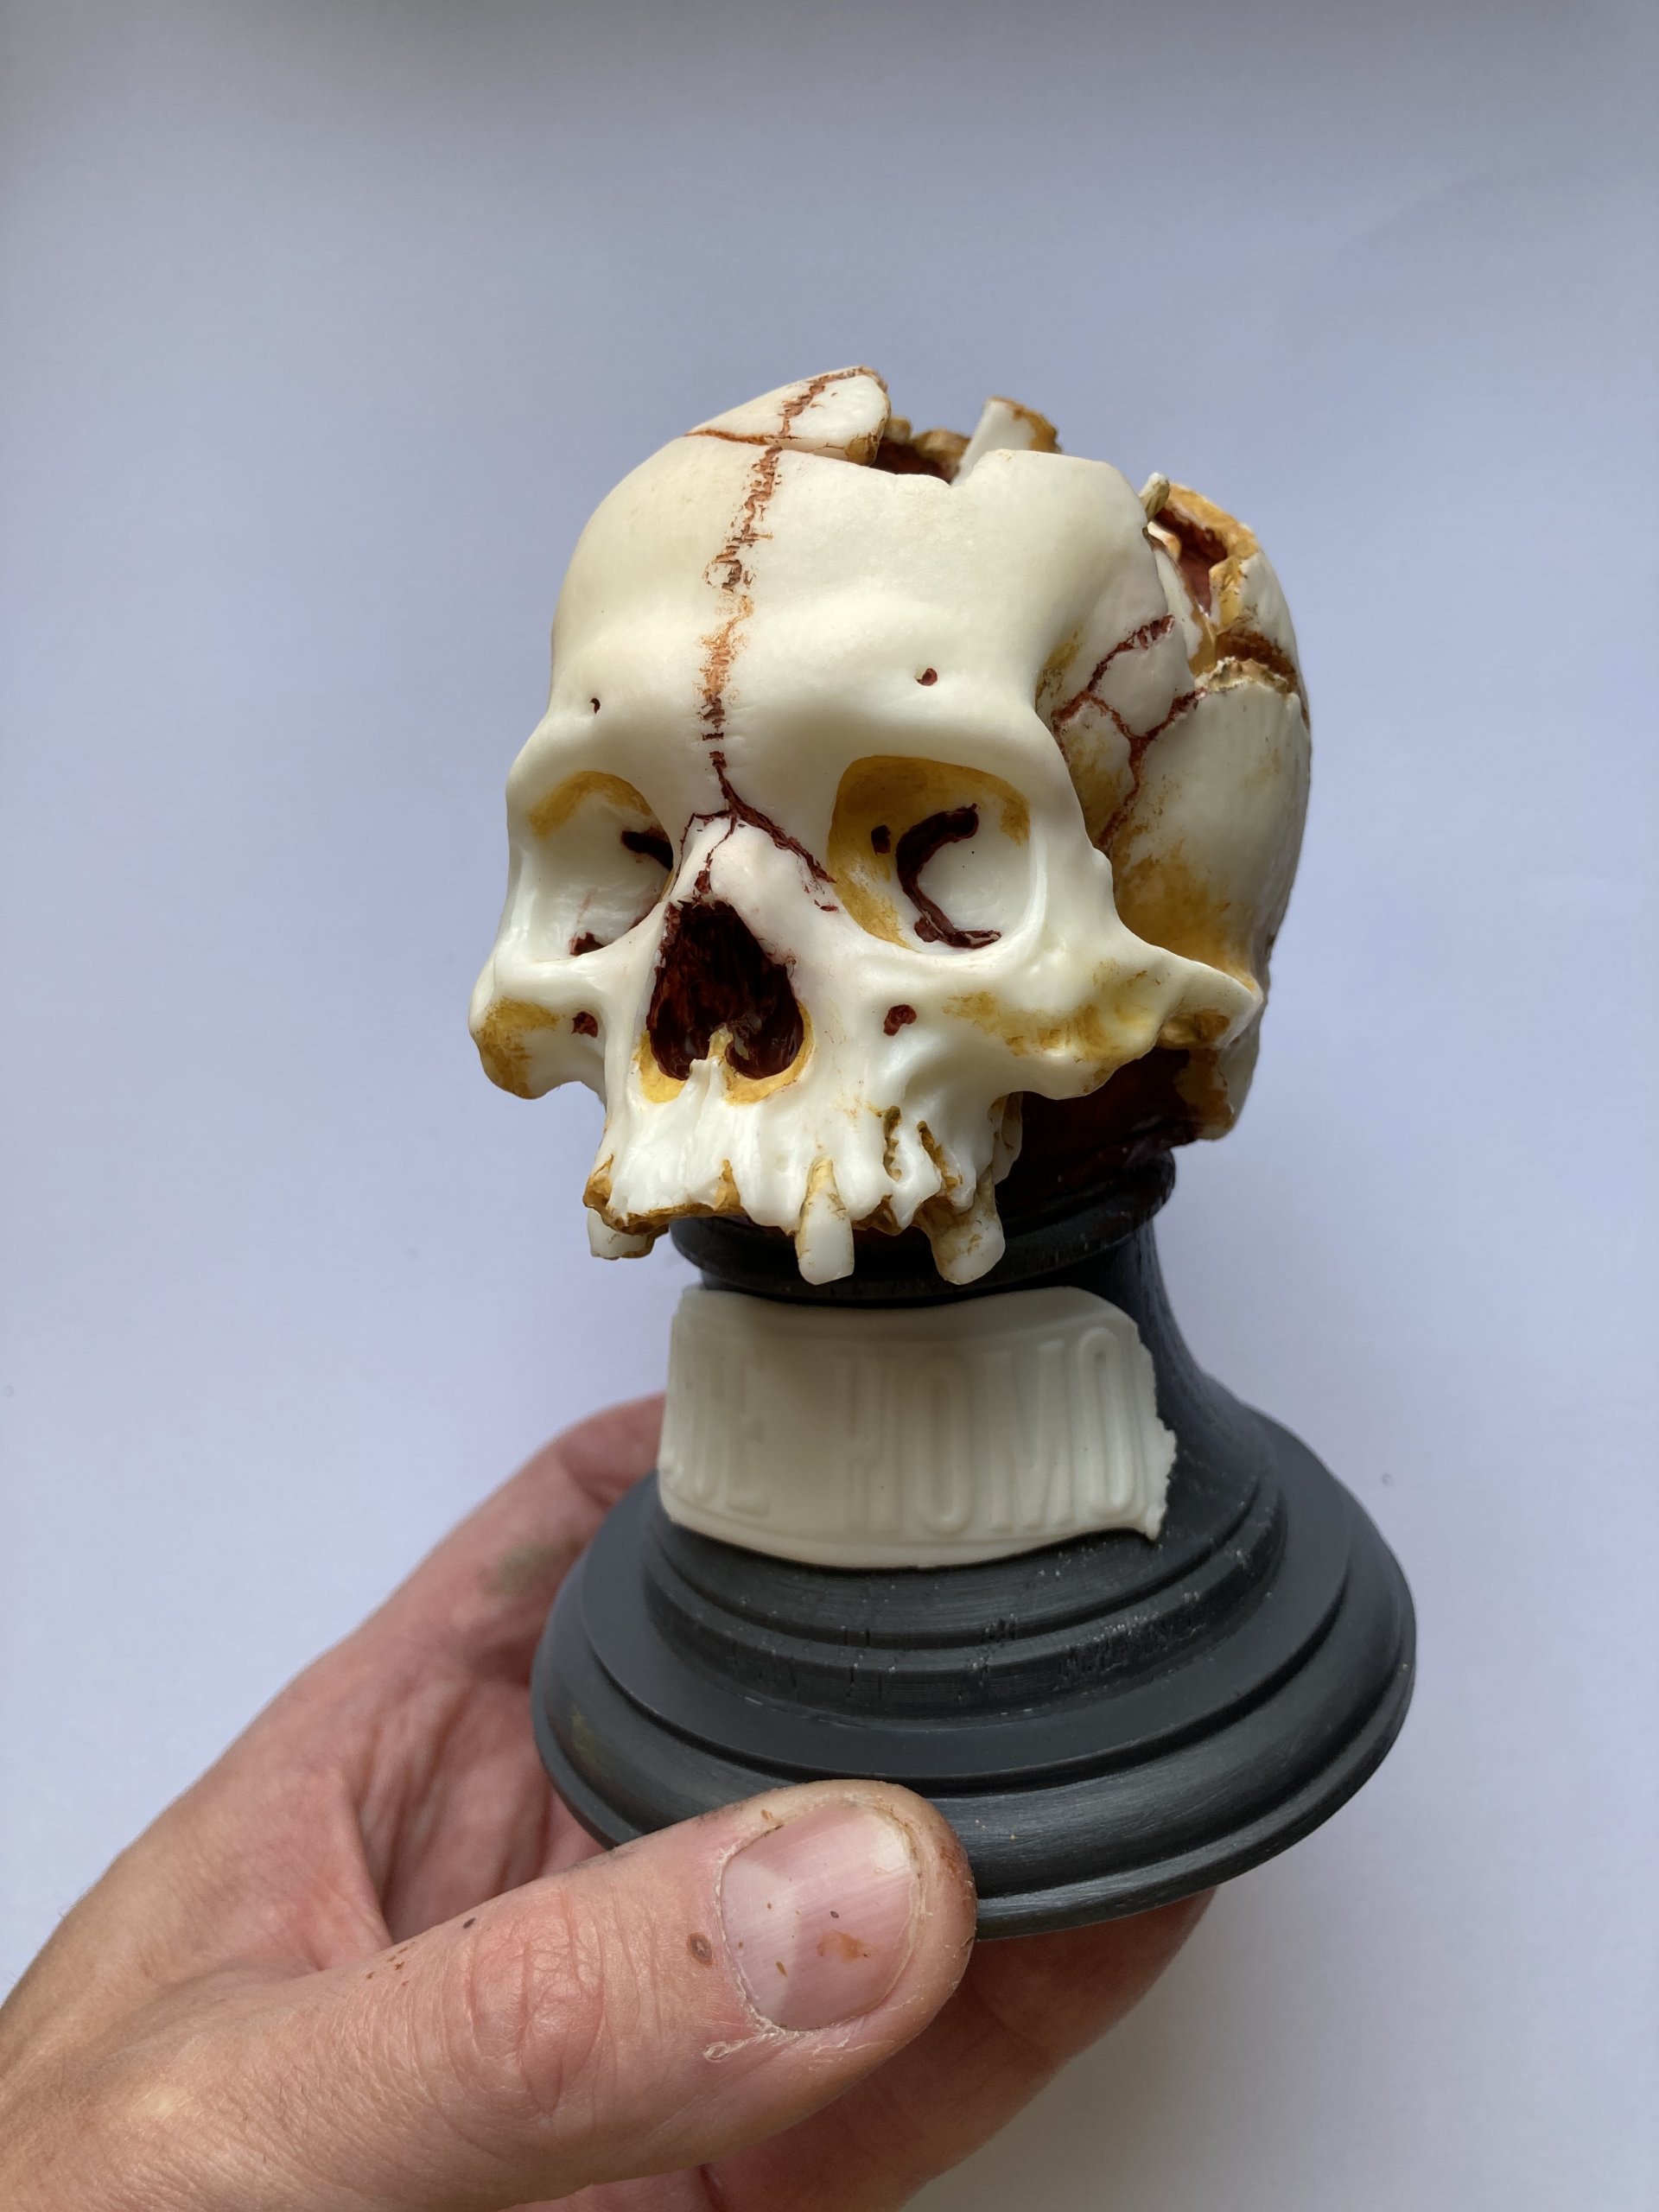
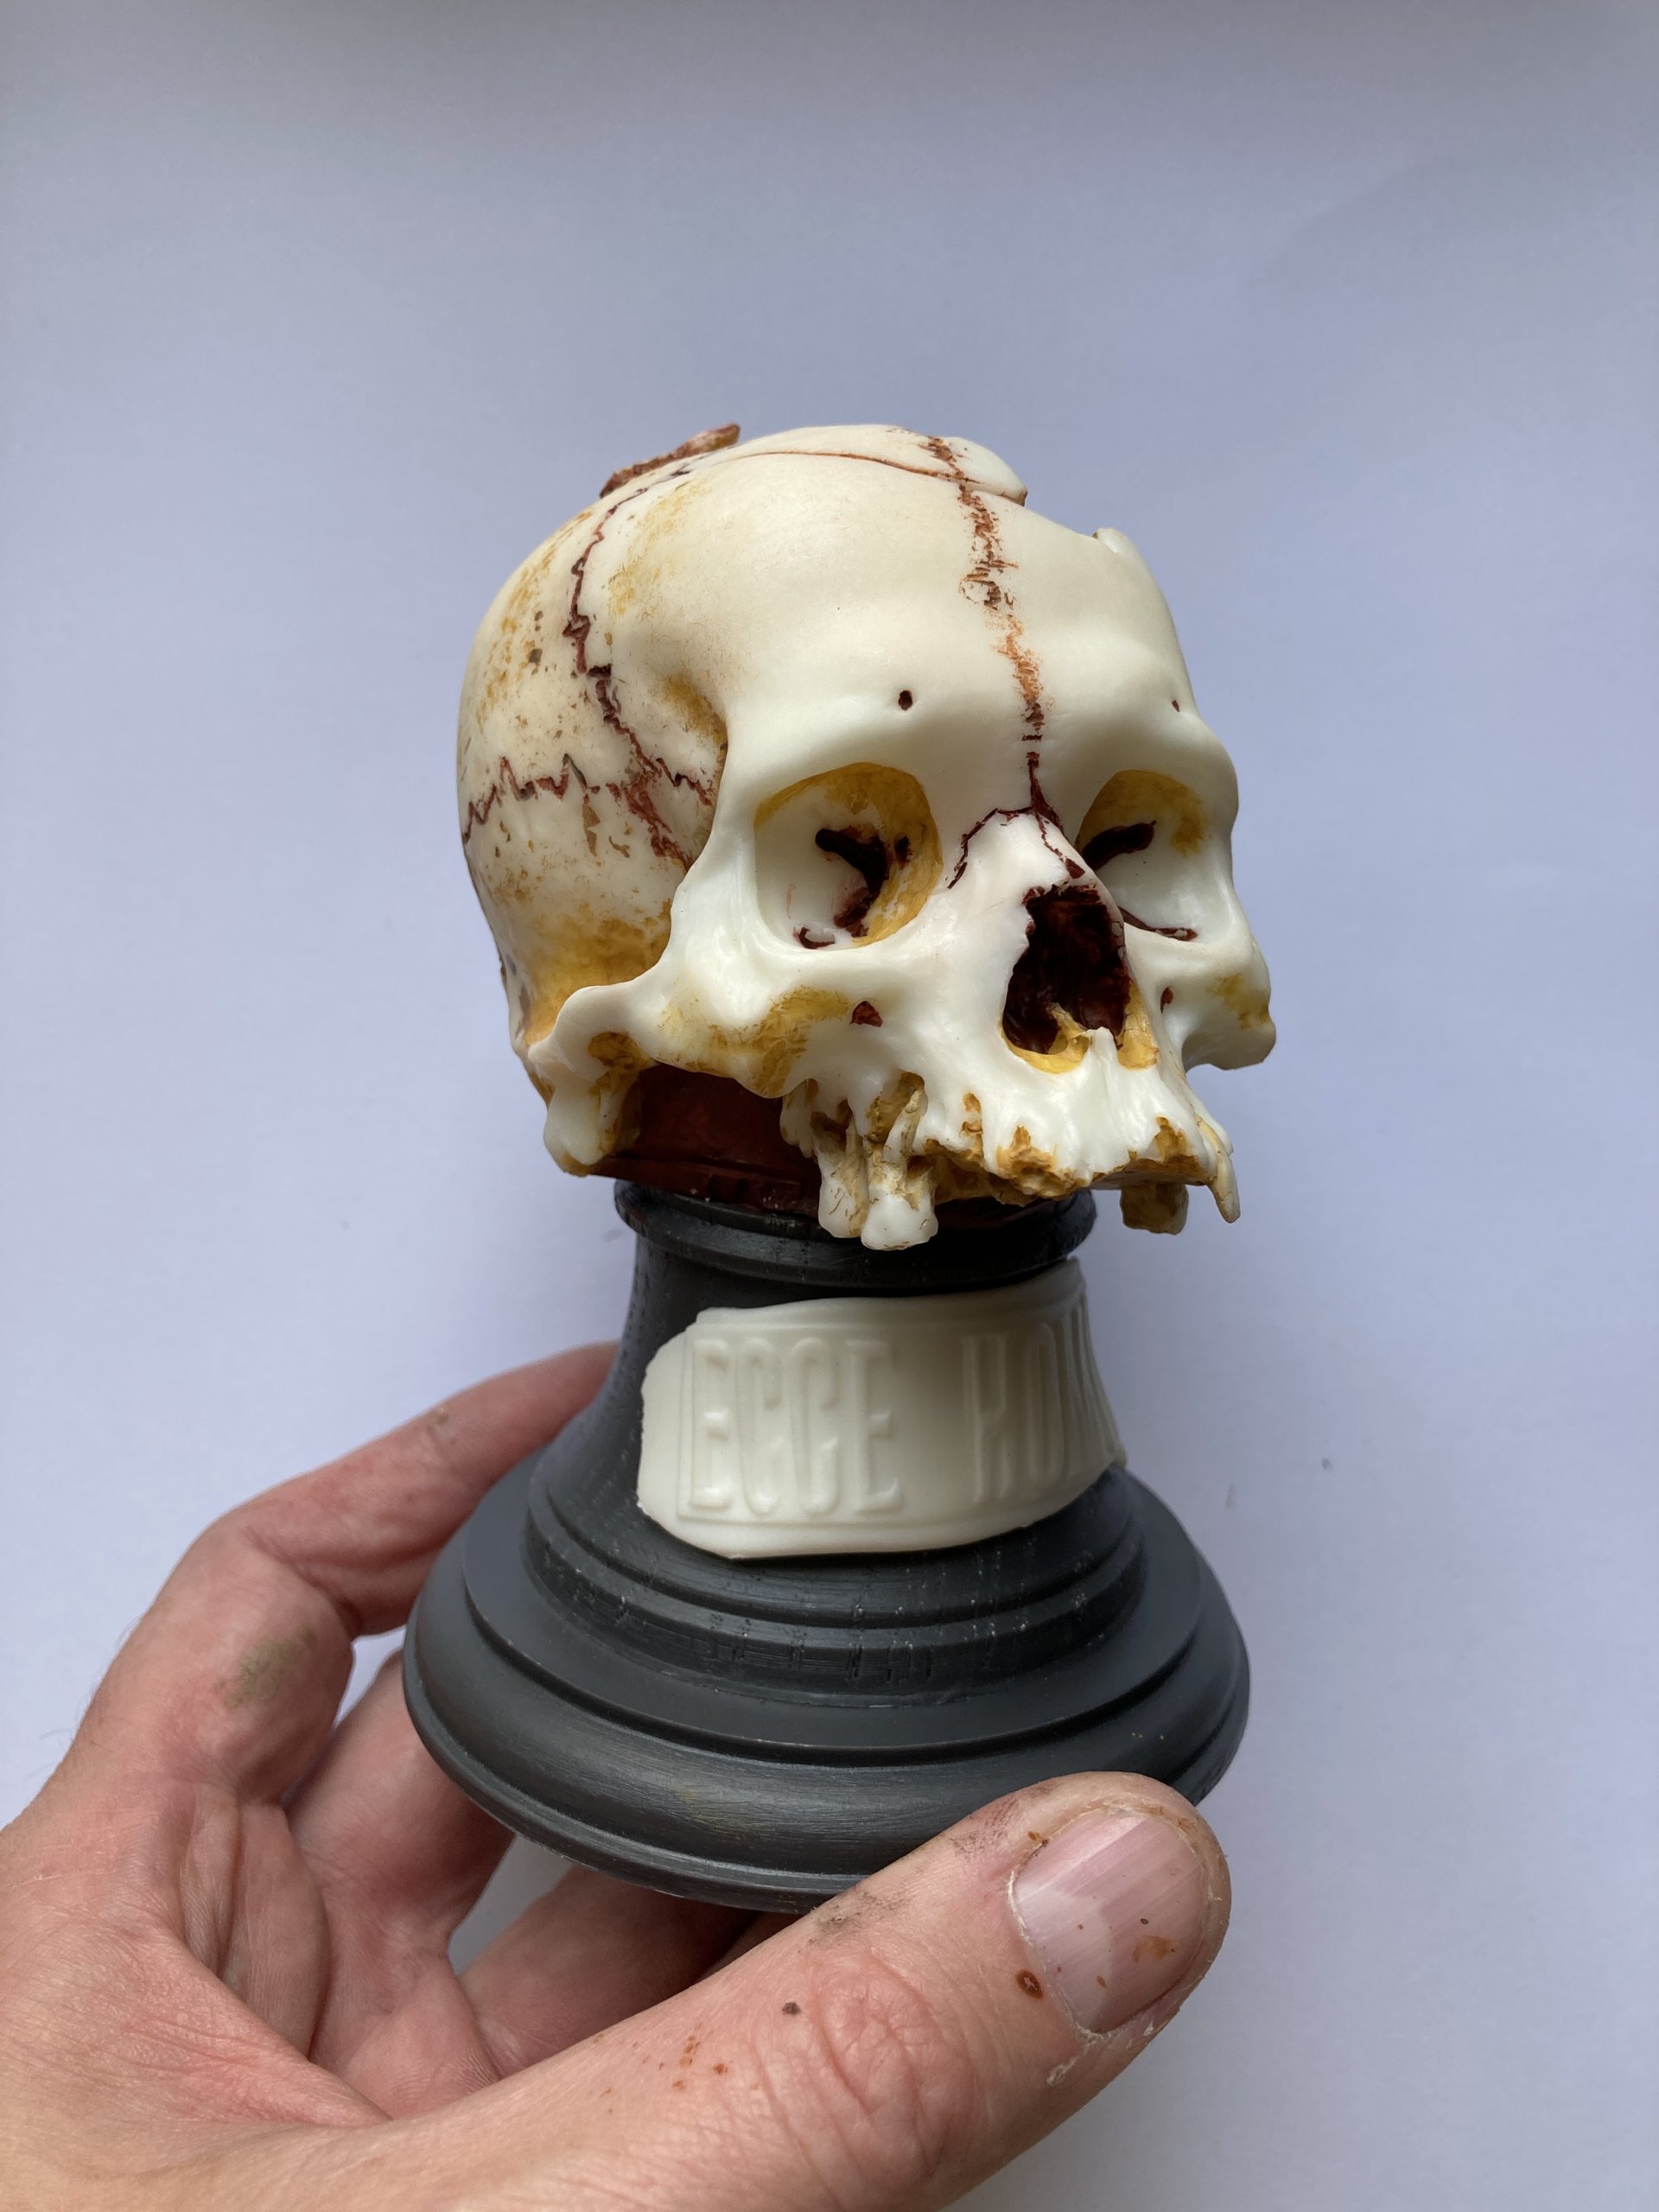
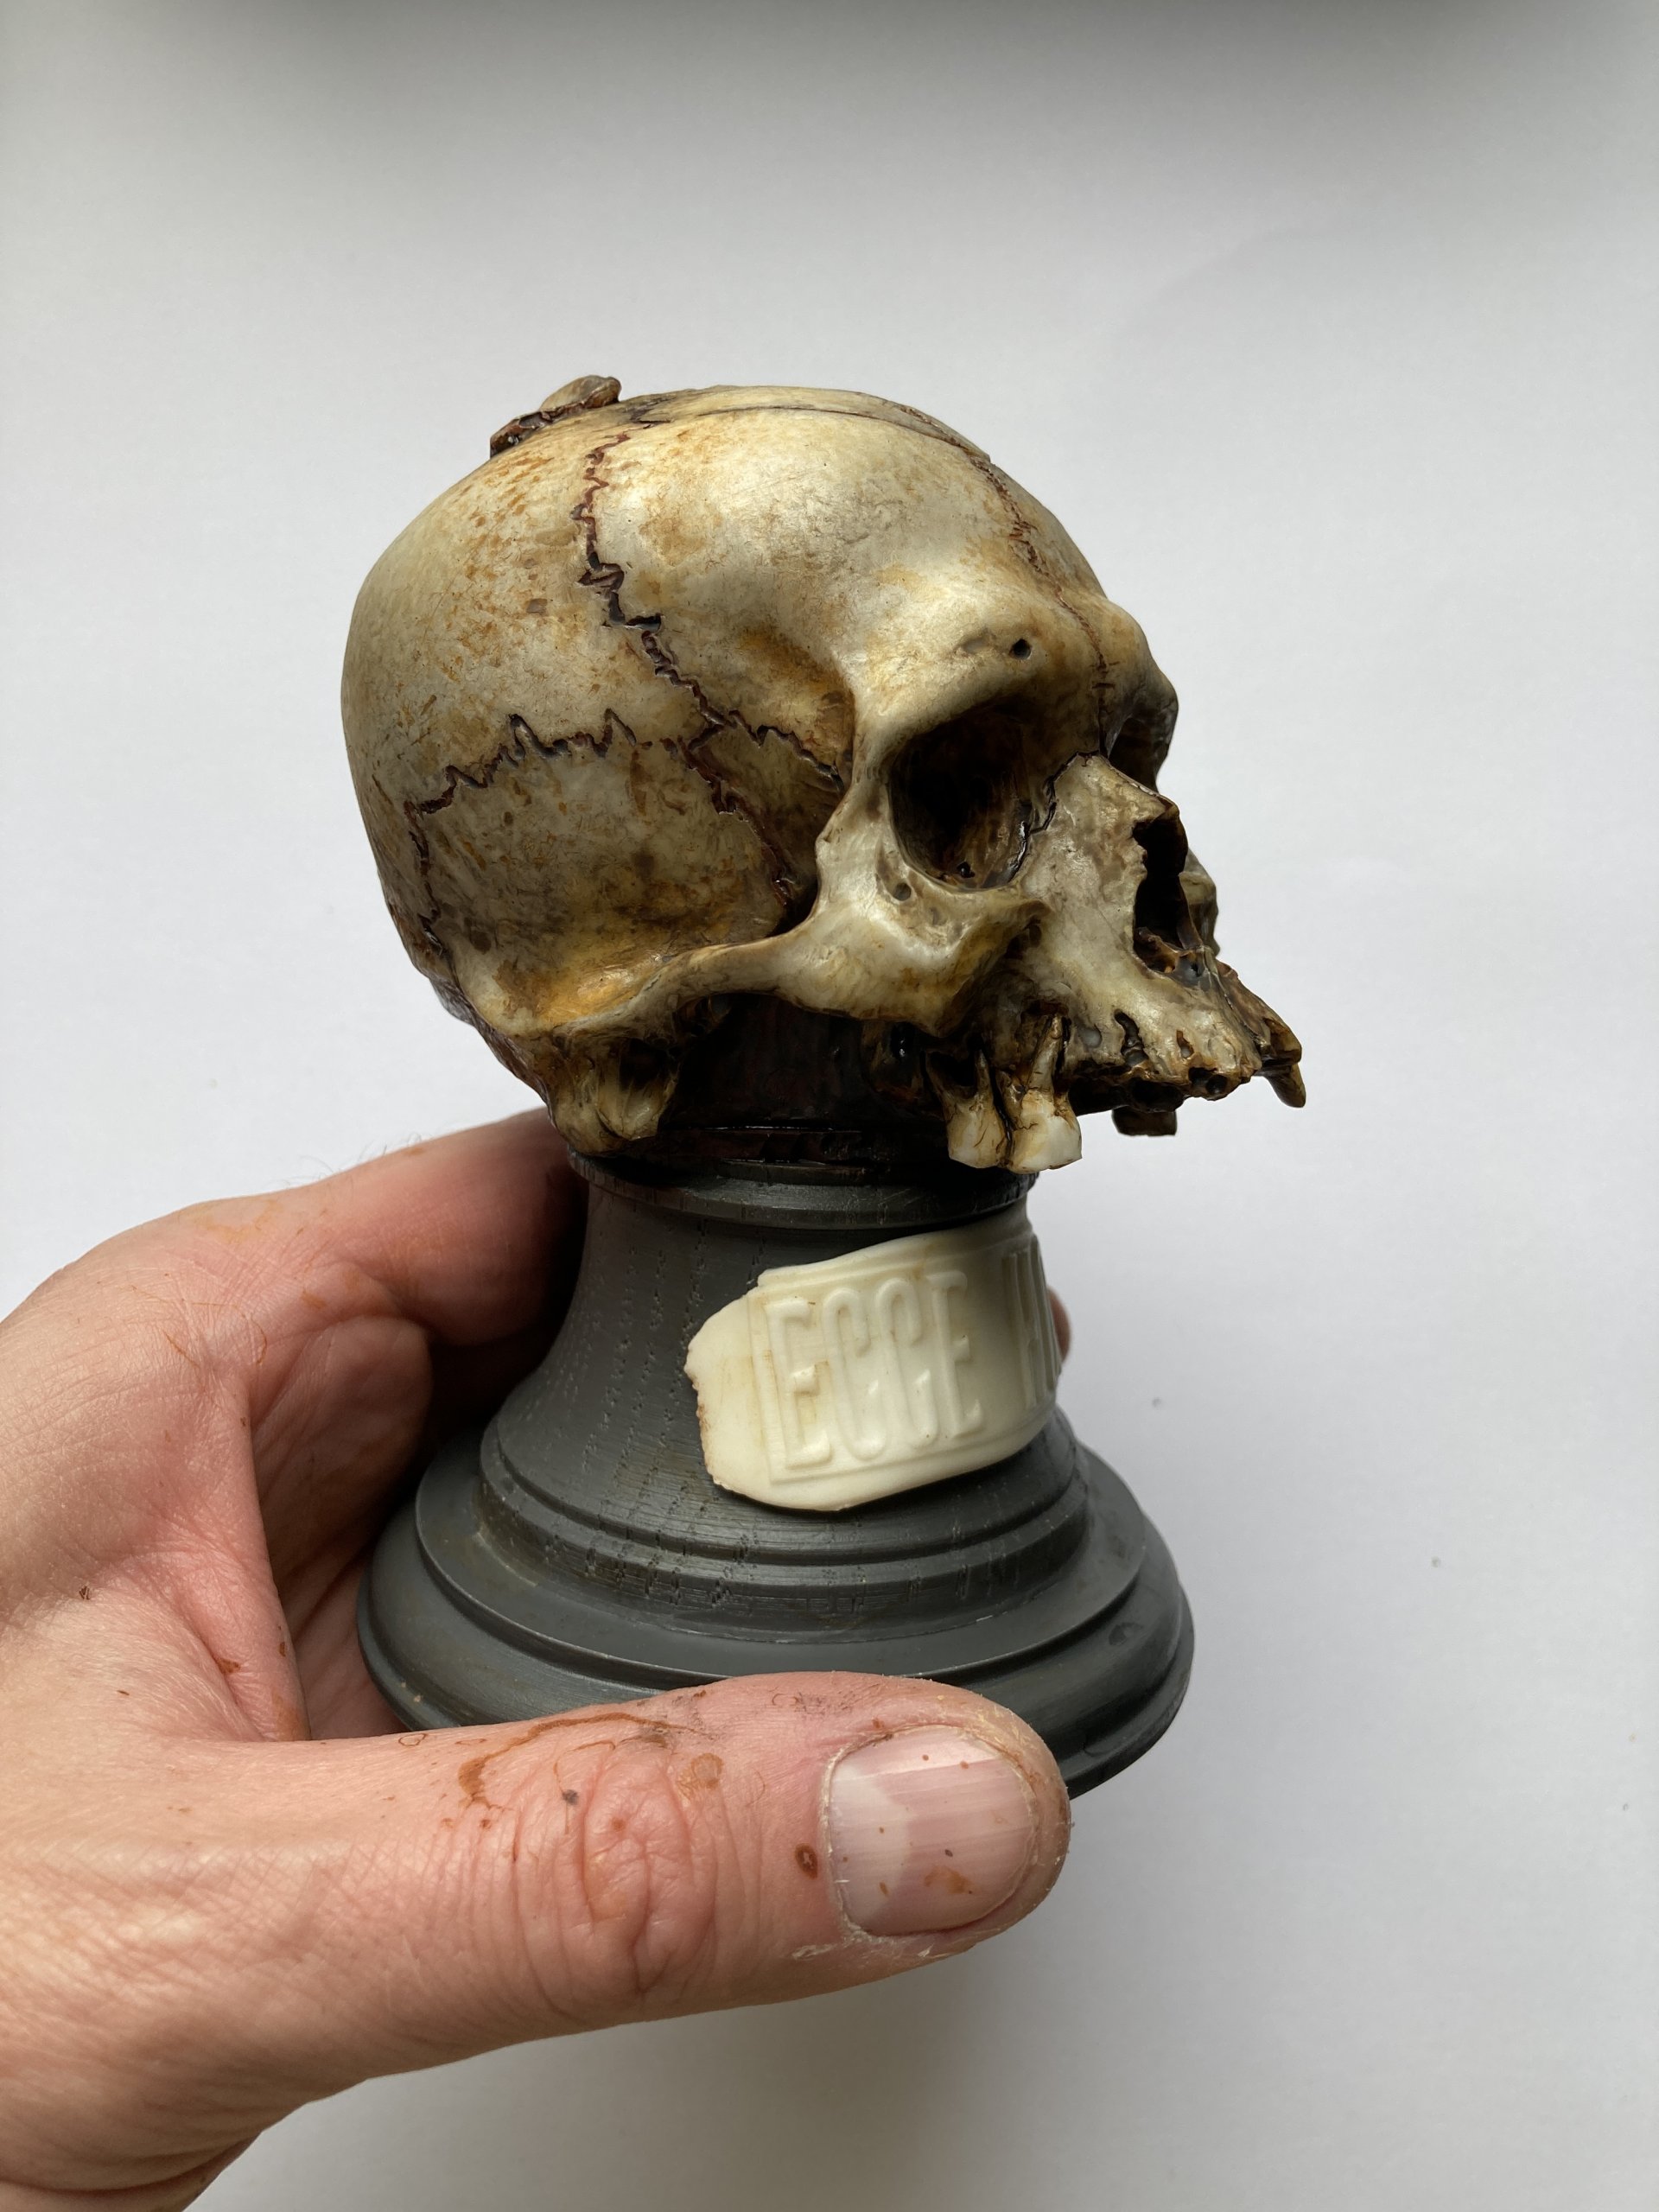
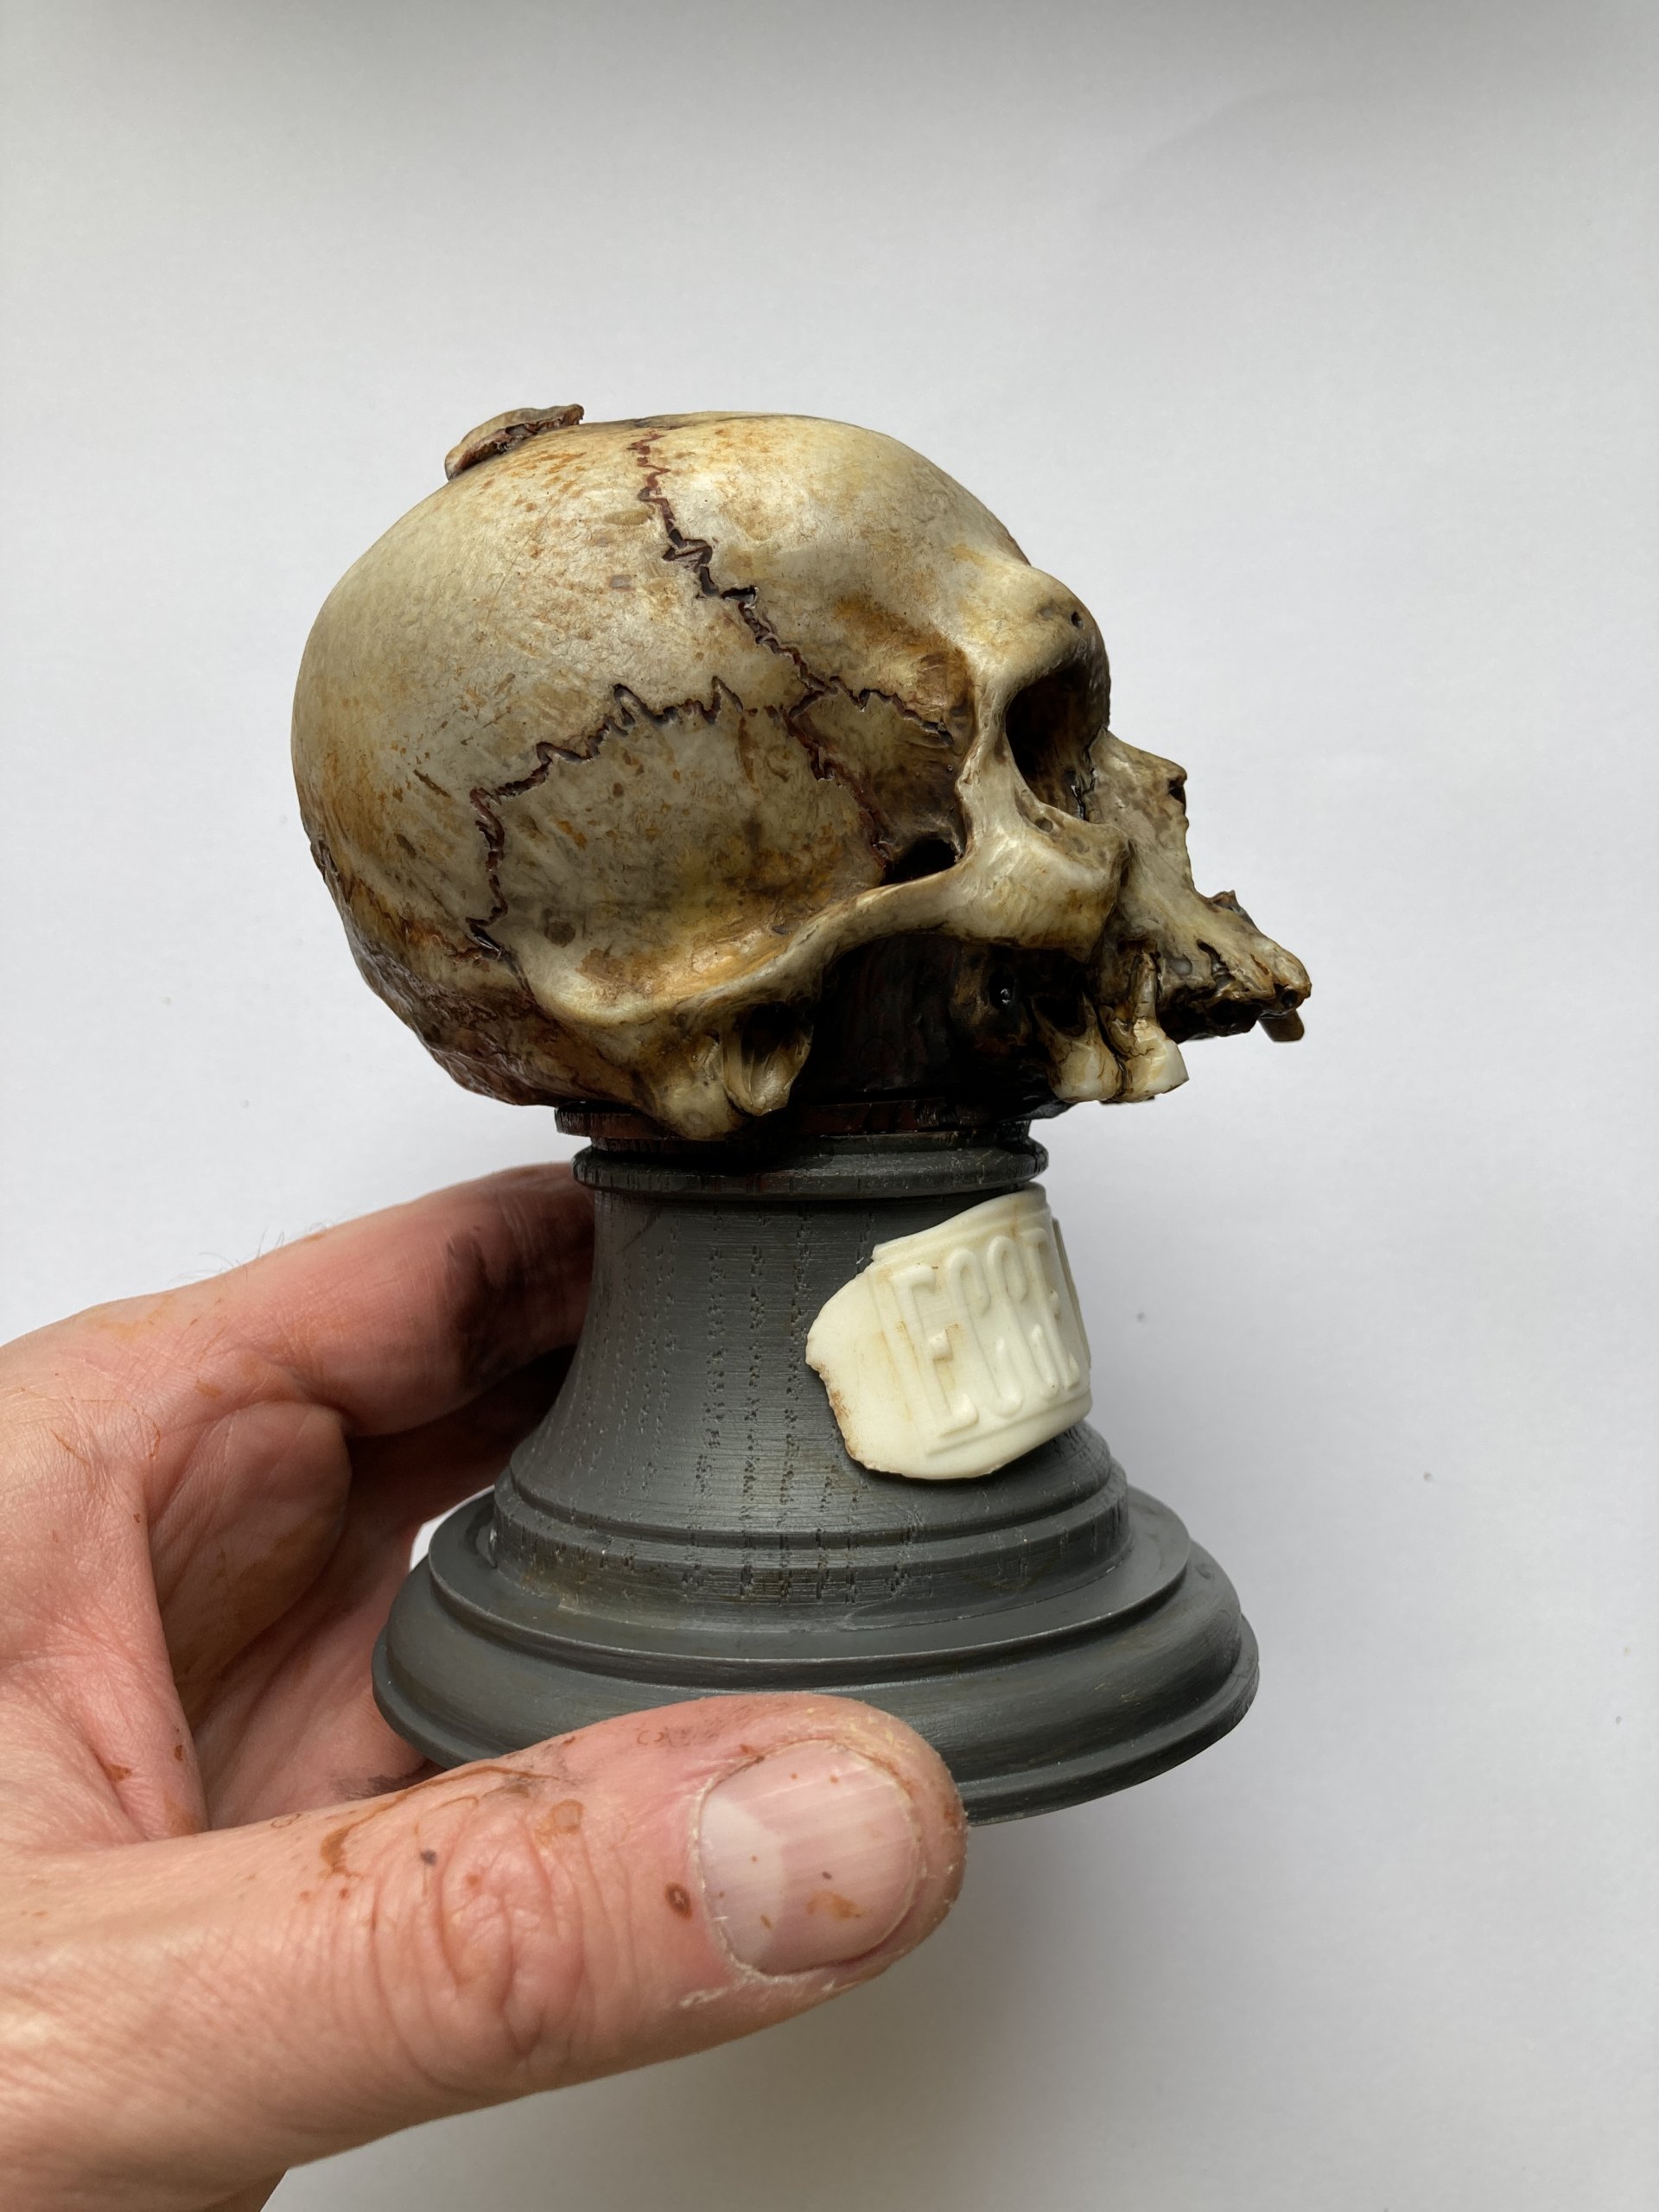
In the skull of the Tooth Fairy, I wanted to create a horror effect, which is why I put different layers of color on the bright surface of the head. In this sculpture I opted for a warm range, so I used appropriate paints for this, applying them layer by layer. First, I covered the deepest places, those around the neck and eye sockets, with a brown and red color, here and there with a bit of ocher. Then I covered the entire head with a sepia moose. When the paint was dry, I rubbed head in several places, especially around the teeth, to reveal the bright color of the resin and thereby emphasize these elements. Then I covered the head with a layer of black moose, rubbing it in certain places. Selected places, those that were supposed to shine the most, were gently covered with varnish.
THE BLOOD
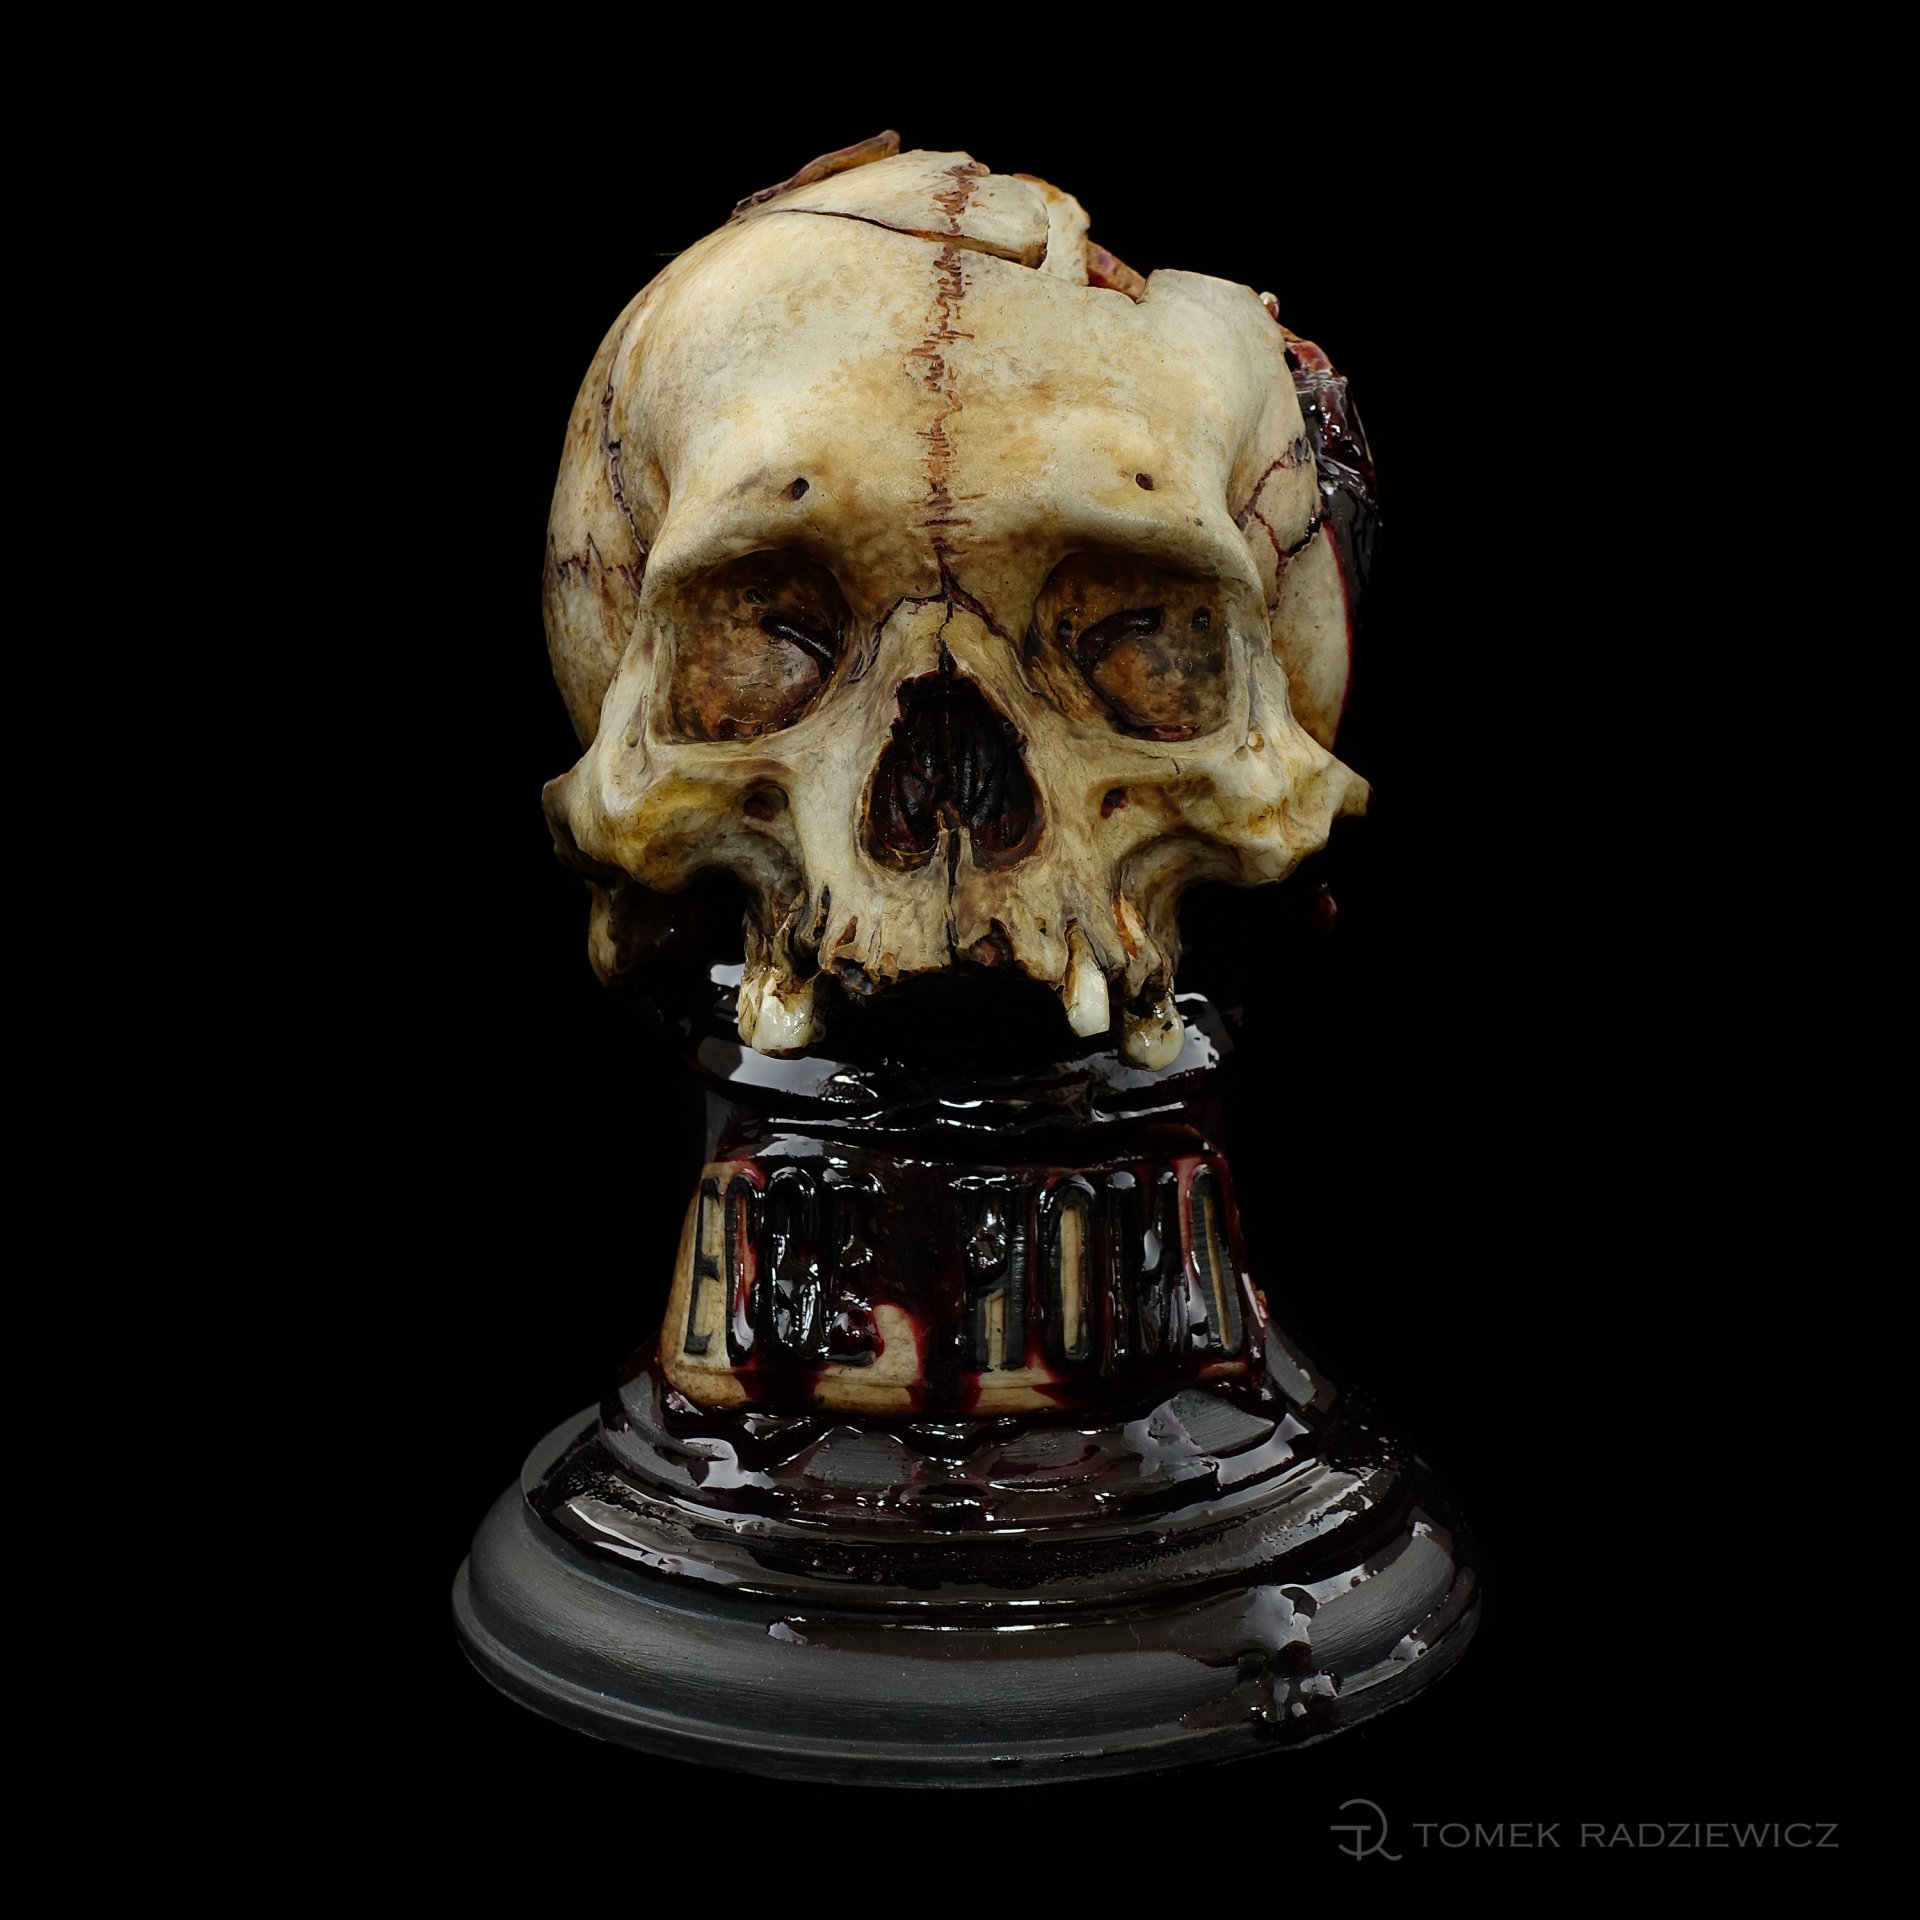
The combination of a satin head in warm color scheme with fresh glassy blood was supposed to give this sculpture a unique character. It took many trials and surprises to get a satisfactory result. I was very keen on getting the feeling of freshly spilled blood. I used a transparent polyurethane resin with red and black pigments to make it. This artificial blood made of resin gives the effect of a freshly spilled puddle, which was my main goal to achieve.
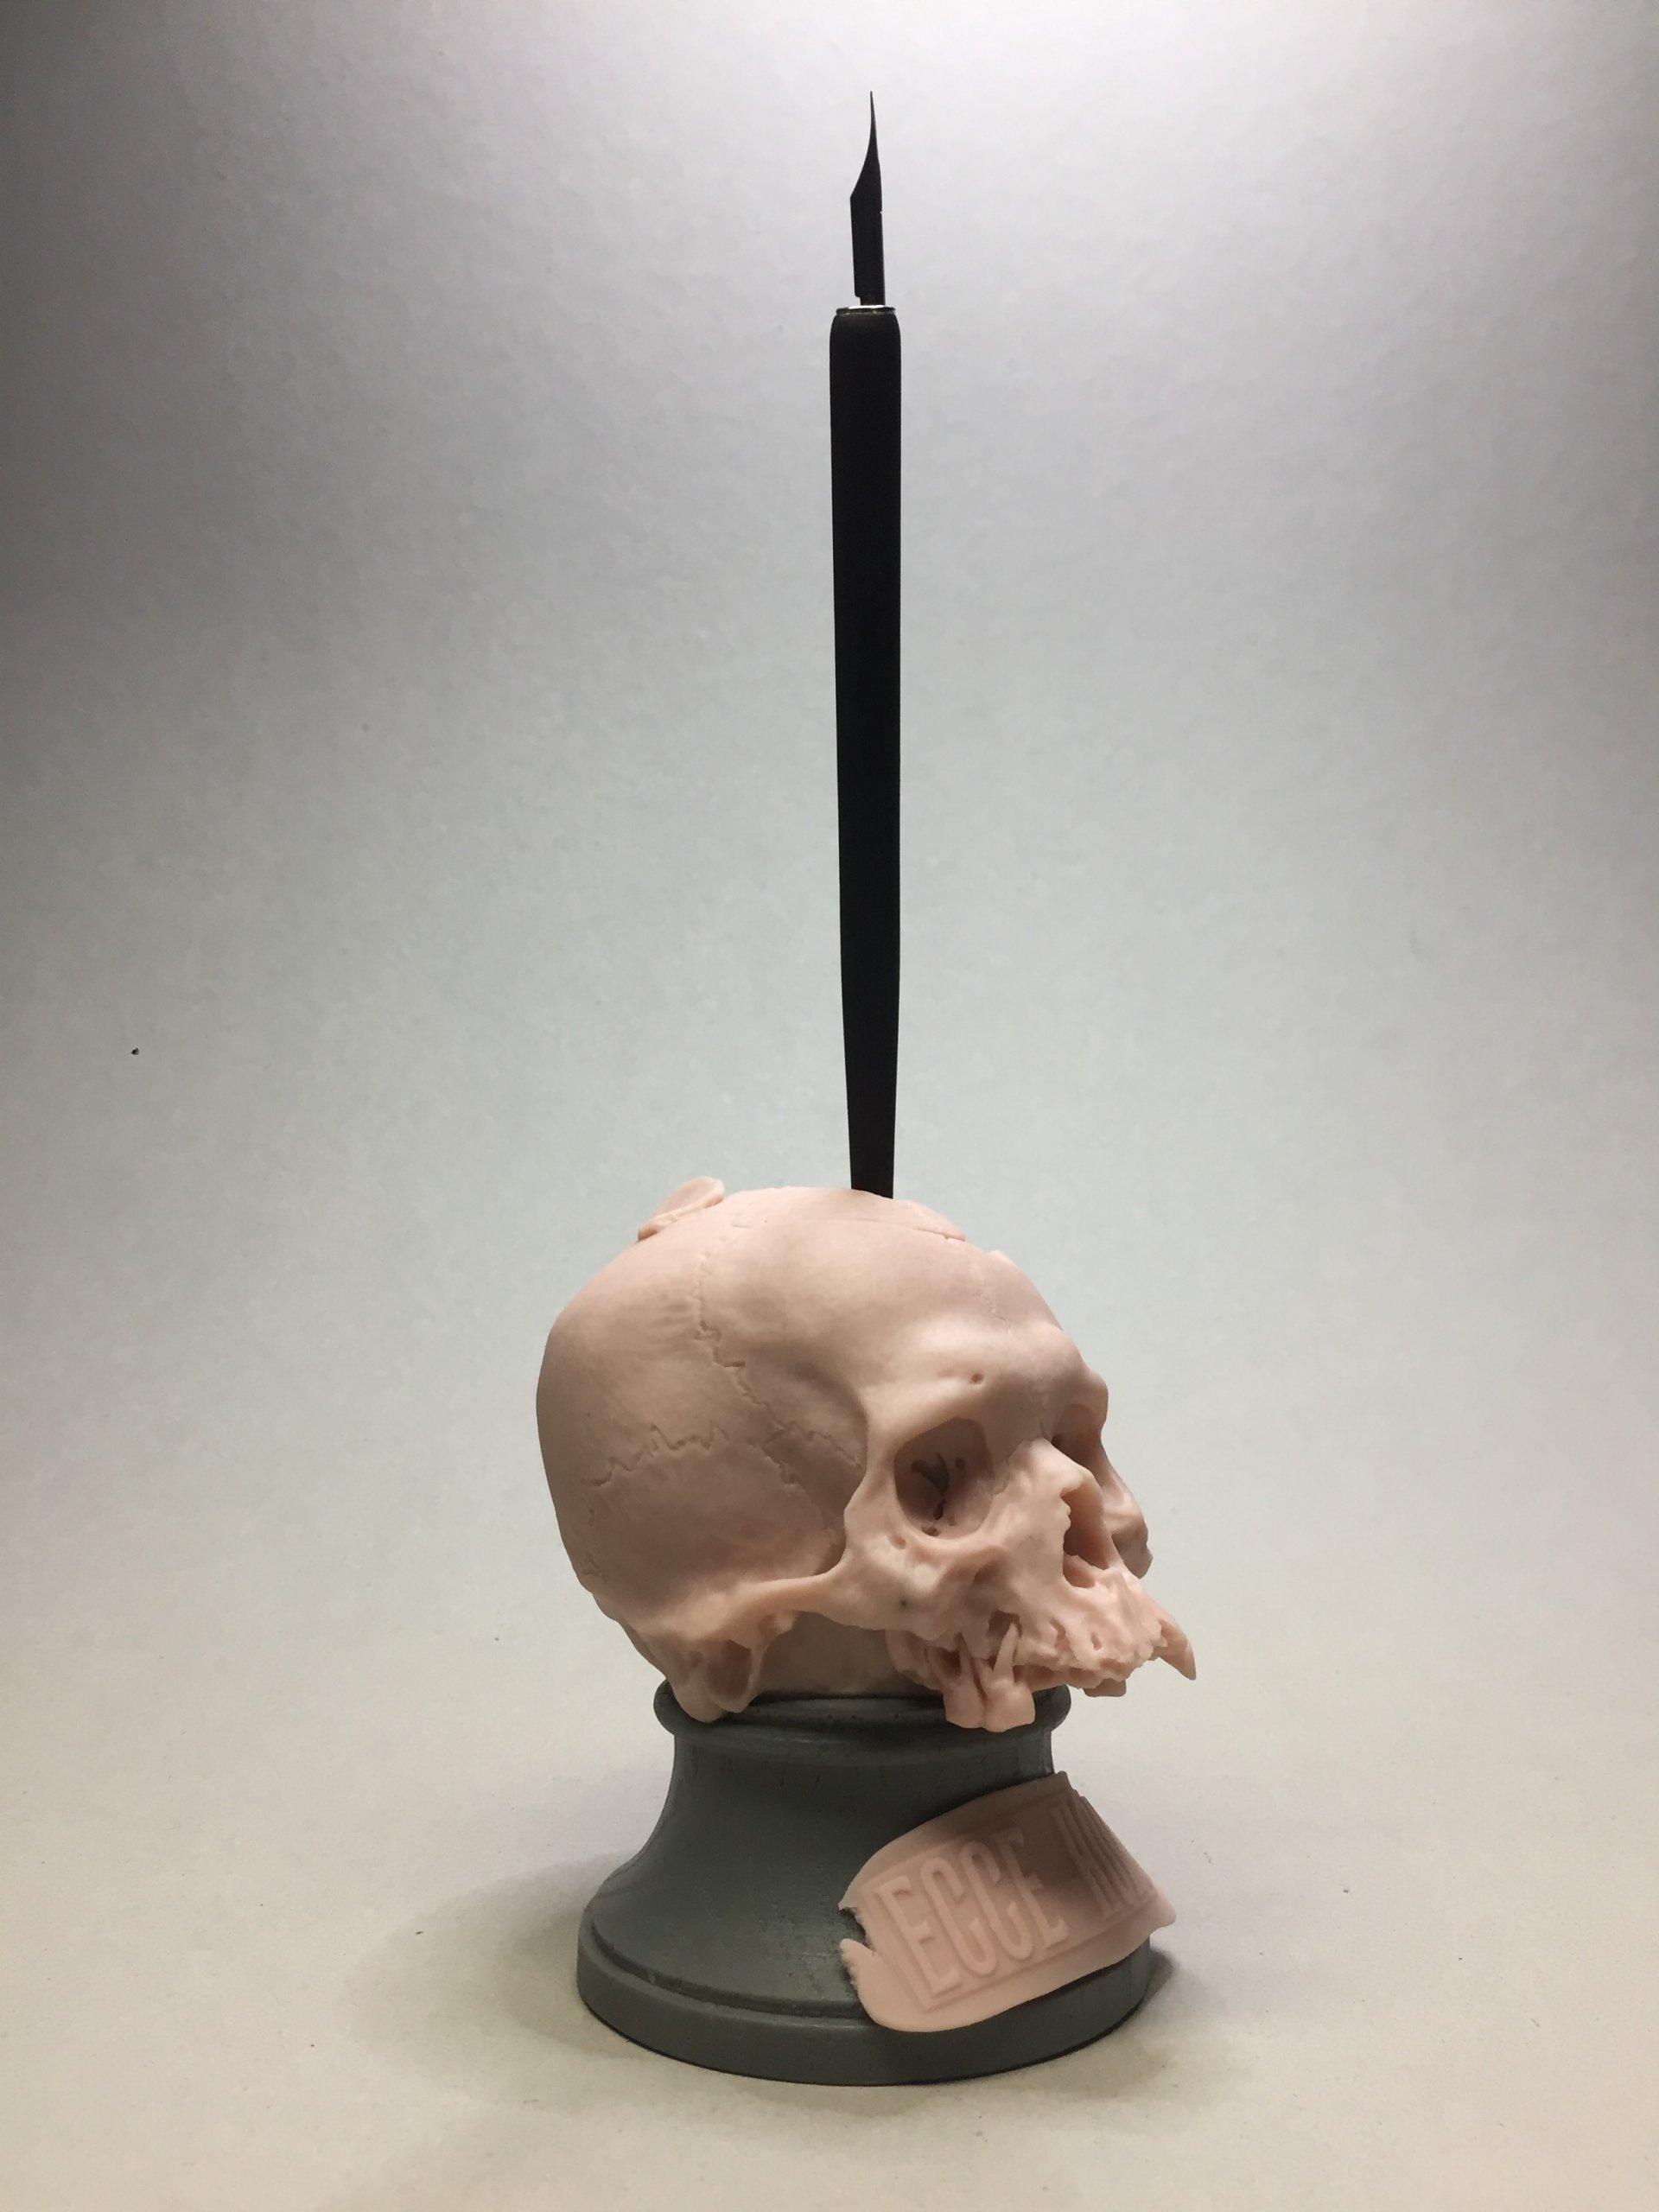
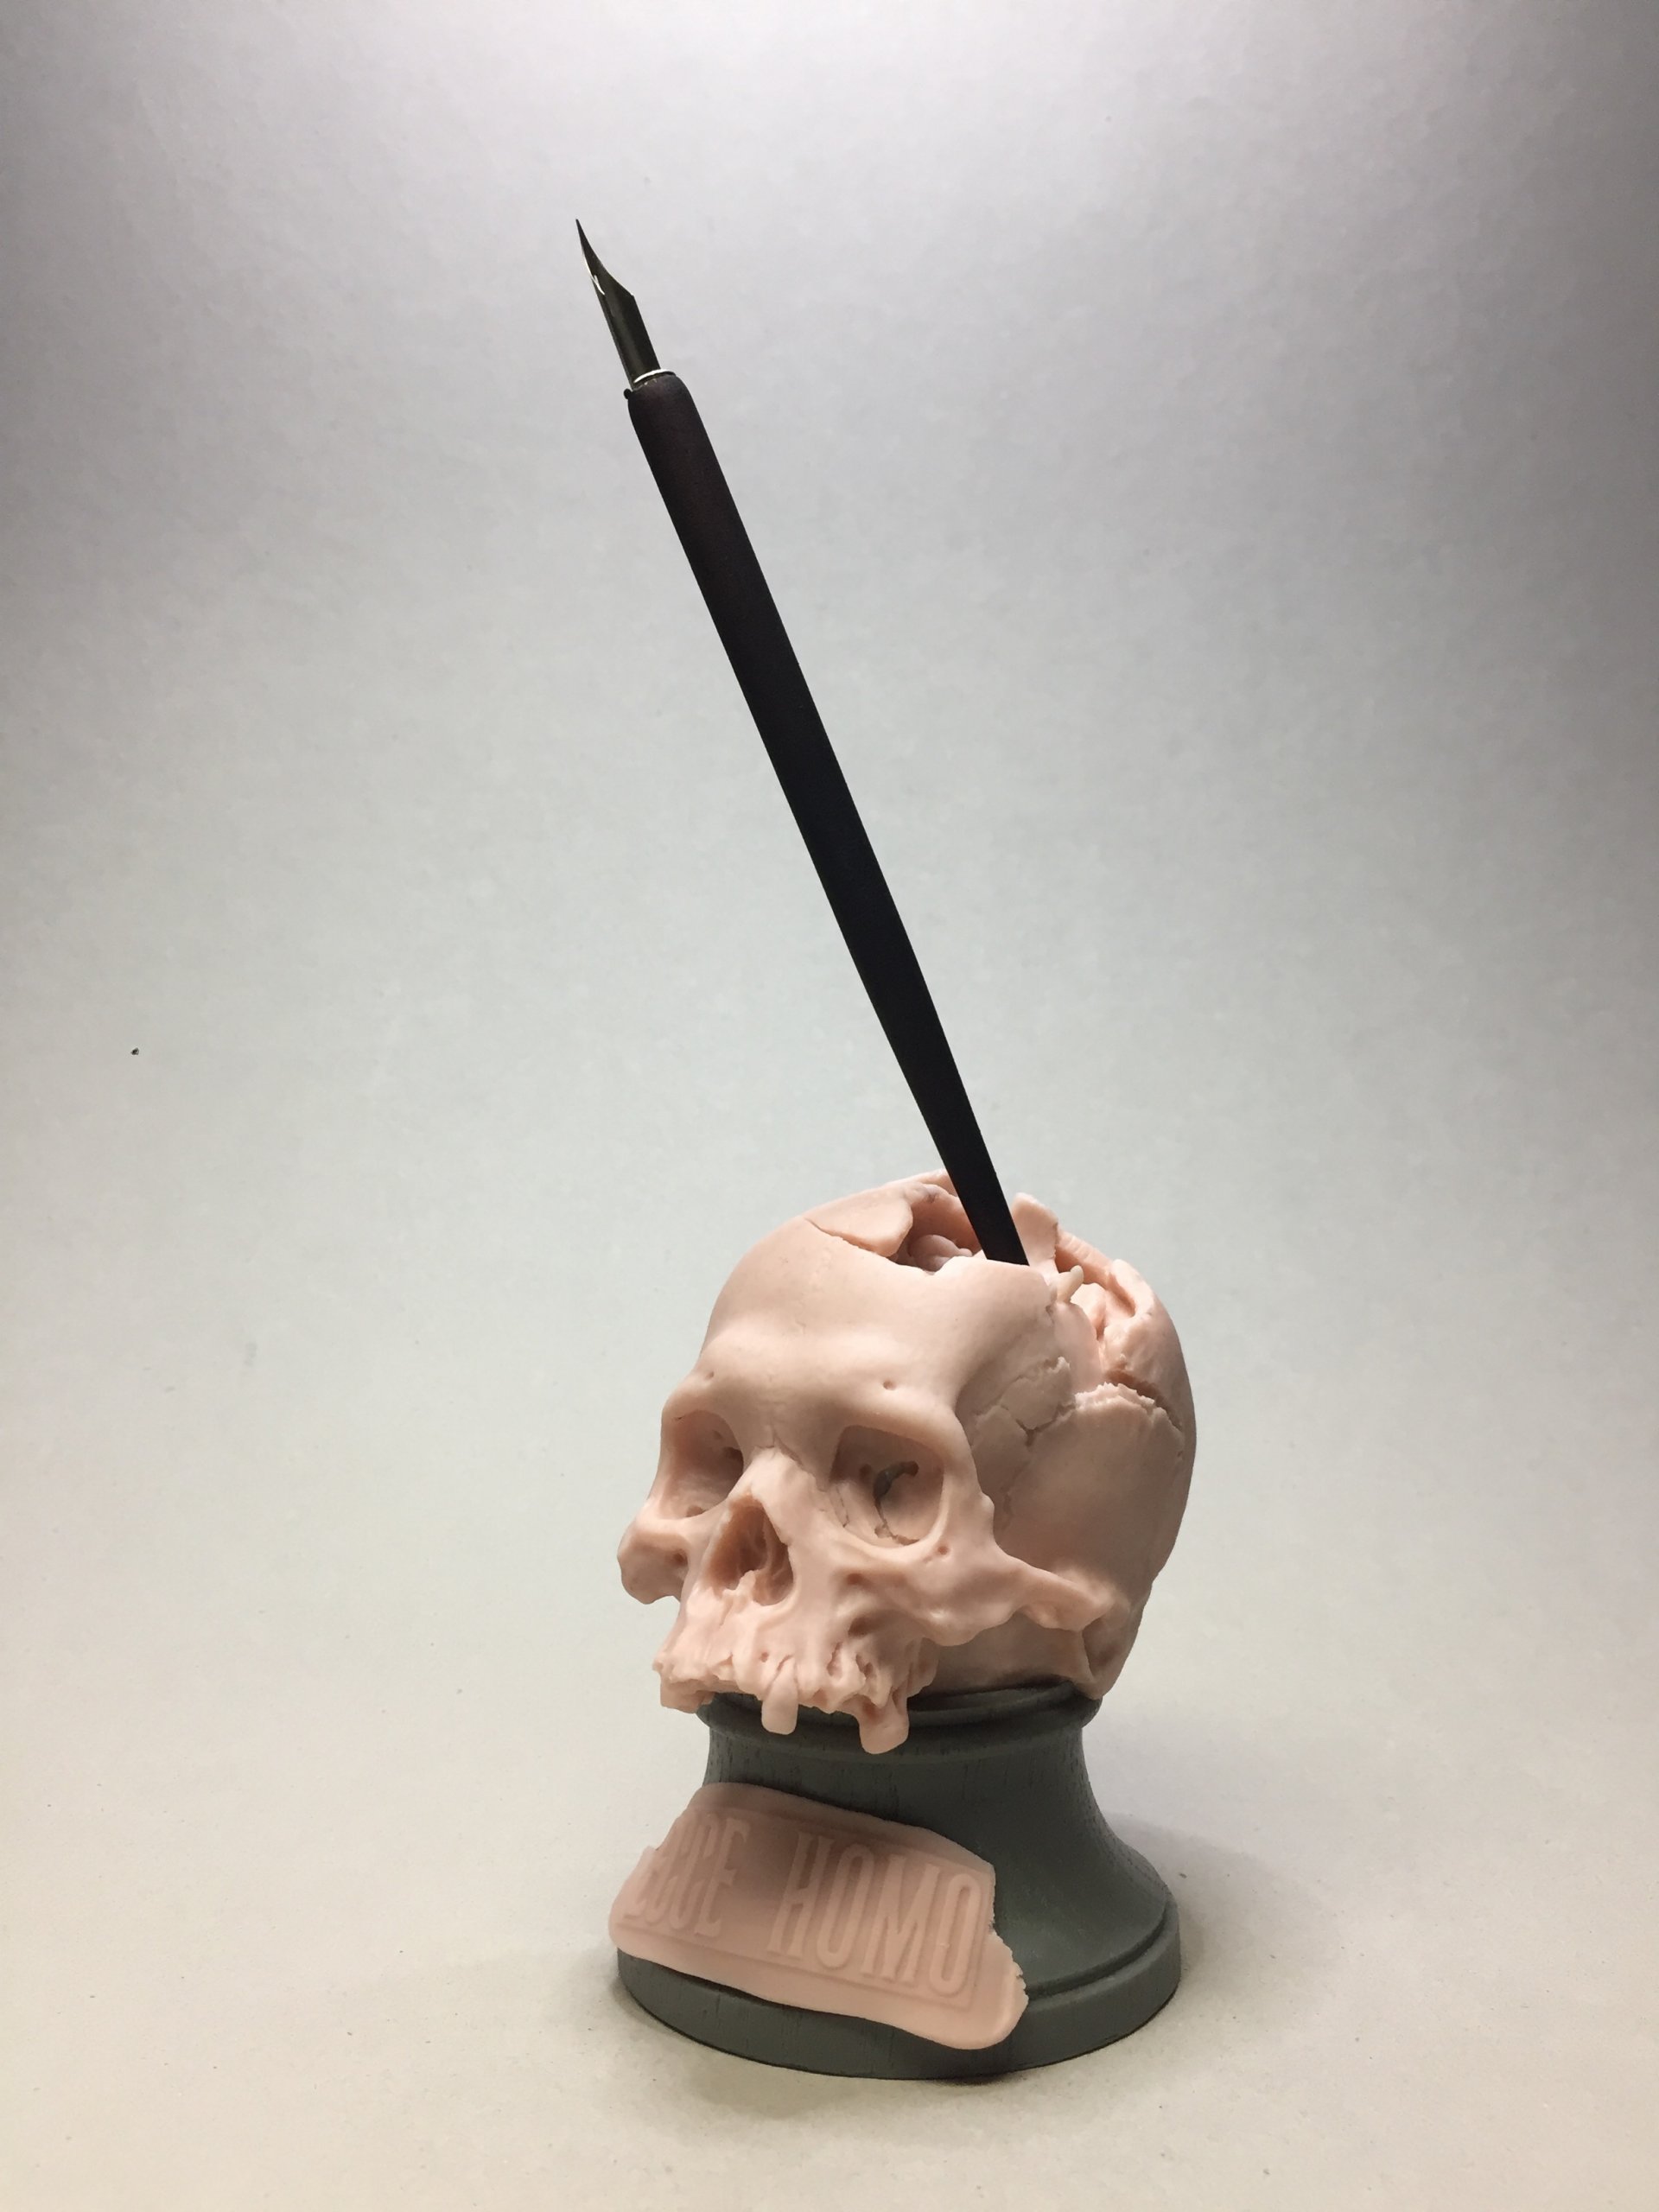
To liven up the whole composition, I decided to put the words Ecce Homo with the dripping blood on it, thus emphasizing the nature of the horror. In your opinion, is it scary enough?